Before & After III – Plug & Socket Assemblies

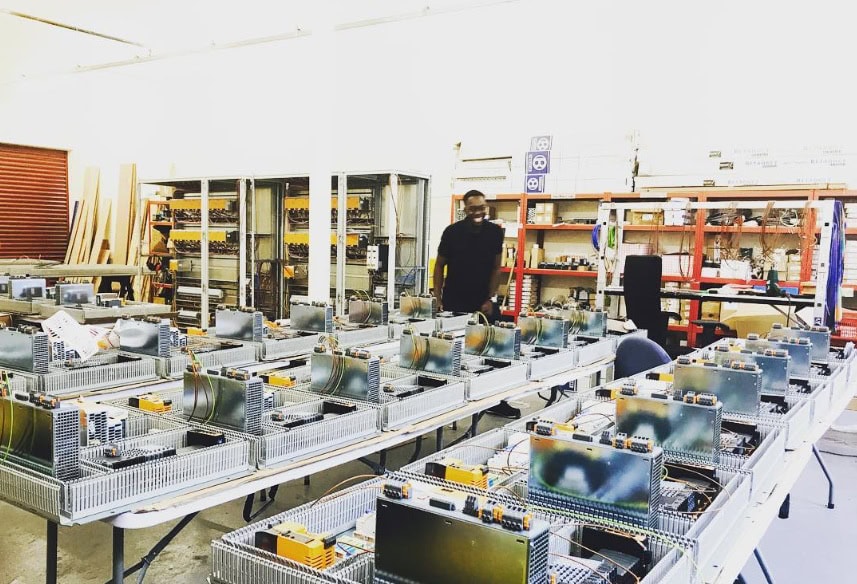
10 Plugs & Sockets for 10 Cabinets
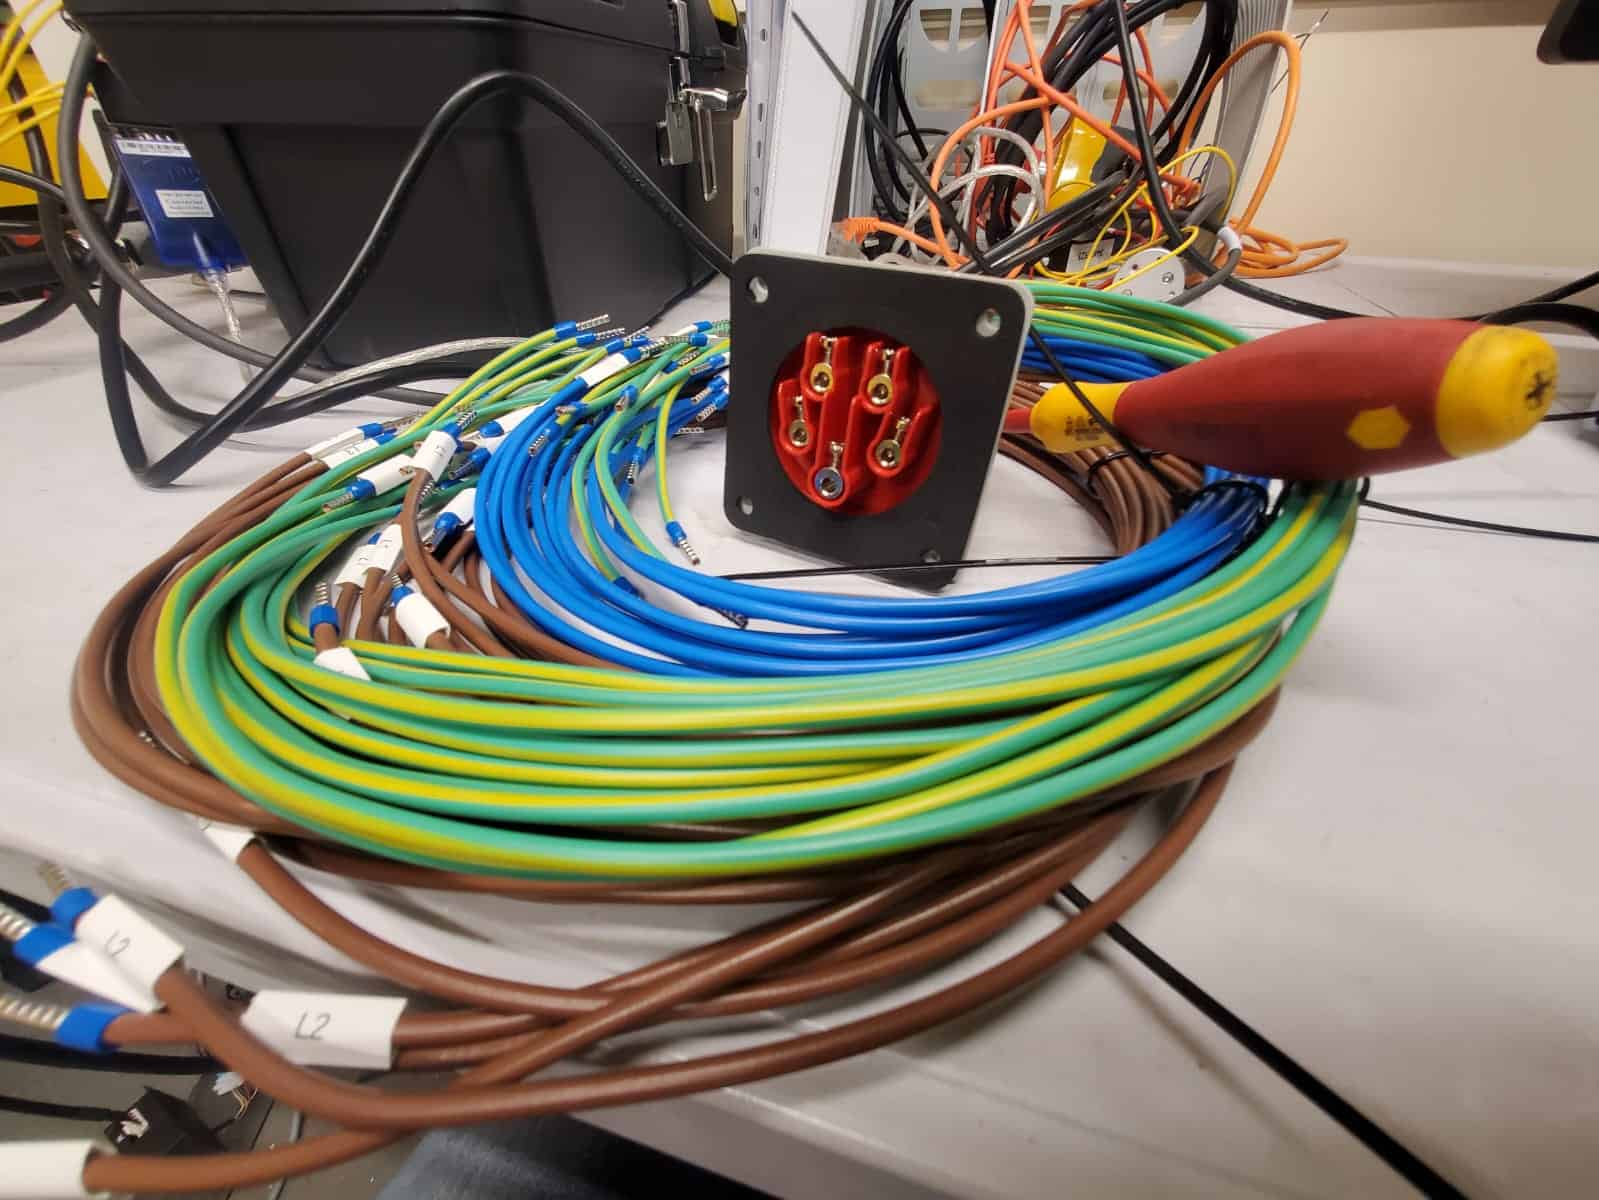
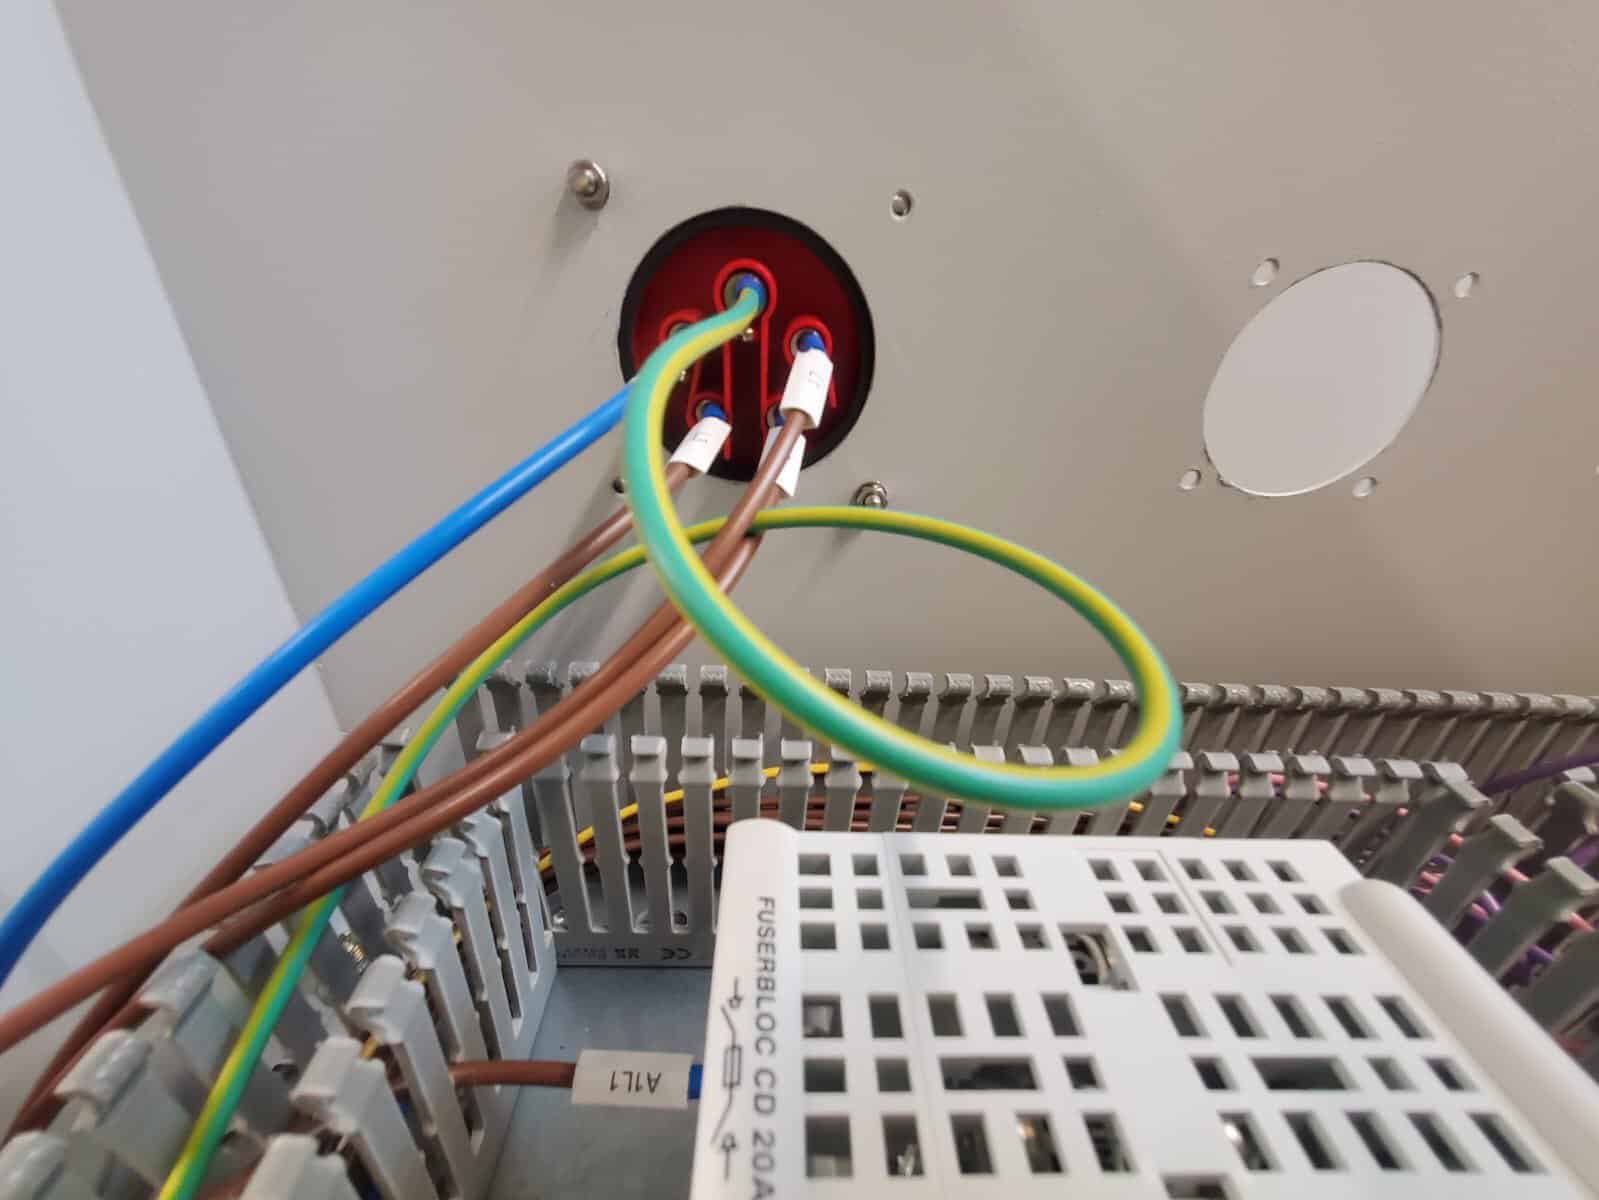
Here are the 3 Phase Plugs for the control cabinets being made. To begin with, you’ll see the connection points waiting for screws to be loosened and for crimped cable-ends to be inserted and secured.
You’ll notice 3 brown cables, 1 blue cable, and 1 yellow & green cable connected to each plug.
- L1, L2, and L3 marked brown cables are Live.
- N marked blue cables are Neutral.
- Green & Yellow cables are Earth.
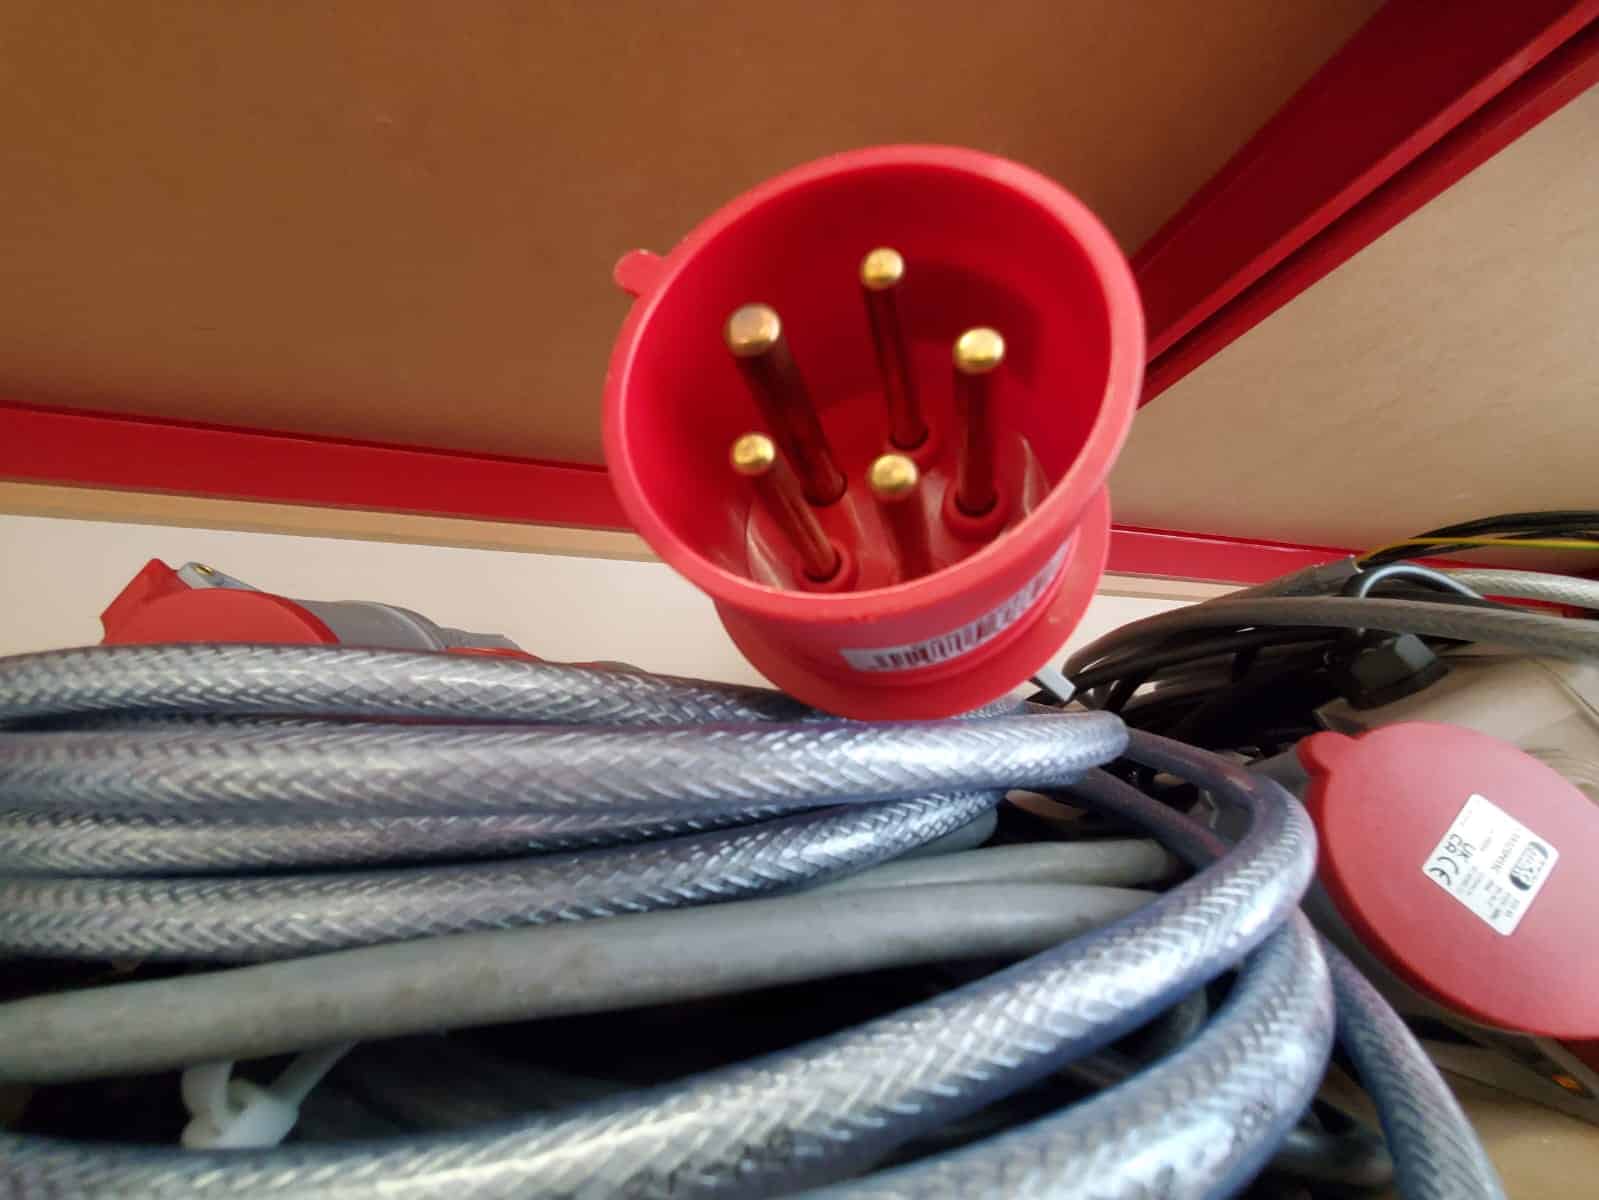
A 3-phase plug delivers three-phase alternating current to high-power machinery, industrial equipment, or heavy-duty commercial appliances.
Unlike standard 3-pin single-phase plugs, these connectors feature 4 or 5 pins to manage three separate live (active) phases, ensuring balanced, consistent power, typically at 400V-415V in the UK.
You can also see one of many completed plugs on the Workshop shelf here as an example of an assembled 3 Phase Plug.

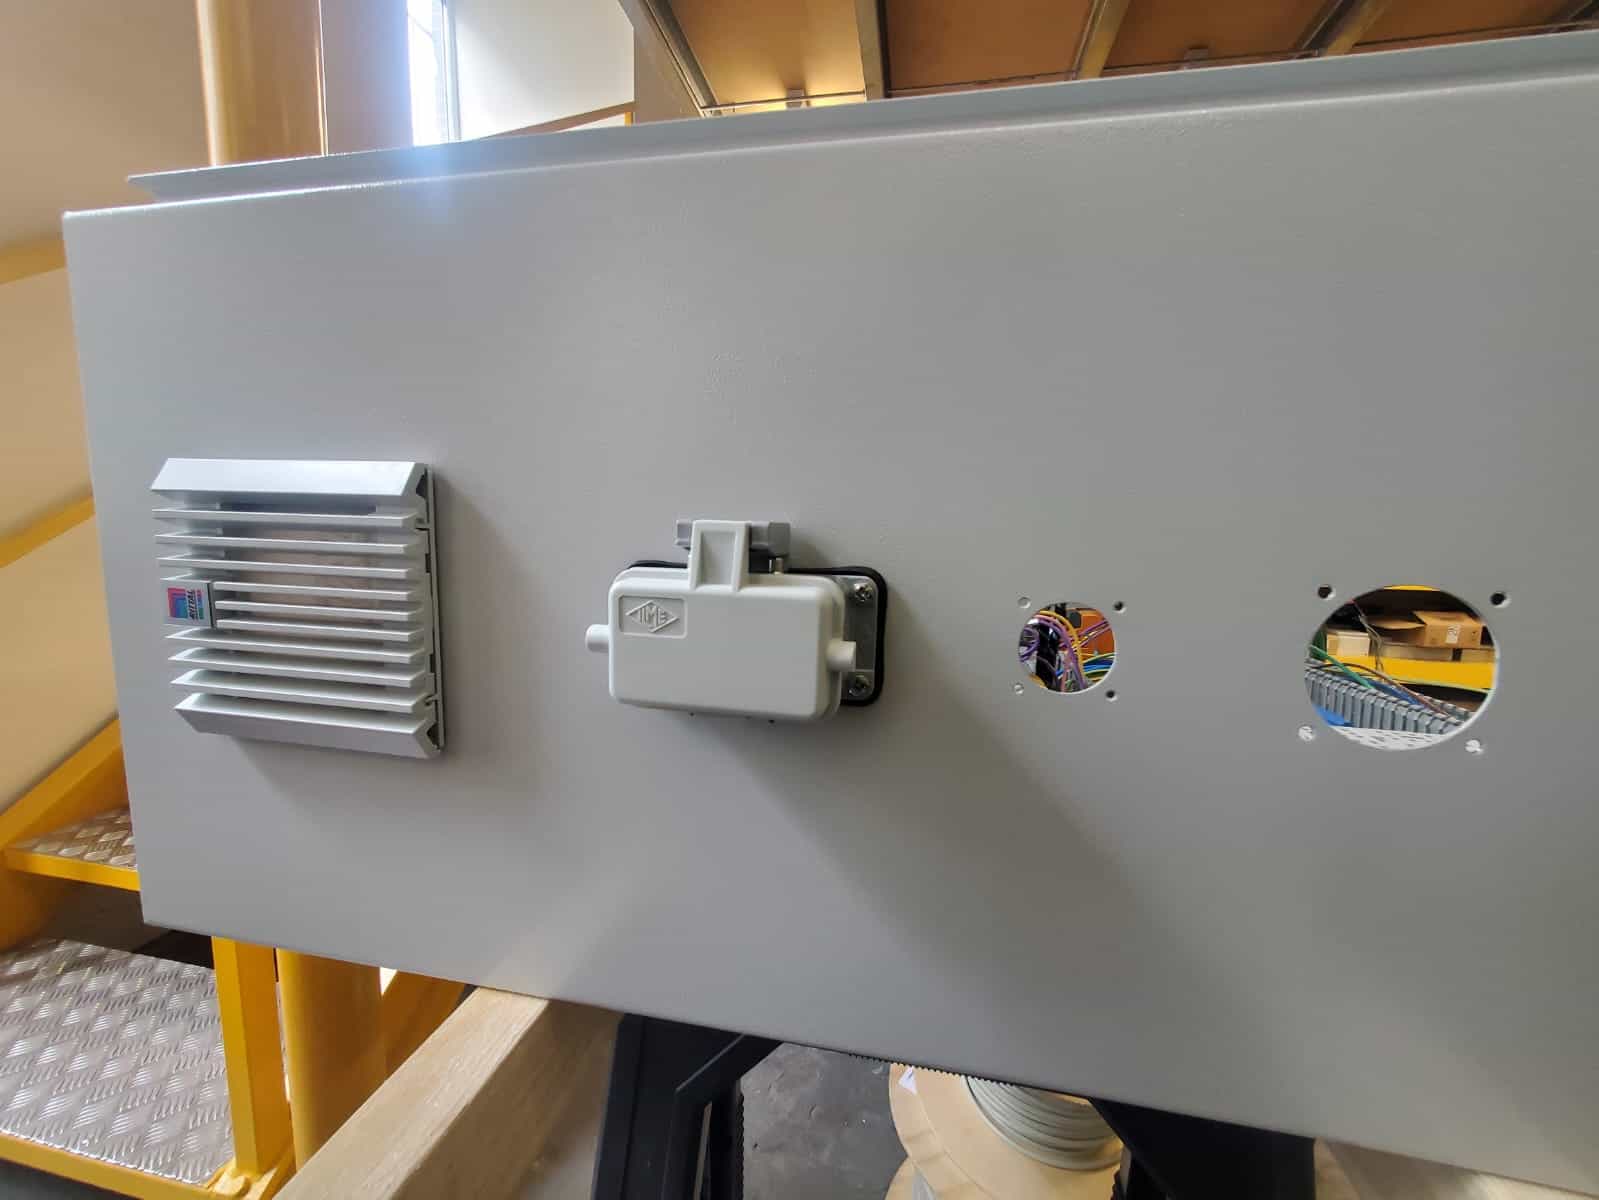
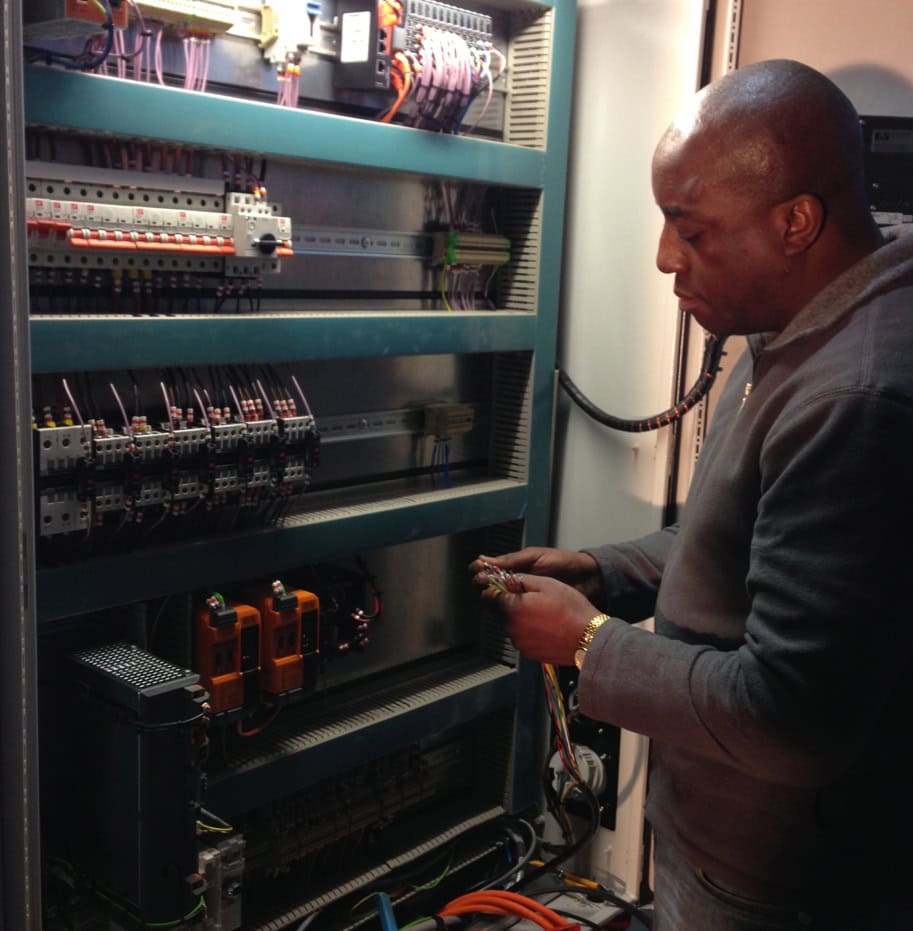
In Situ
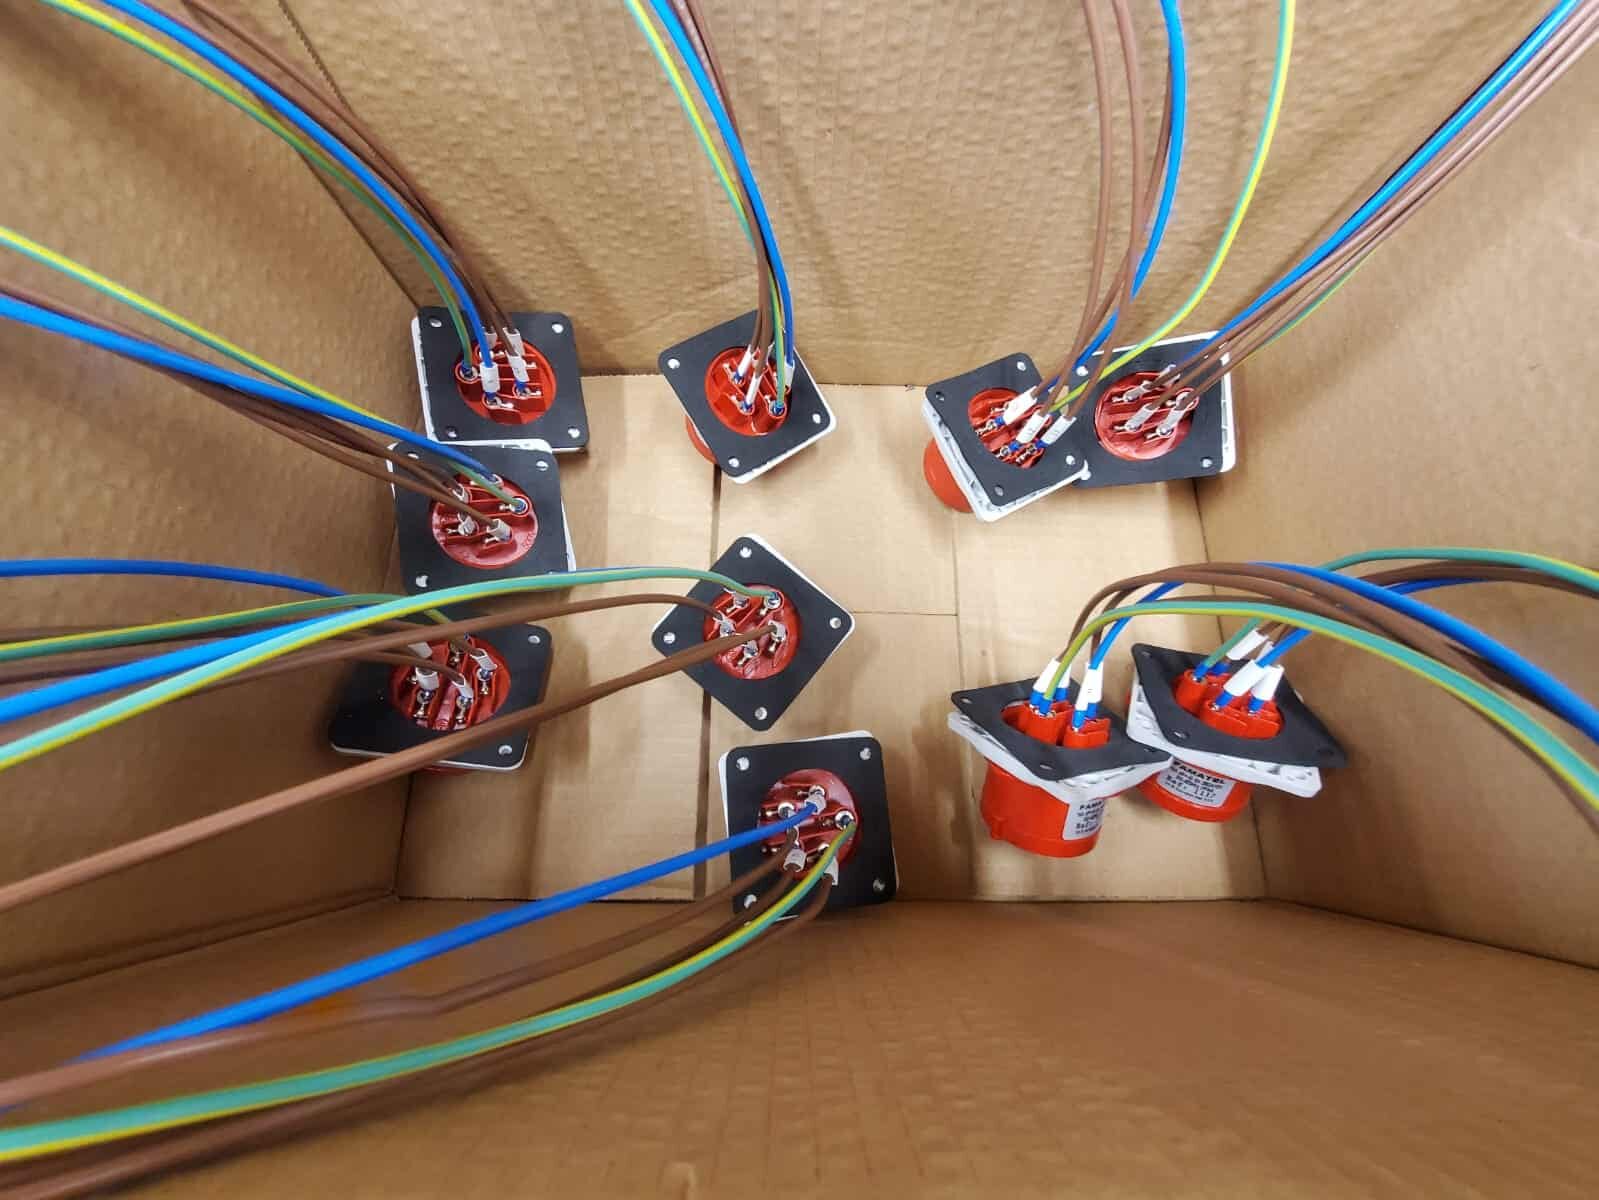
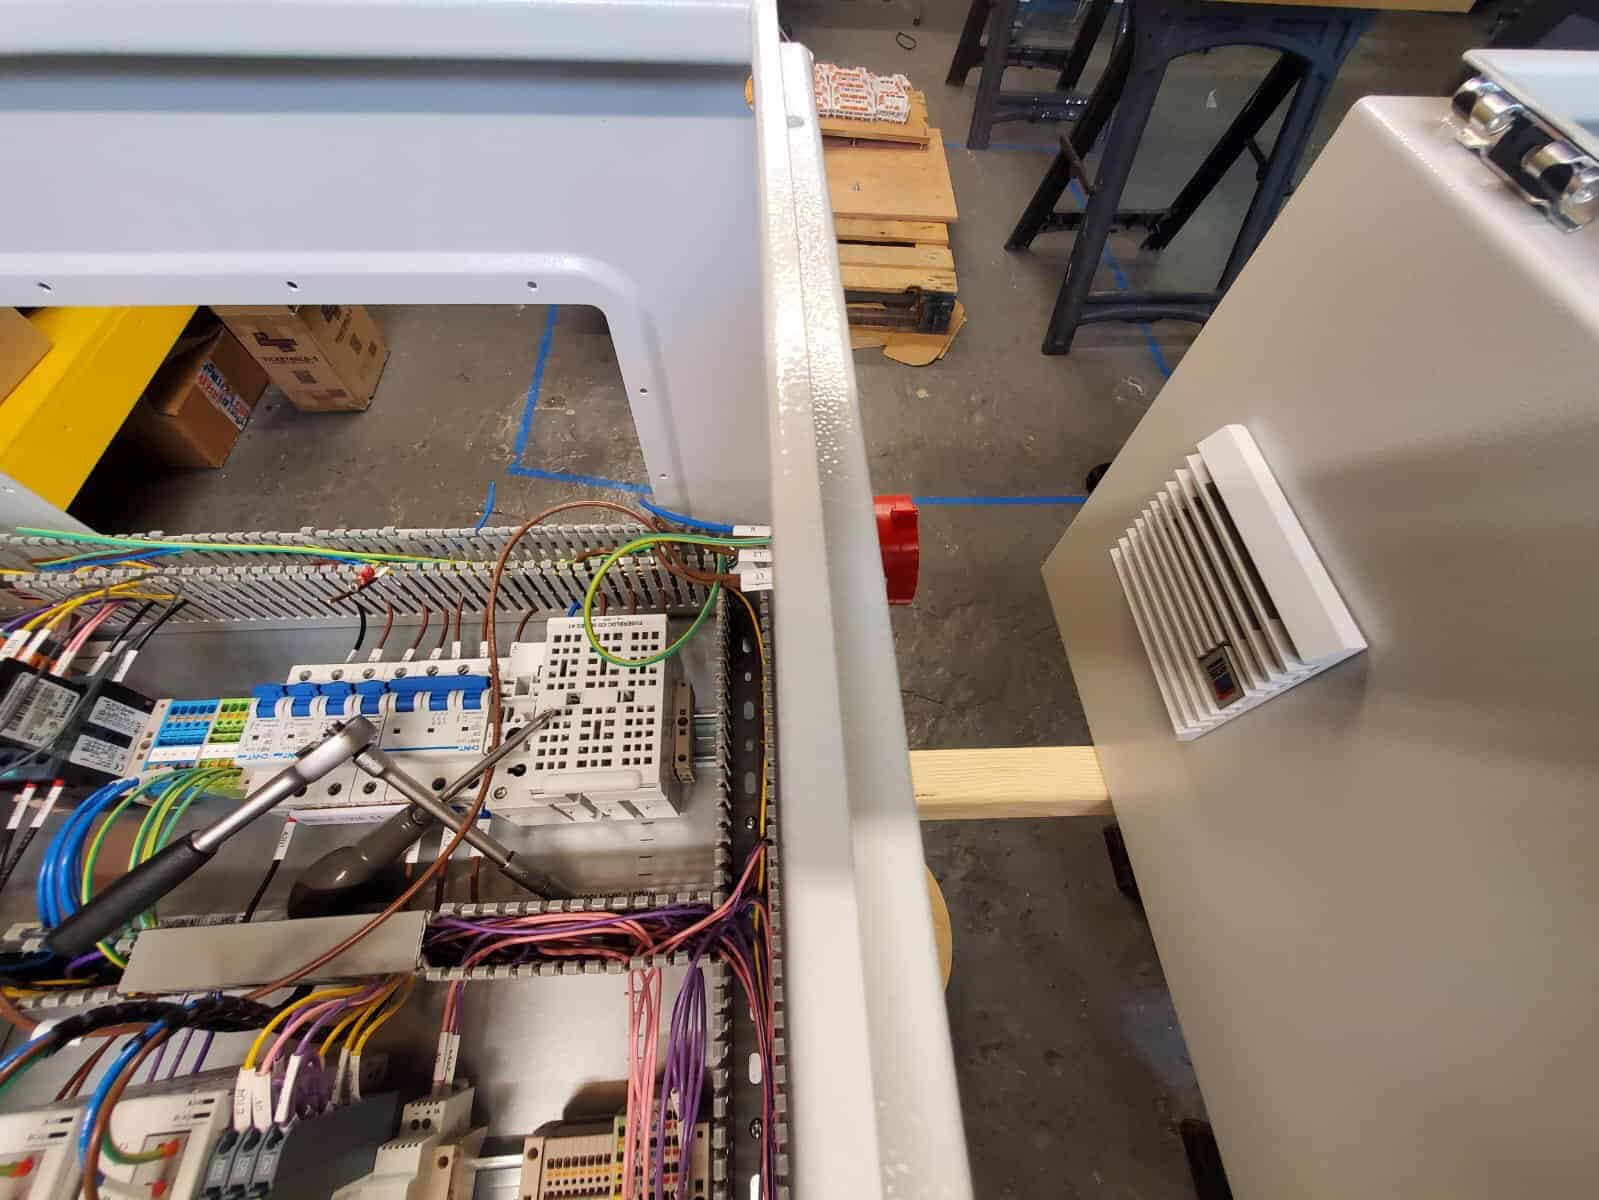
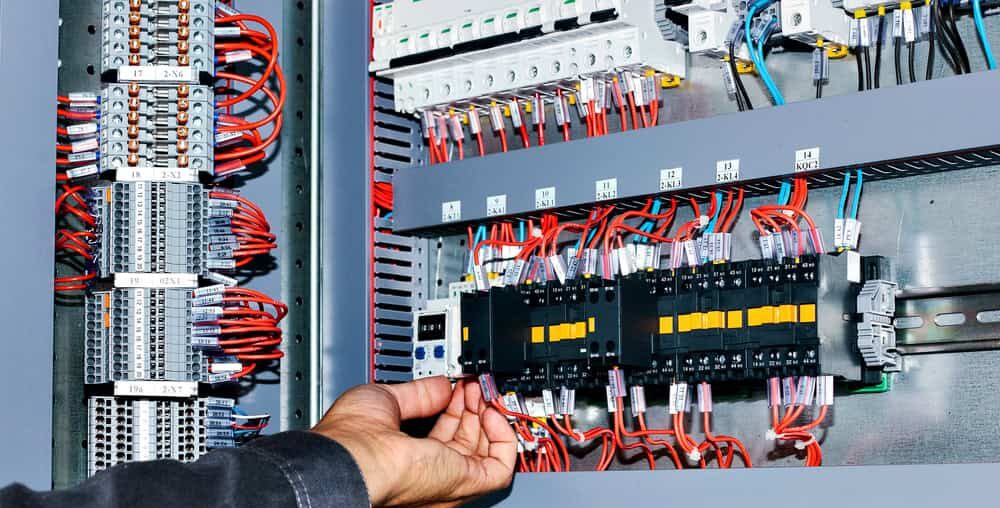
Next, these plug sockets were wired & connected to the panel. Below you can see the inside view of the panel as well as a glimpse of the fittings on the outer-side of one of the cabinets too.
Female Sockets
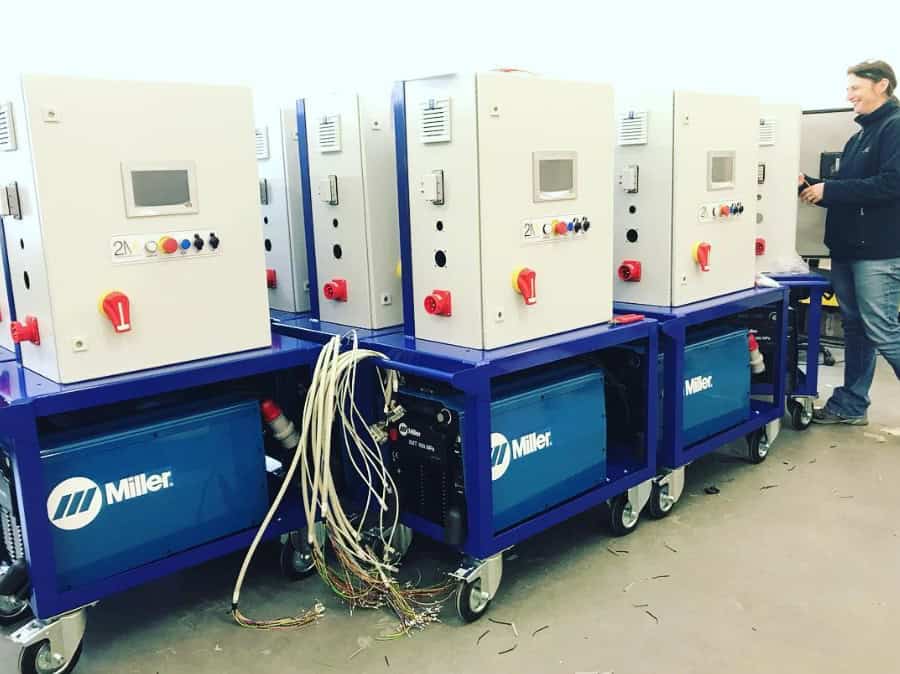
Whilst each of our 10 control cabinets on this production run require a 3 phase plug & socket each, they actually each need several other different types of connectors as well.
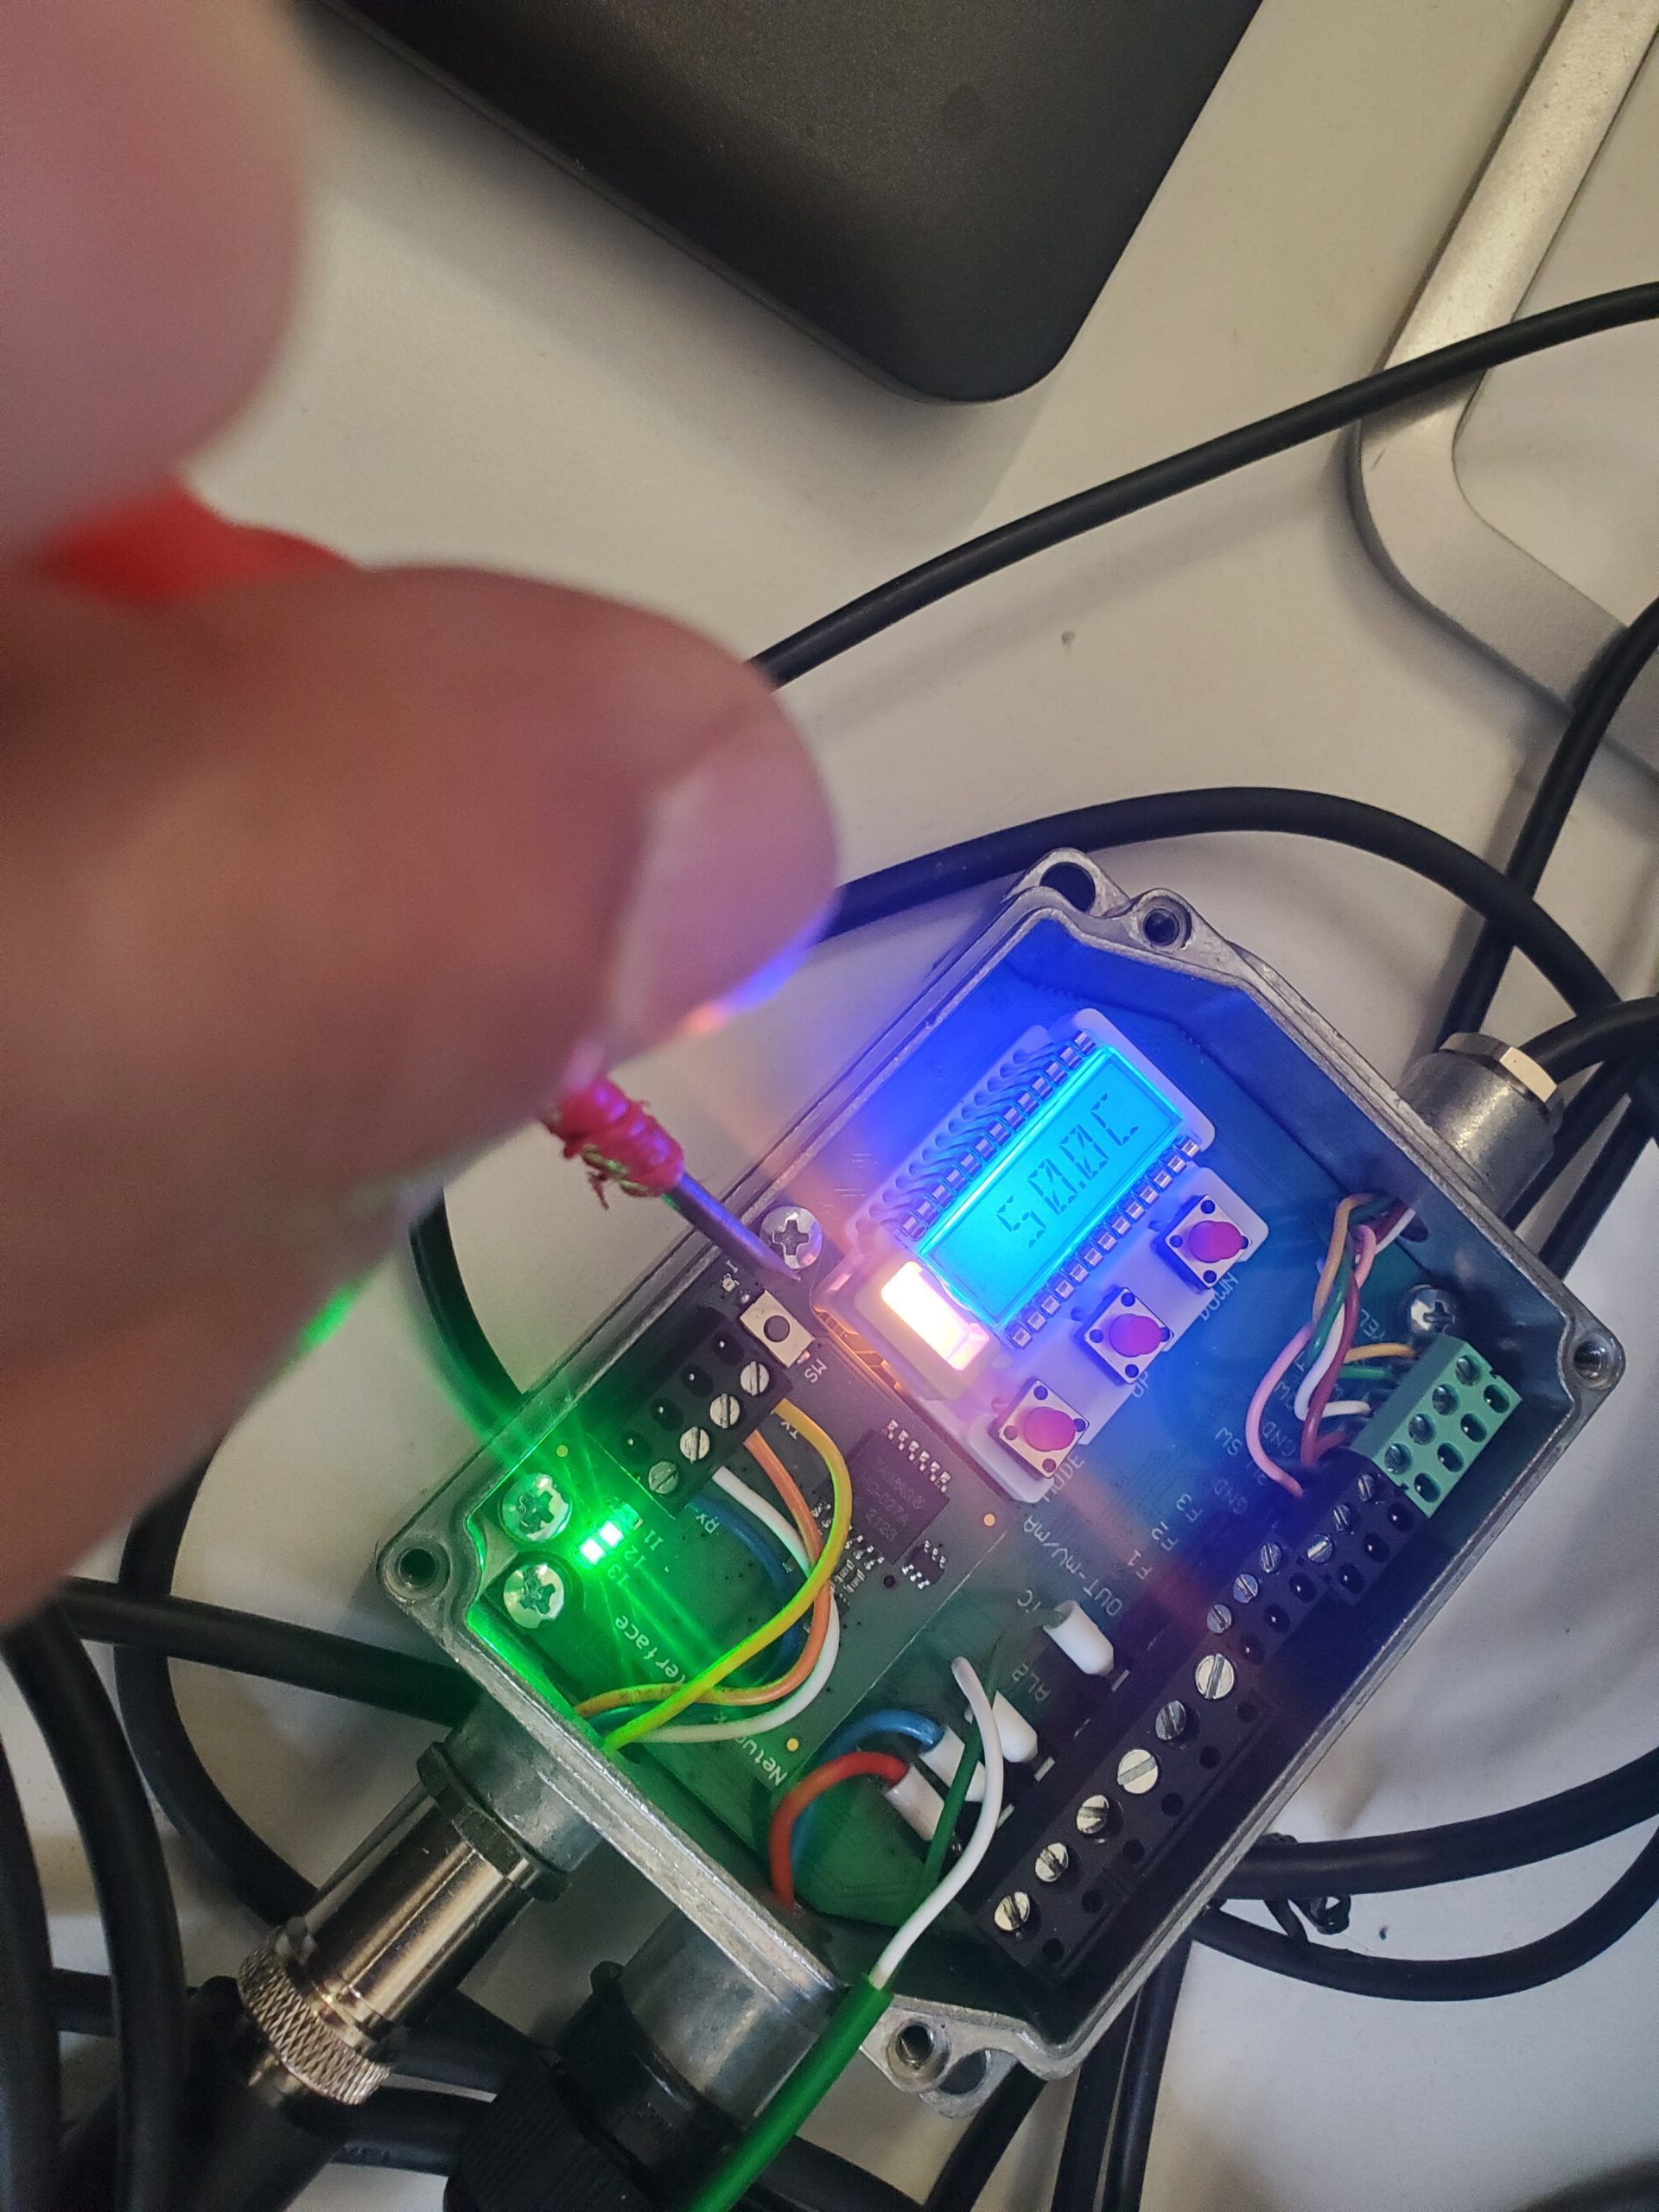
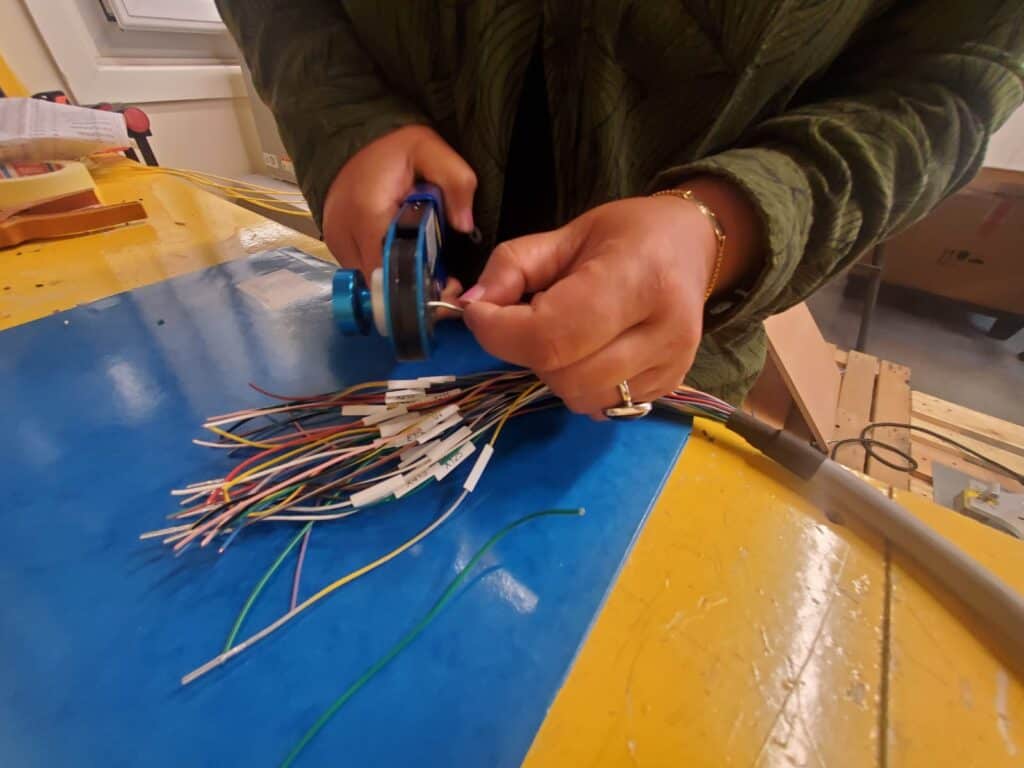
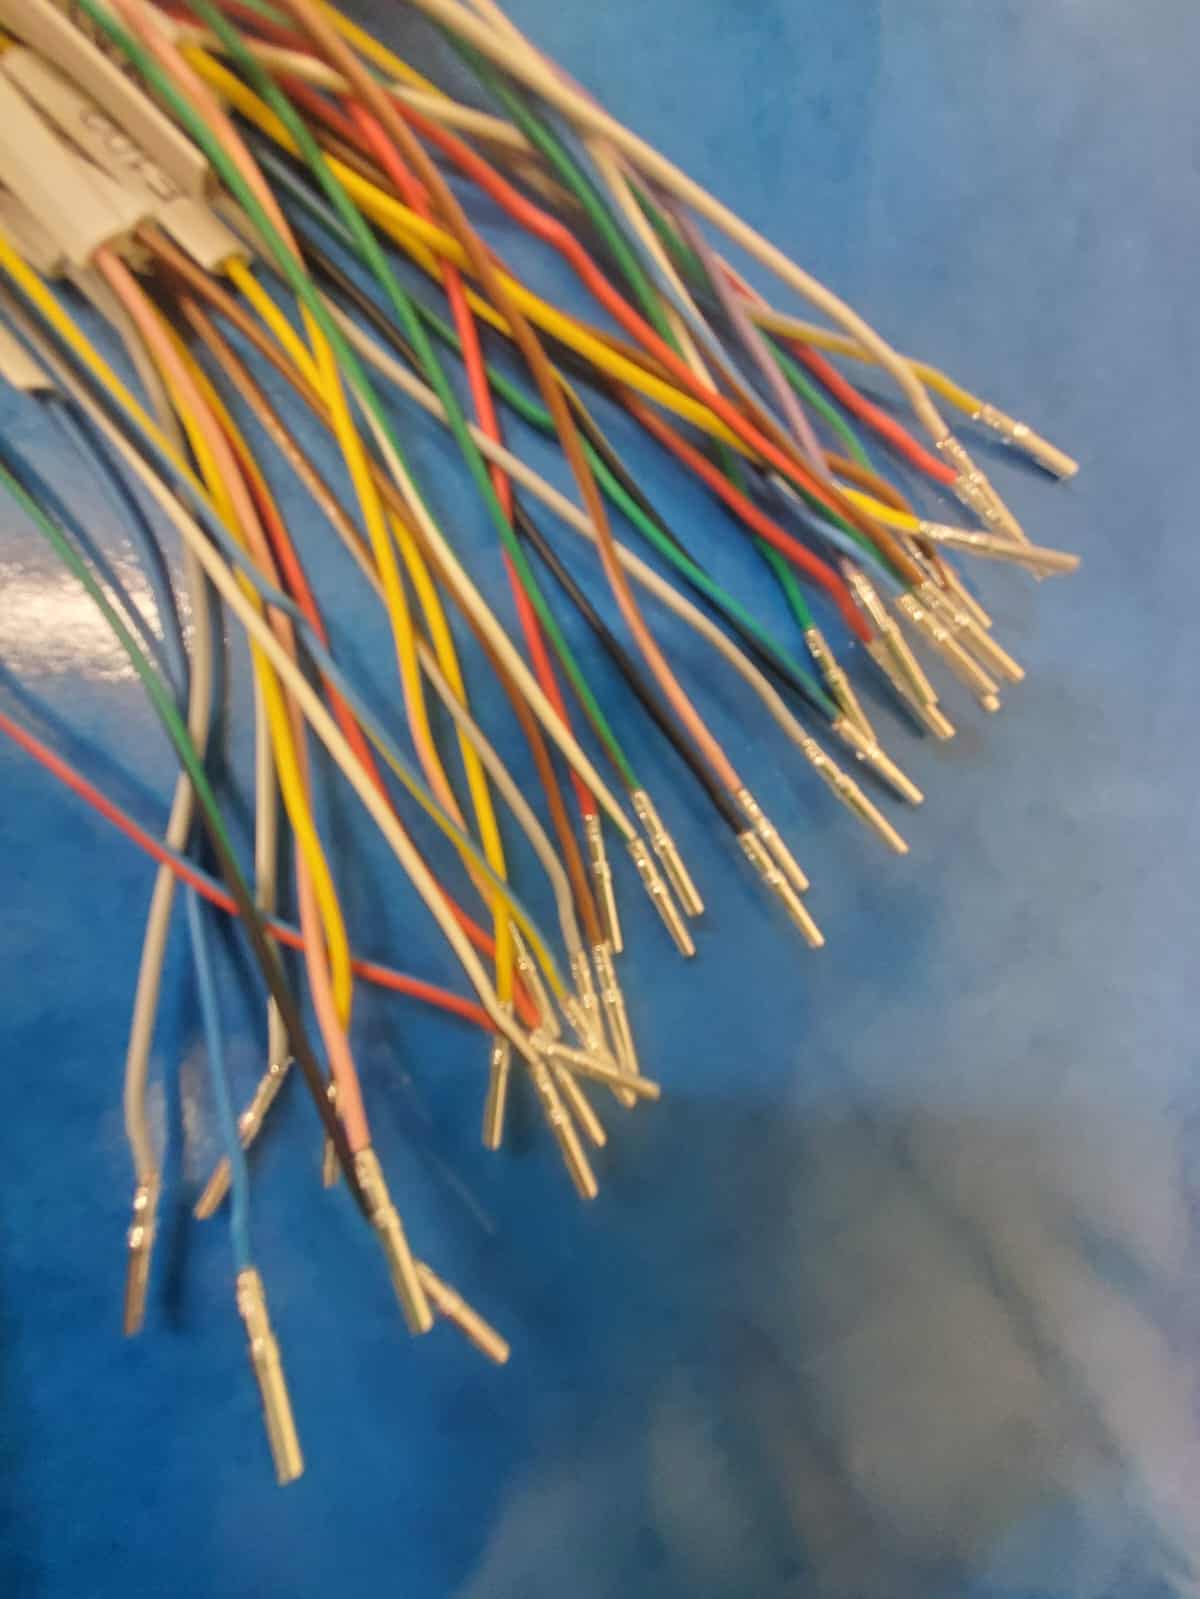
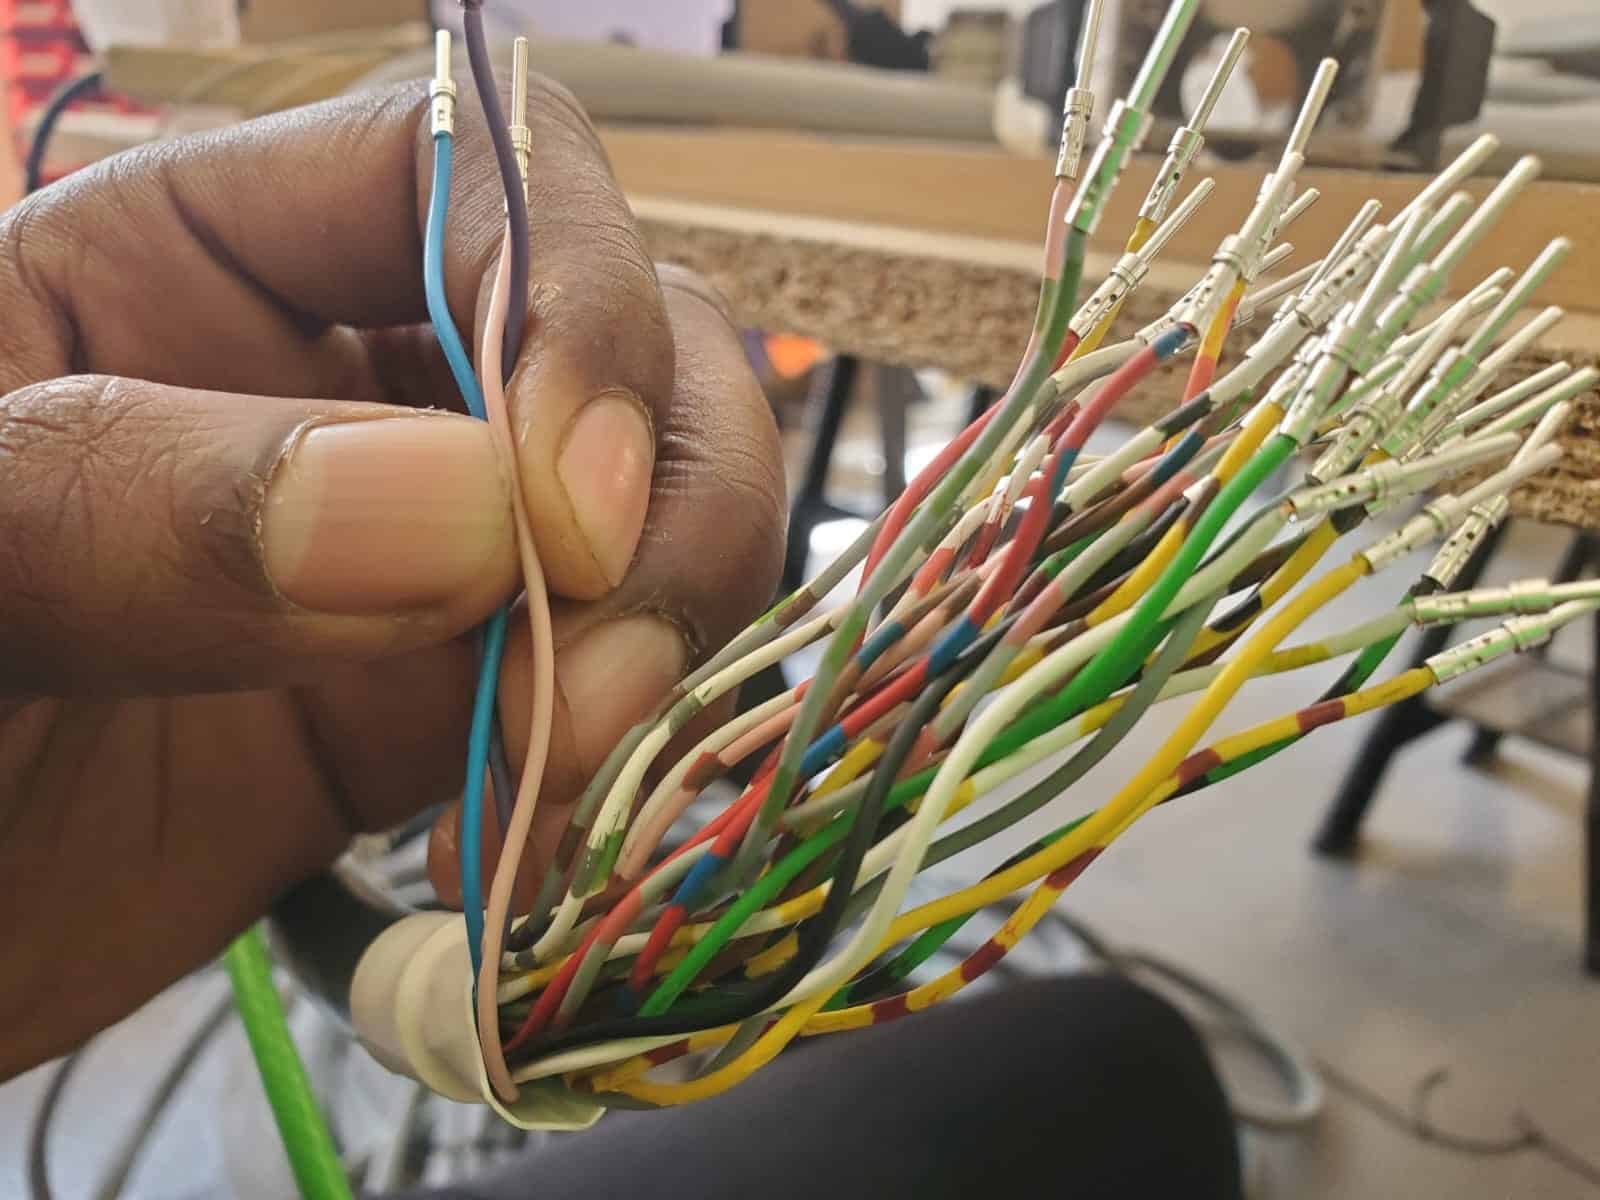
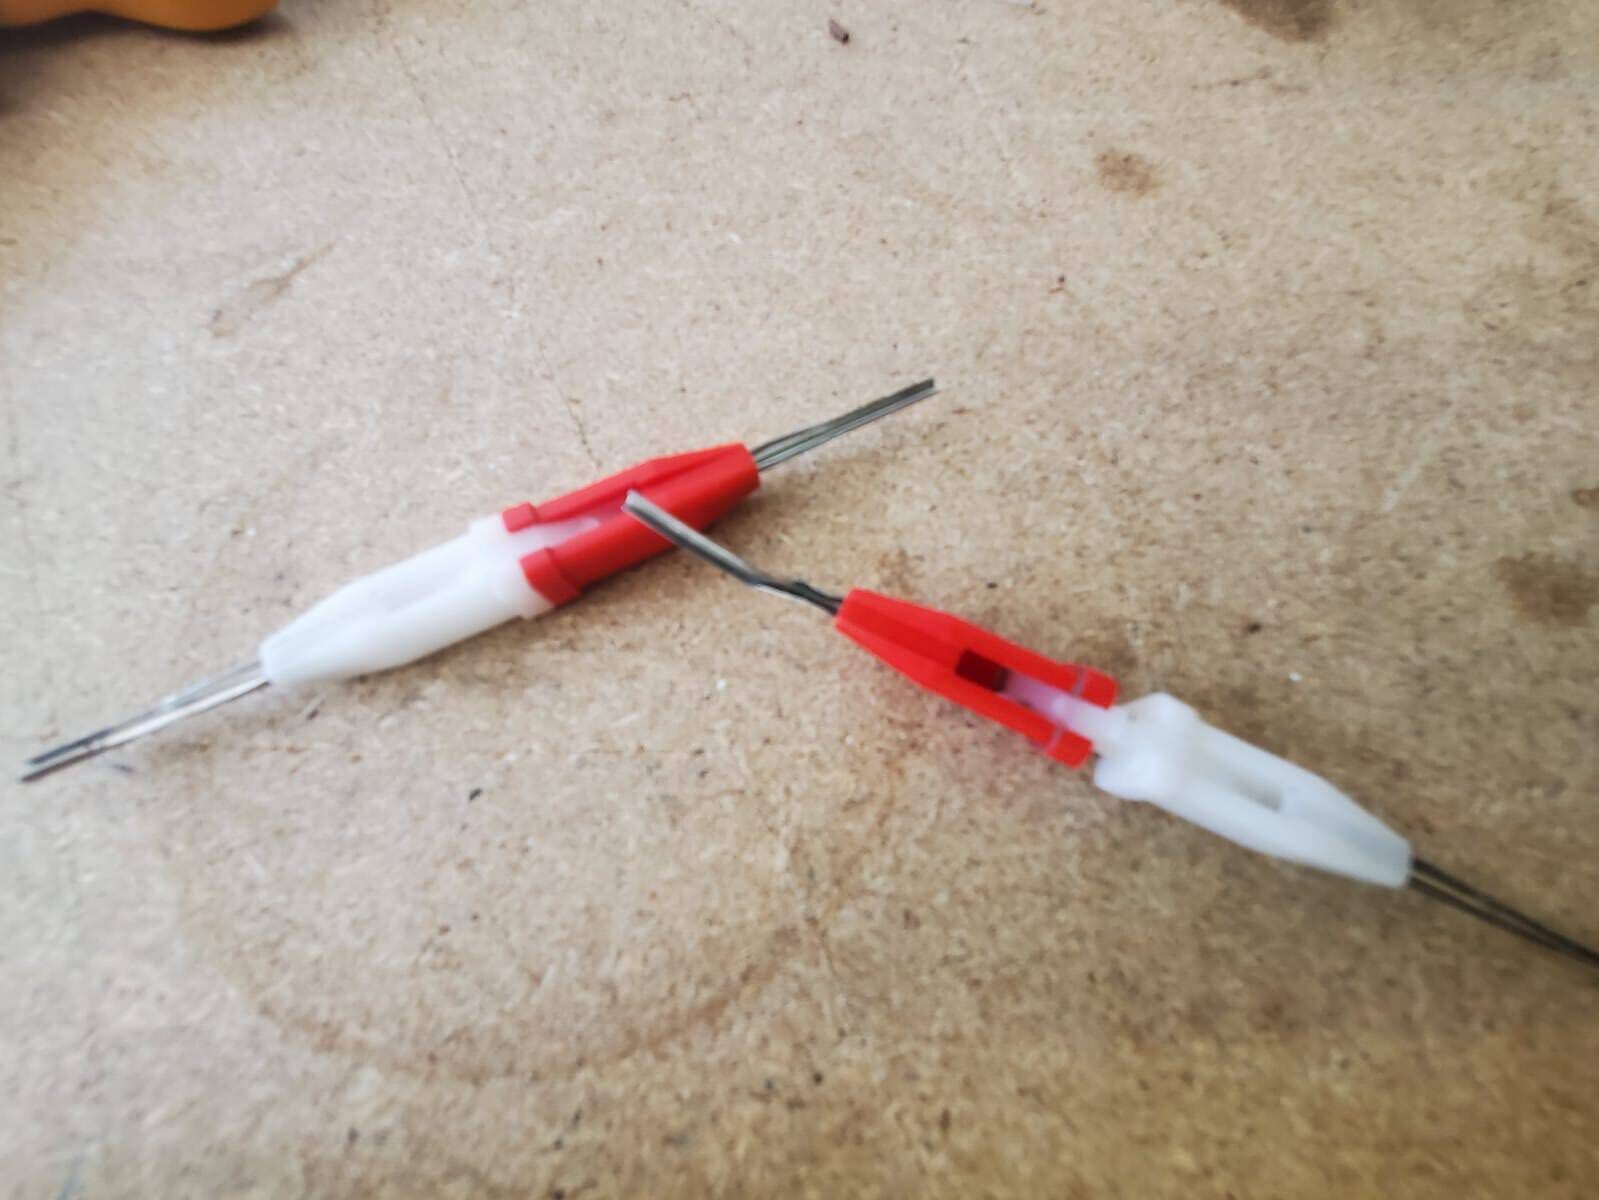
Here I am crimping very small female sockets onto wires. Given the core of these wires are copper, I’m using a dark background with a blue folder to better see the contrast of colours whilst slotting the stripped wire ends into the very small female socket casings before securing with a dedicated crimping tool.
You may be able to spot the Dobot serving as a temporary cable stand in the background?
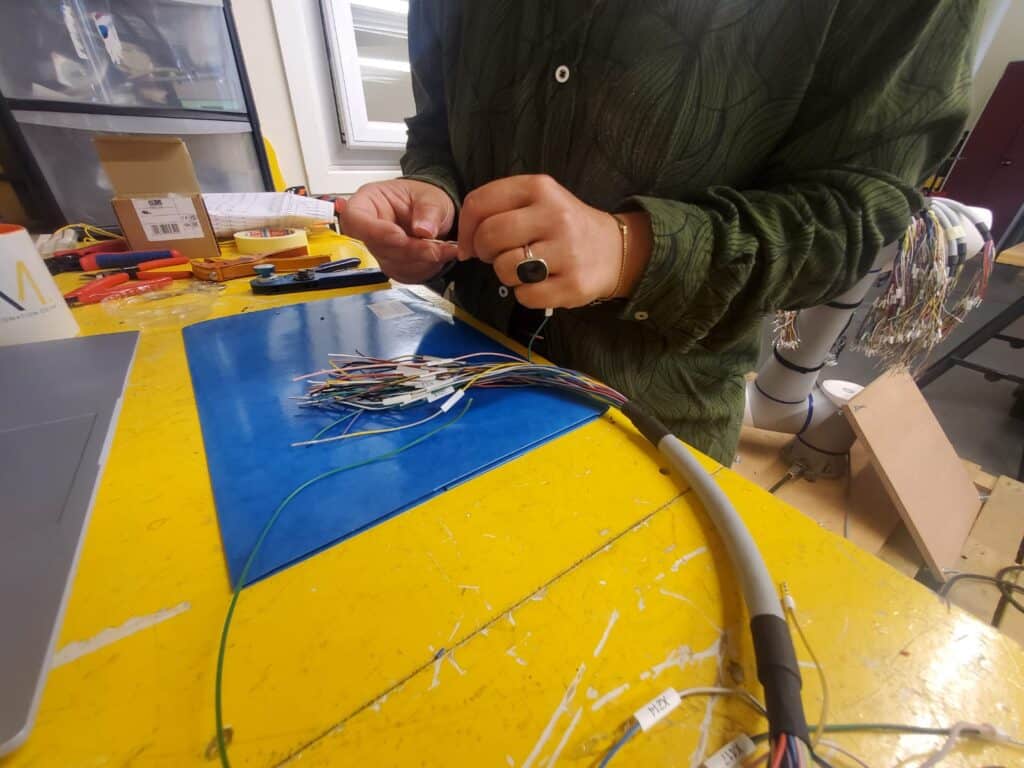
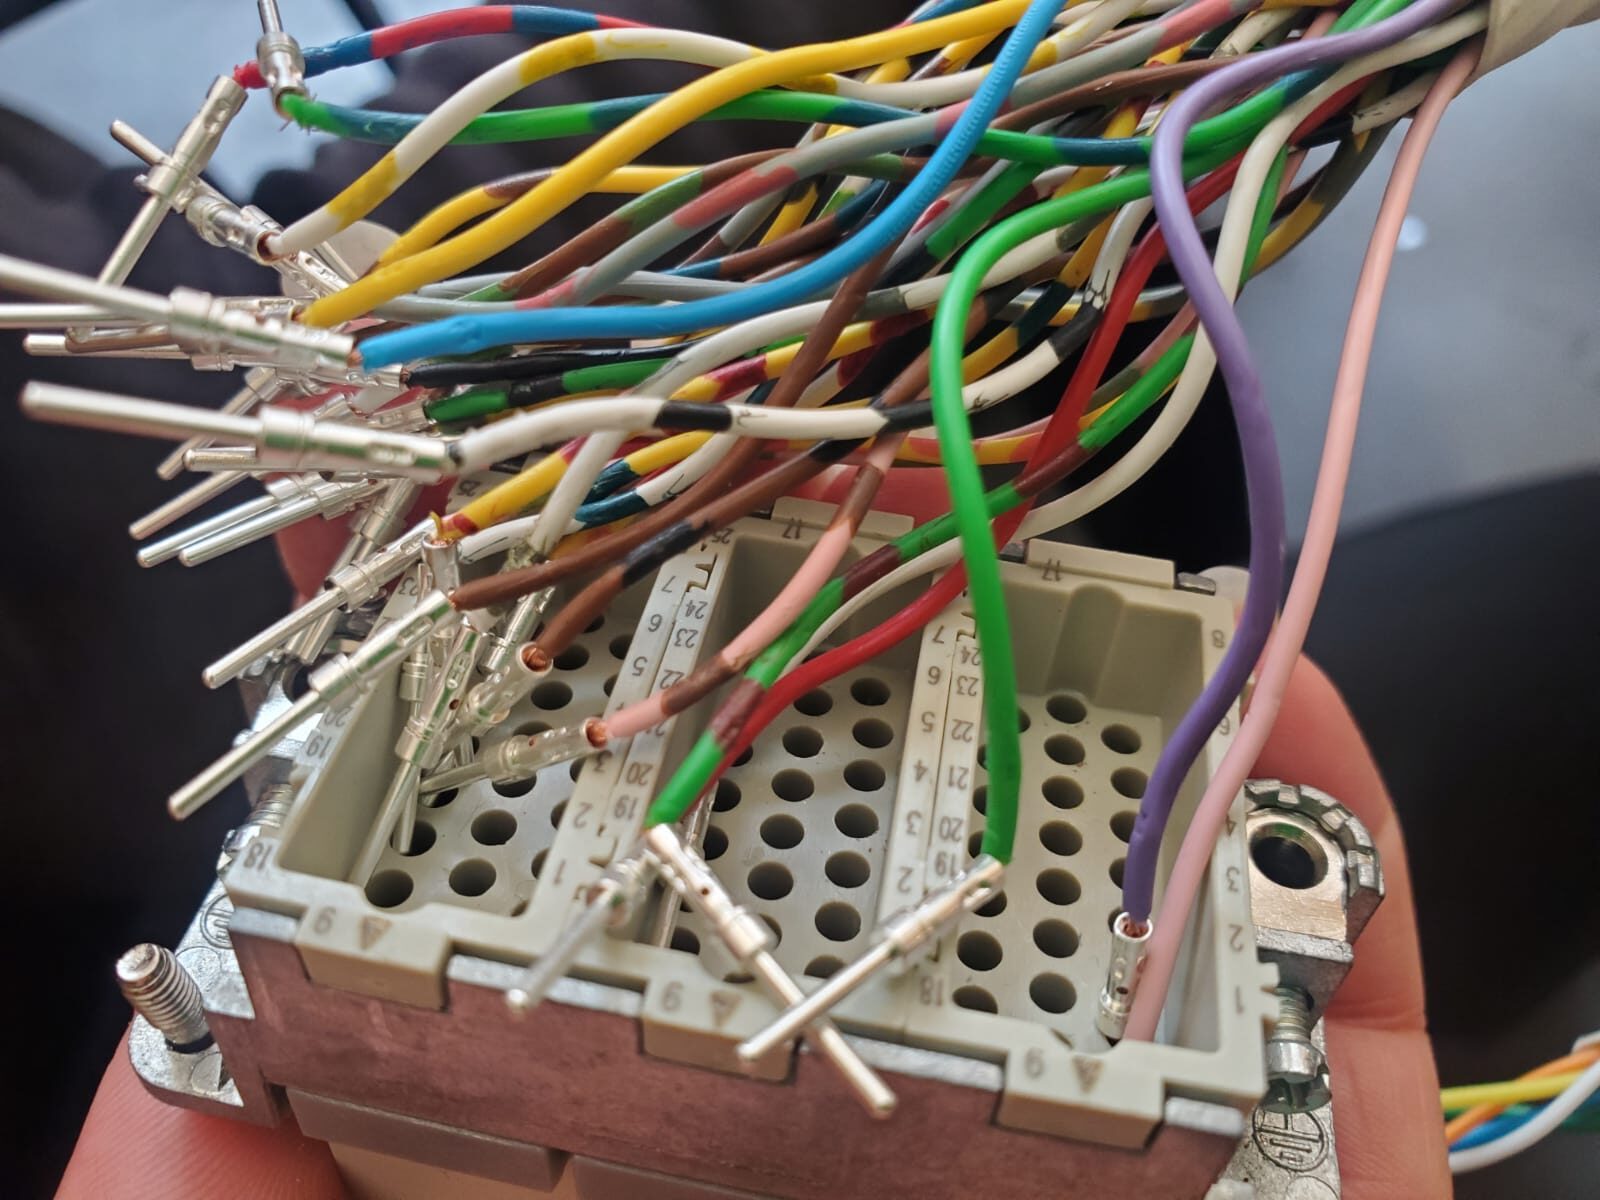
Each of these tiny female sockets has an inspection hole. Stripped cable core, in this case copper, must be seen through the inspection hole before crimping.
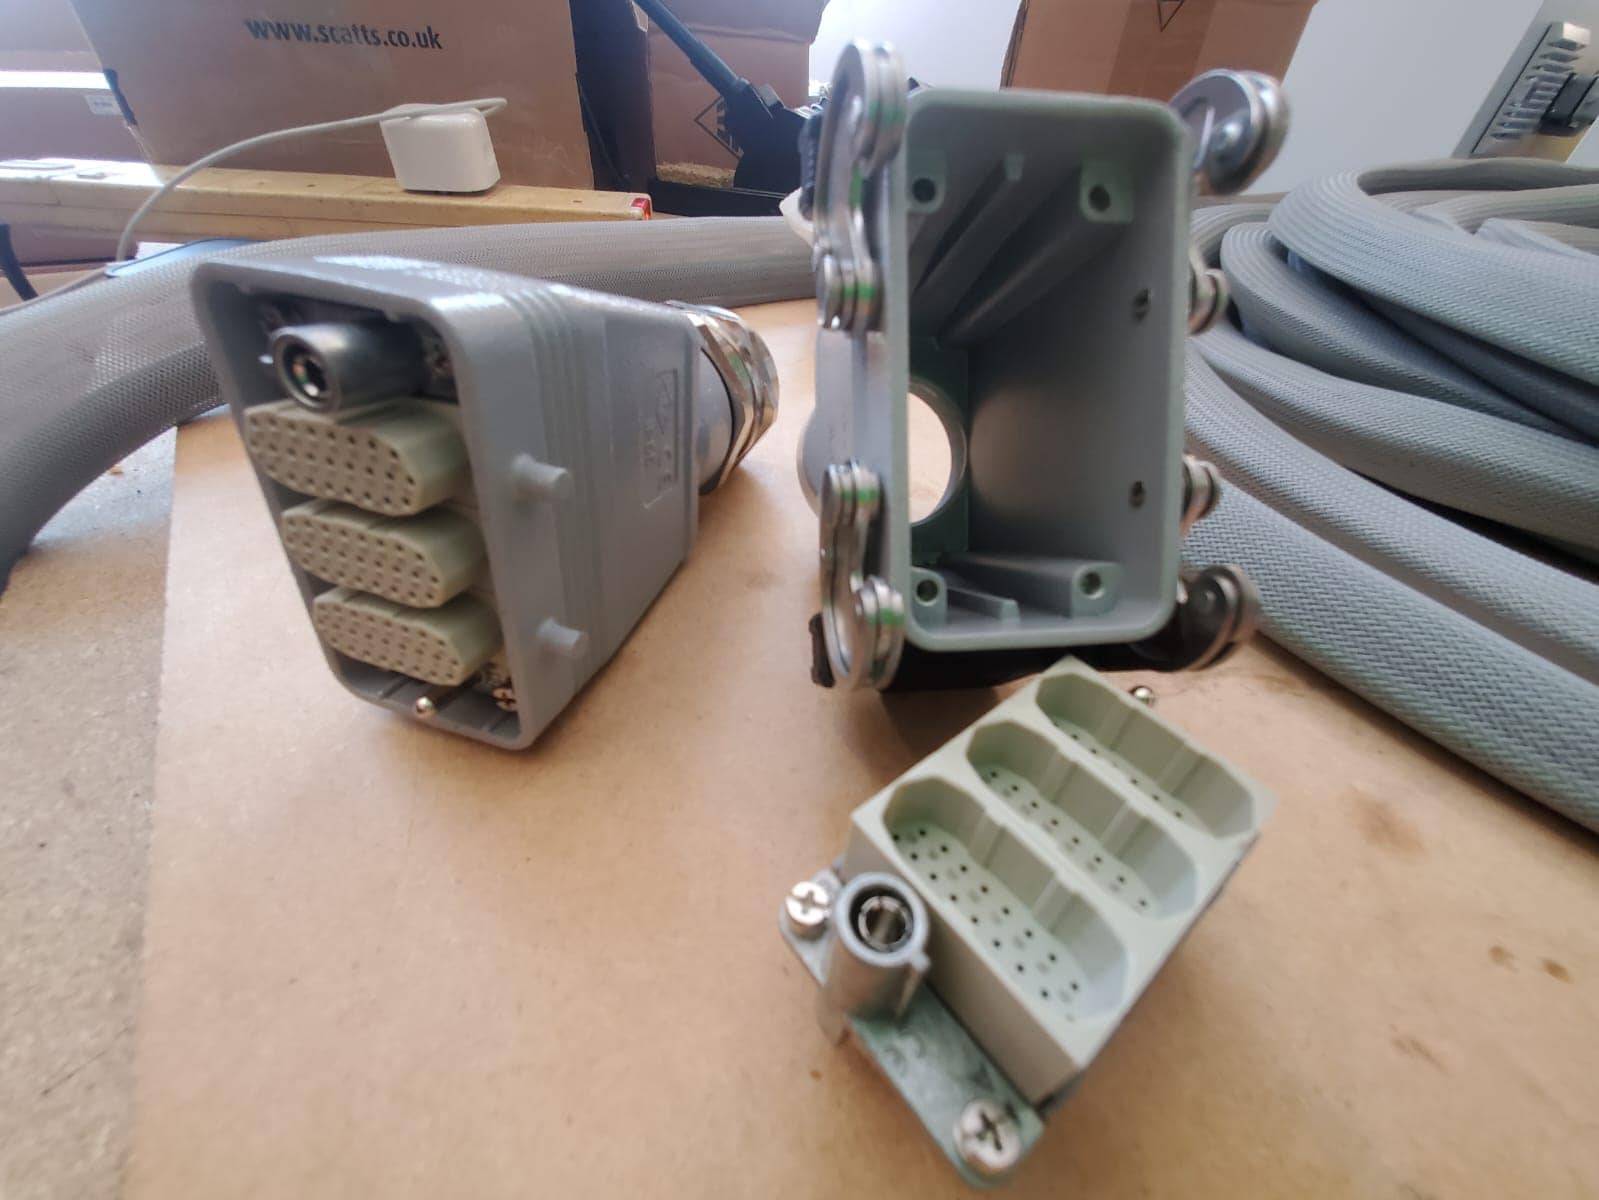
Final Destination
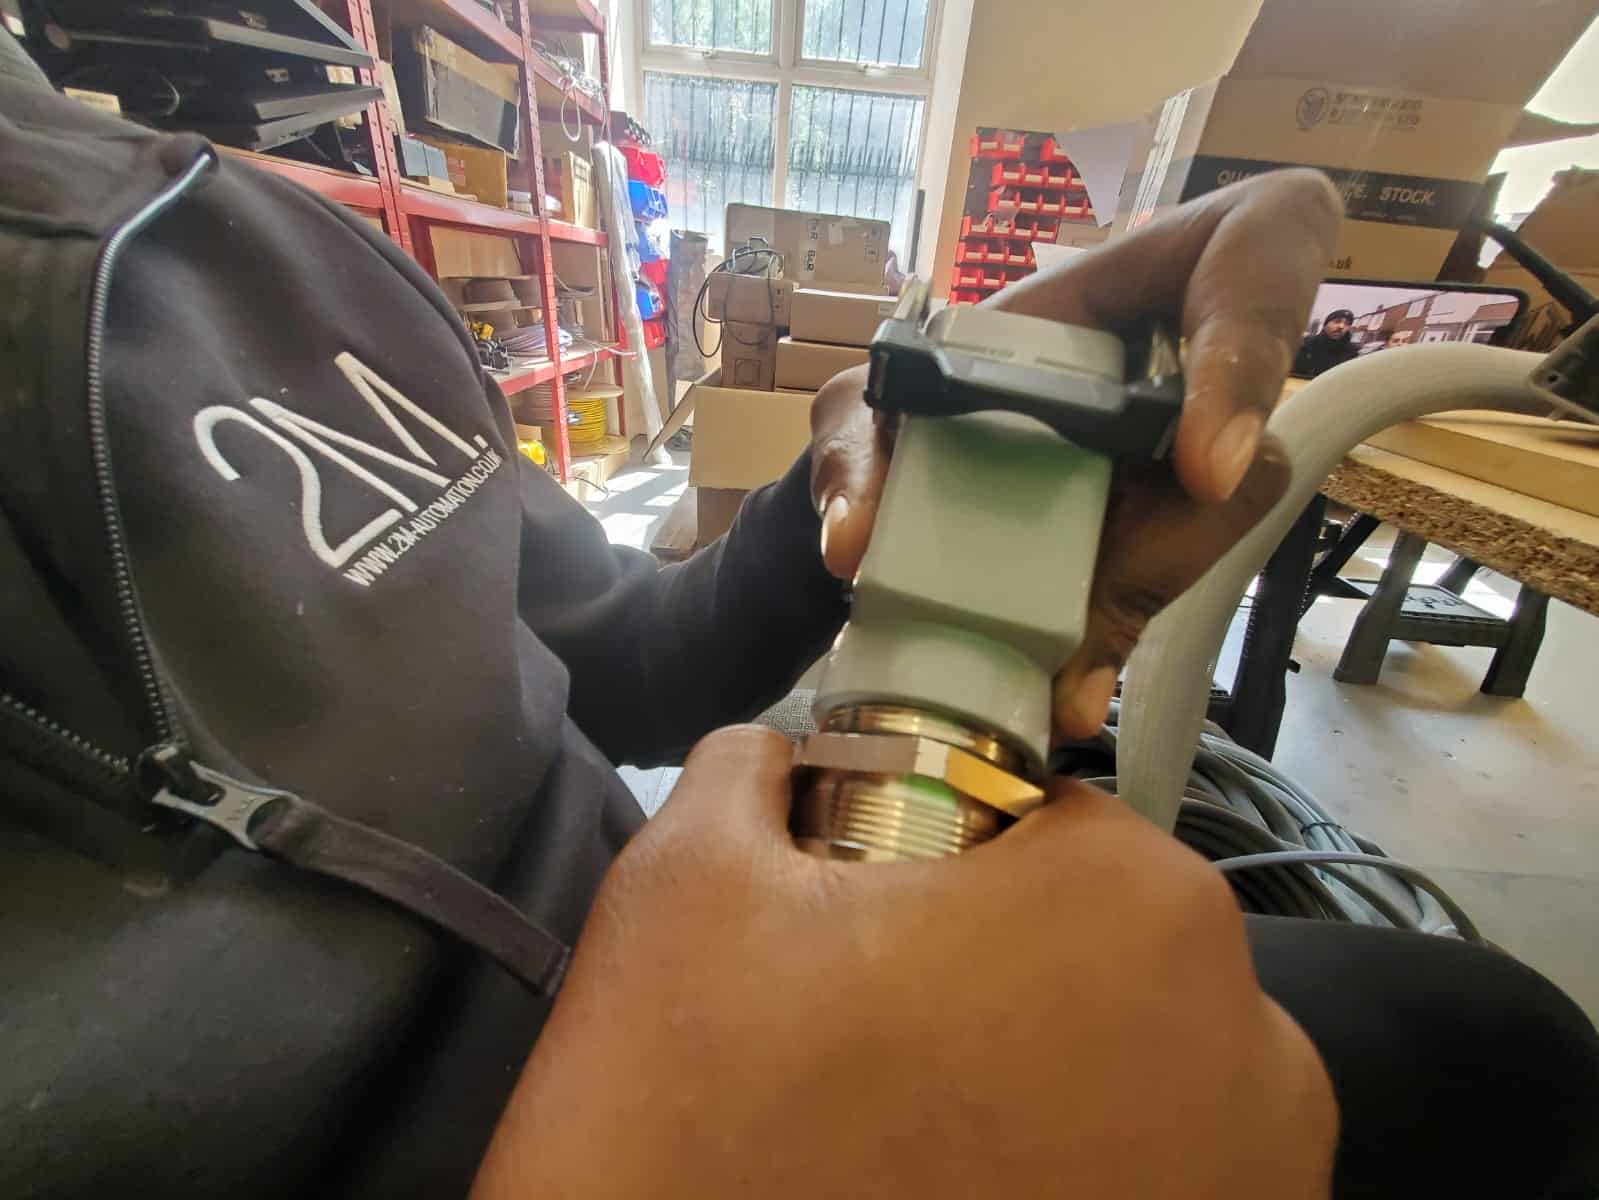
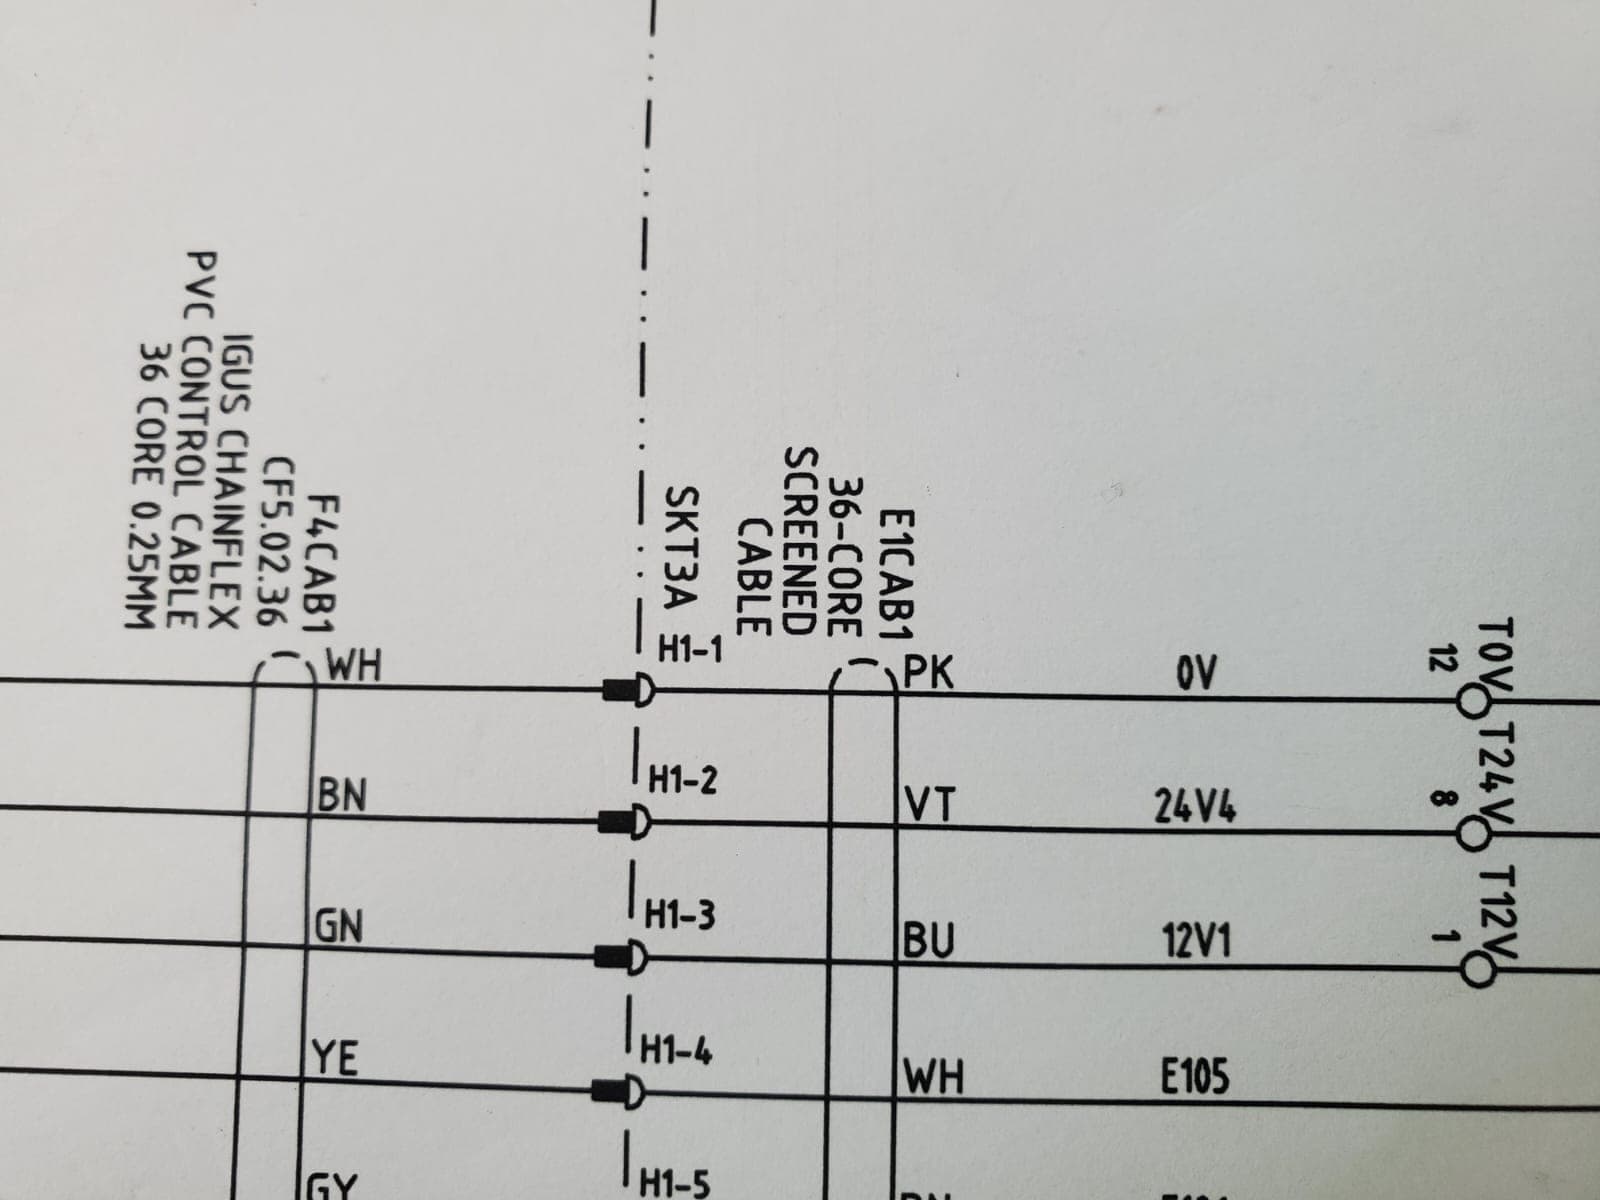
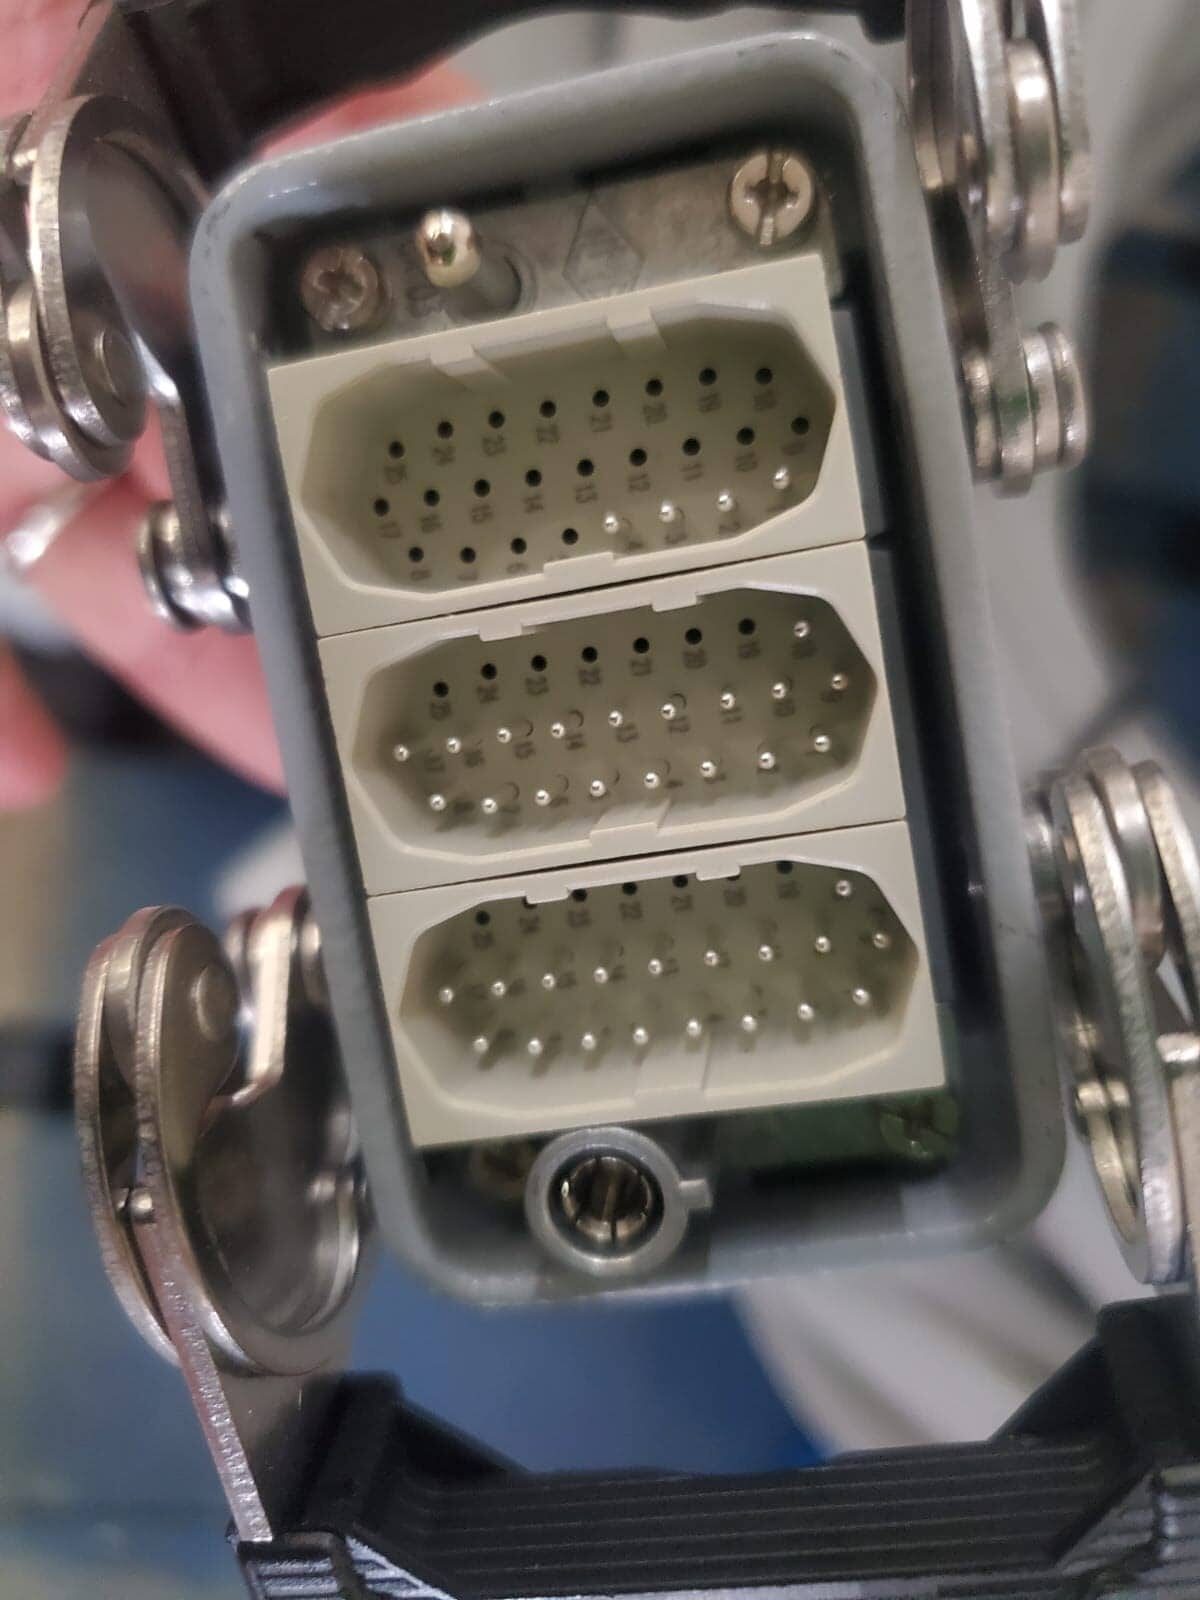
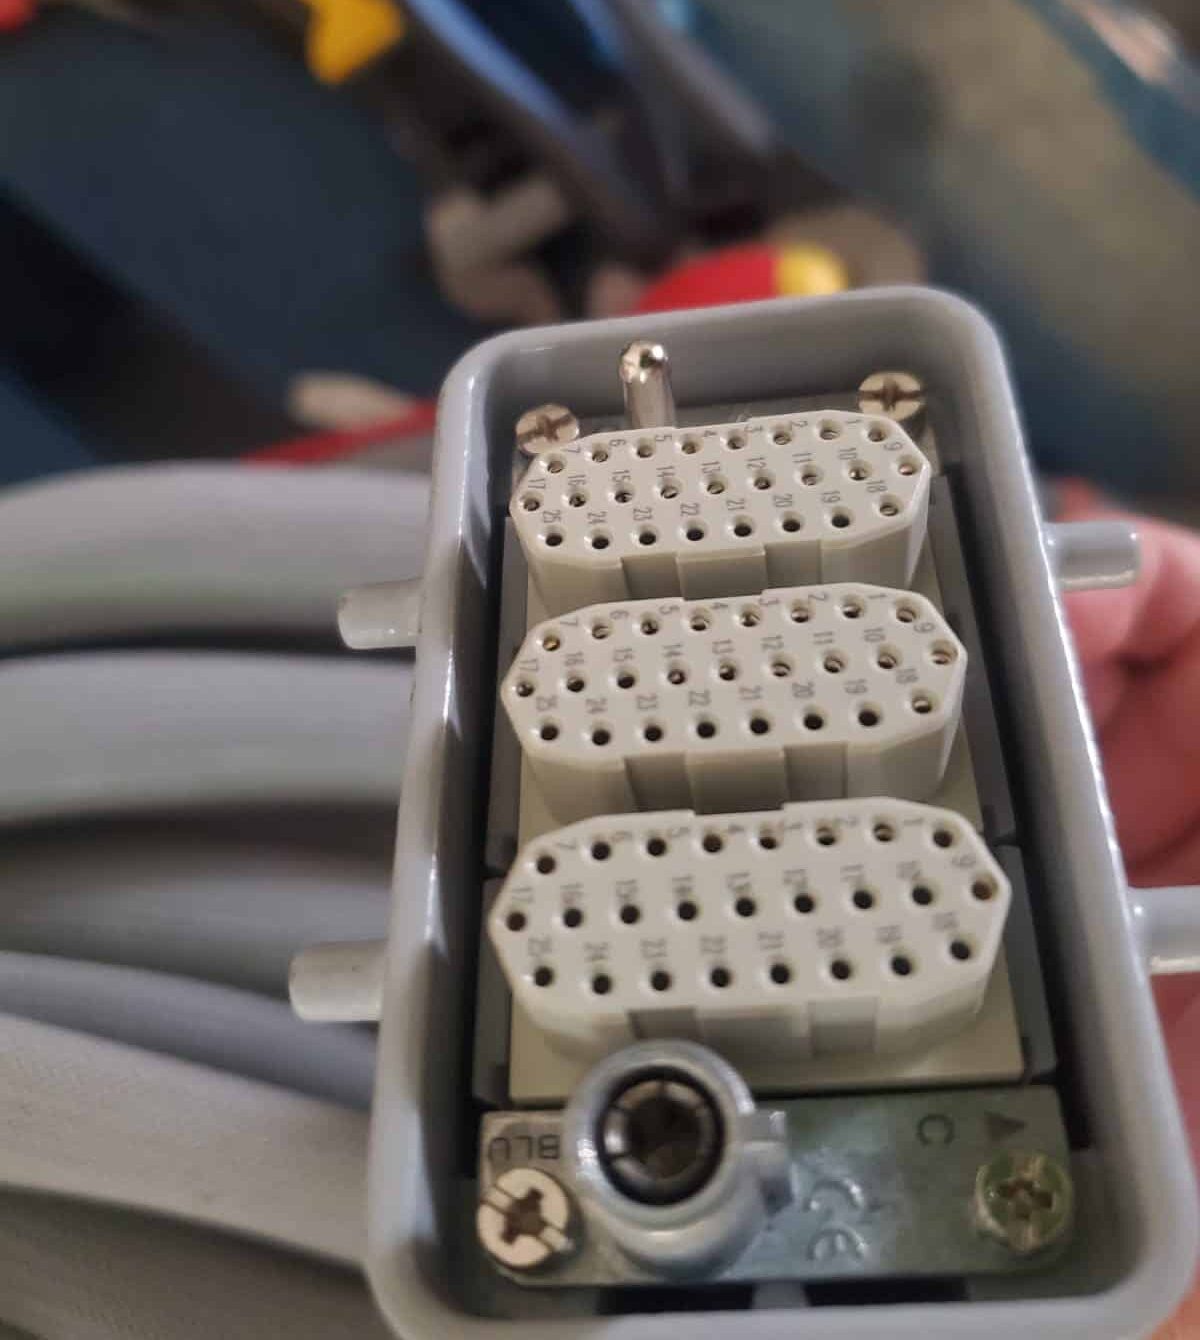
Those sockets will eventually be housed in this 3 x 25-Pin Rectangular Connector.
For insight into how many connector ports there are on this cabinet build, jump onto our Cabinet Assemblies Post.
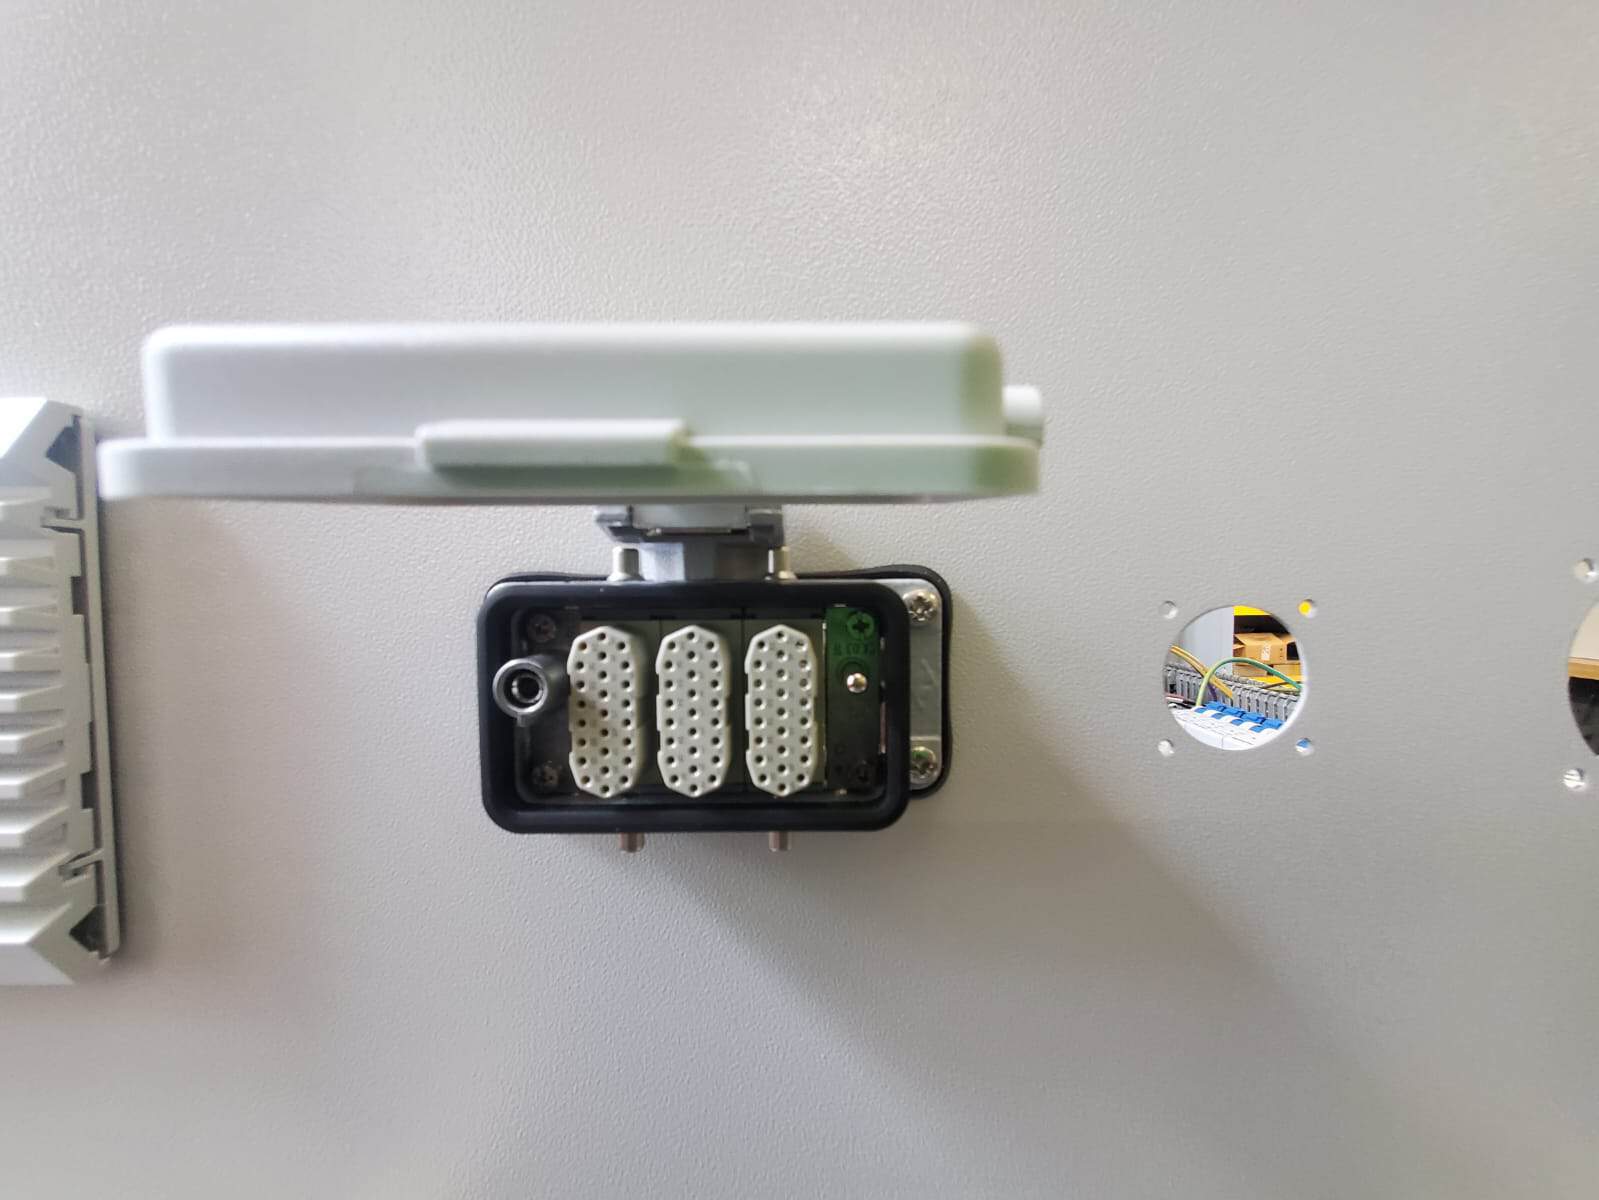
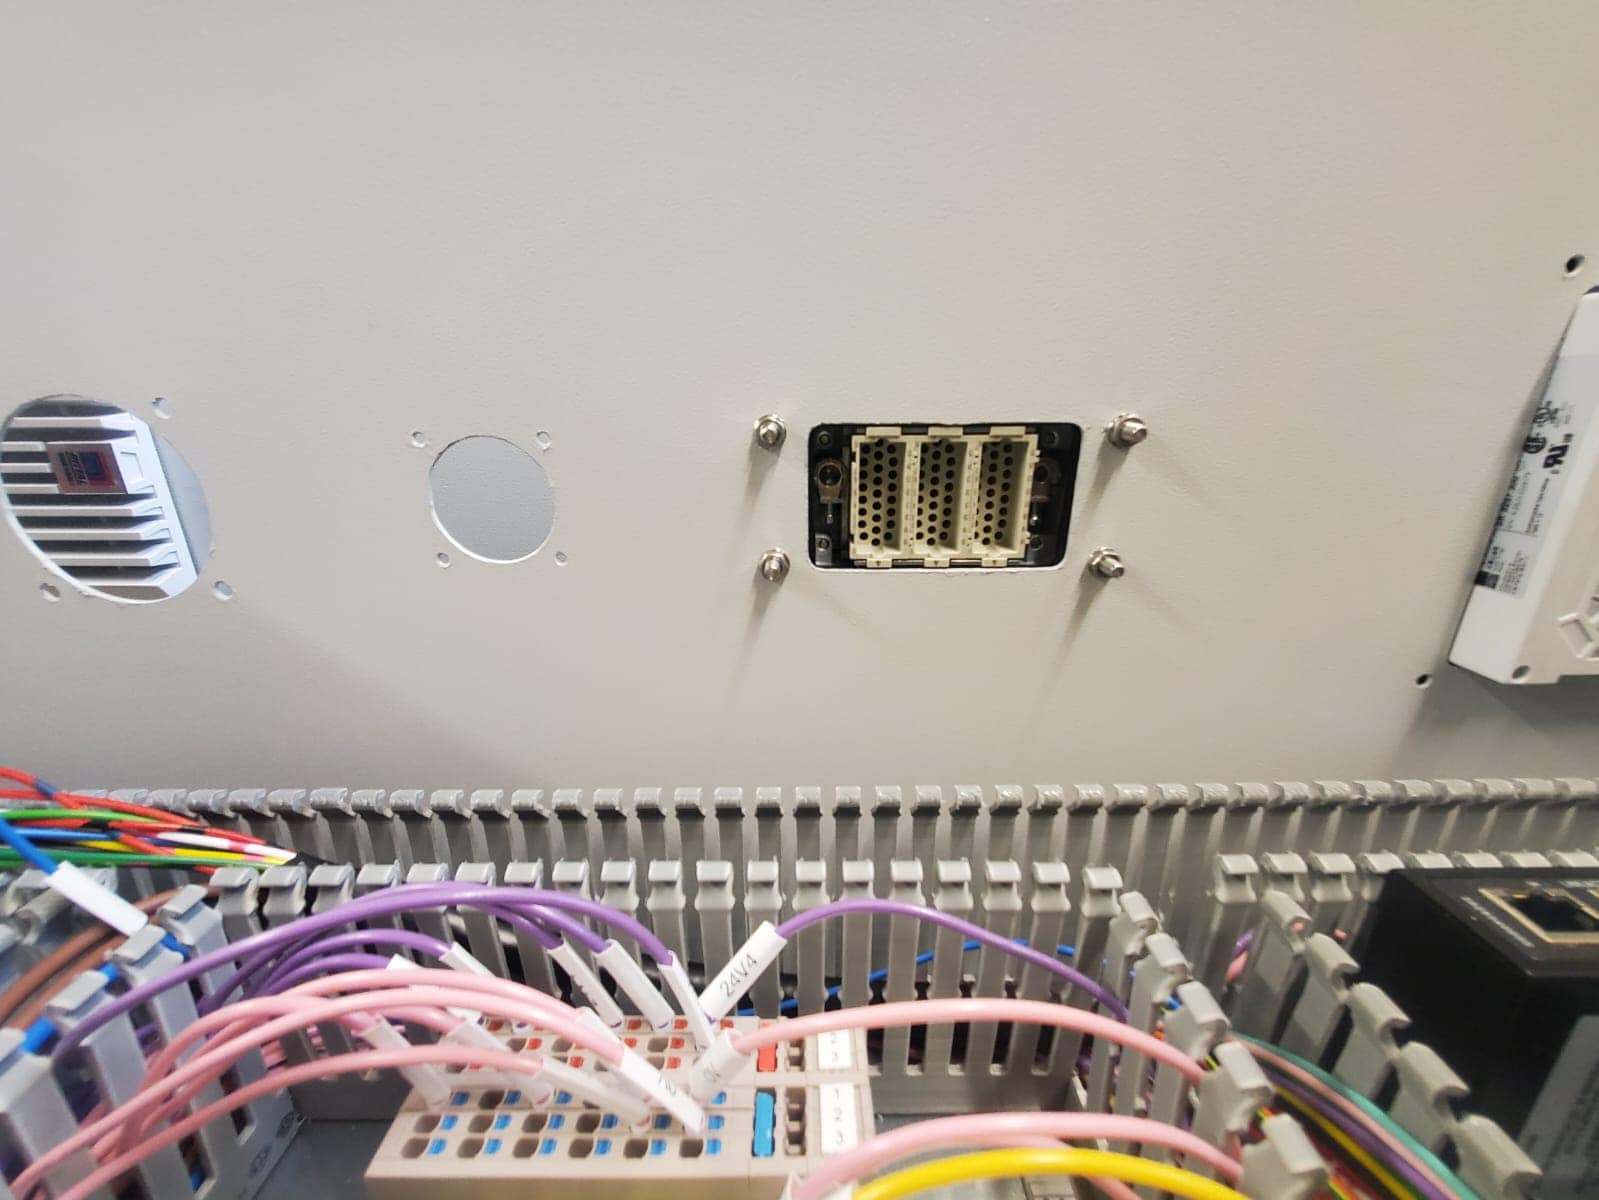
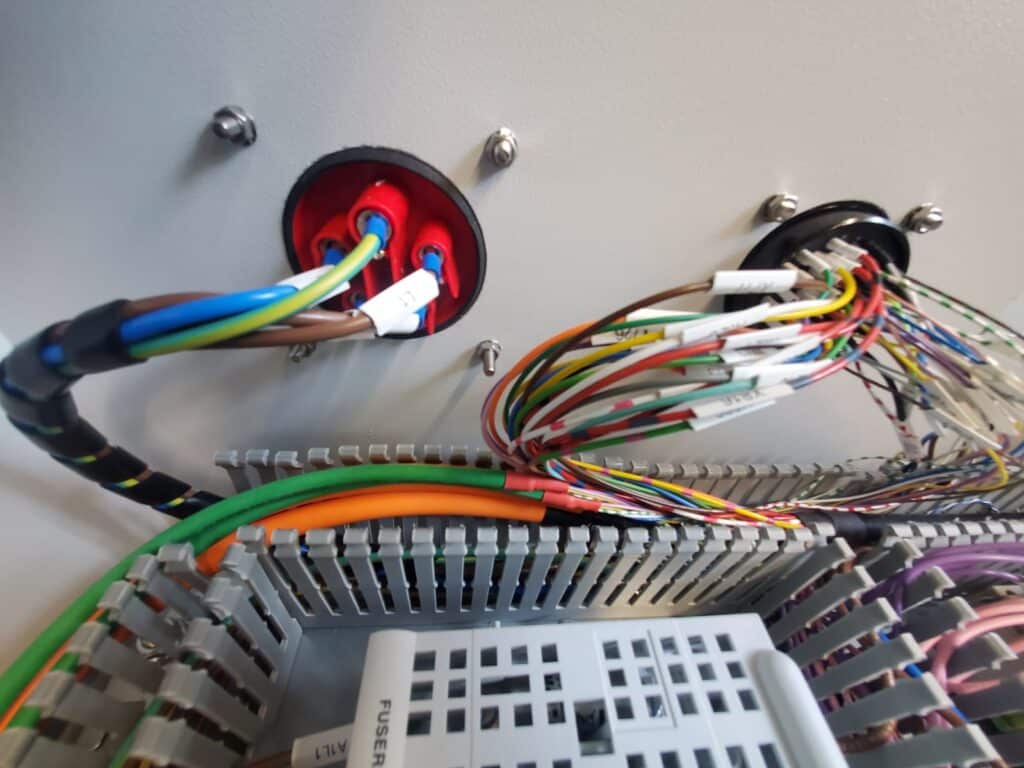
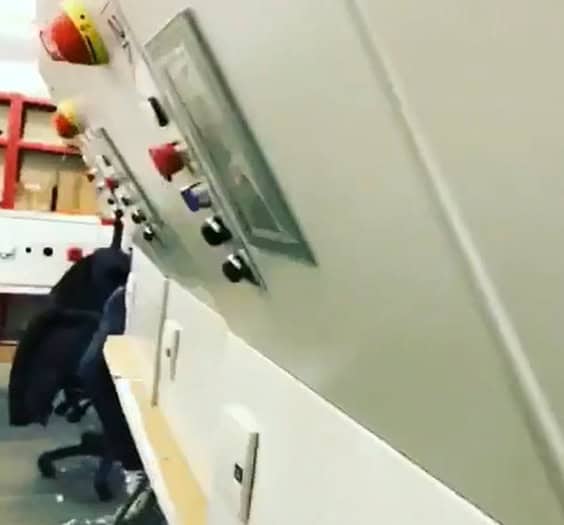
Here we are now several weeks into the build and the connector ports are starting to take shape. Below you can see the 3-Phase 5-Pin and the 54-Pin Connector ports coming together viewed from inside a panel.
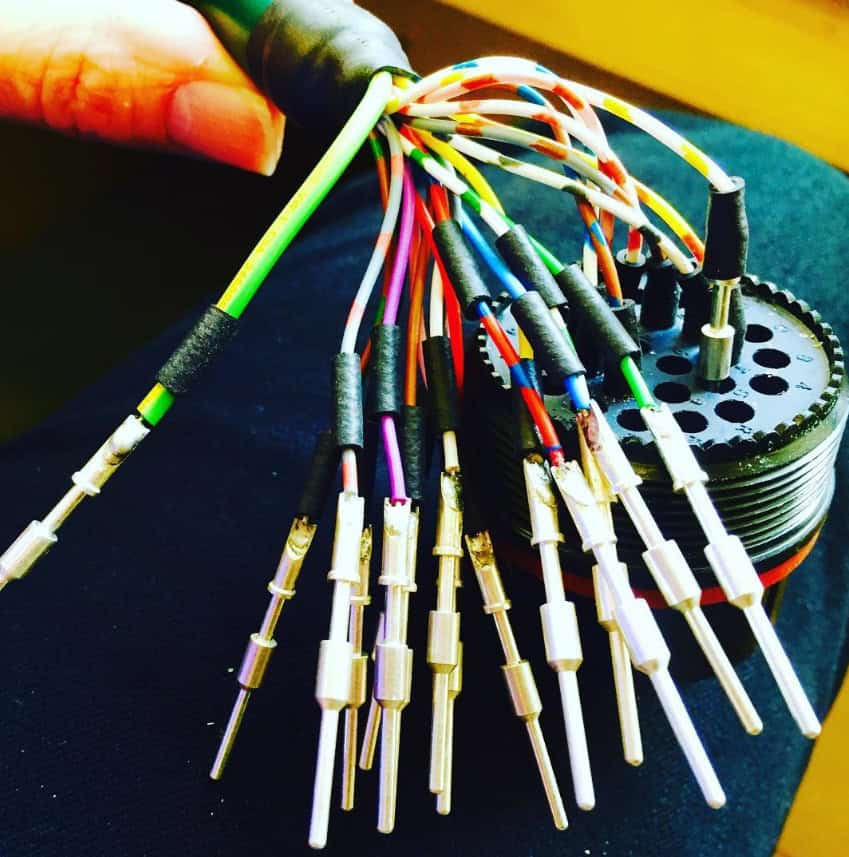
Time for Cable Plugs
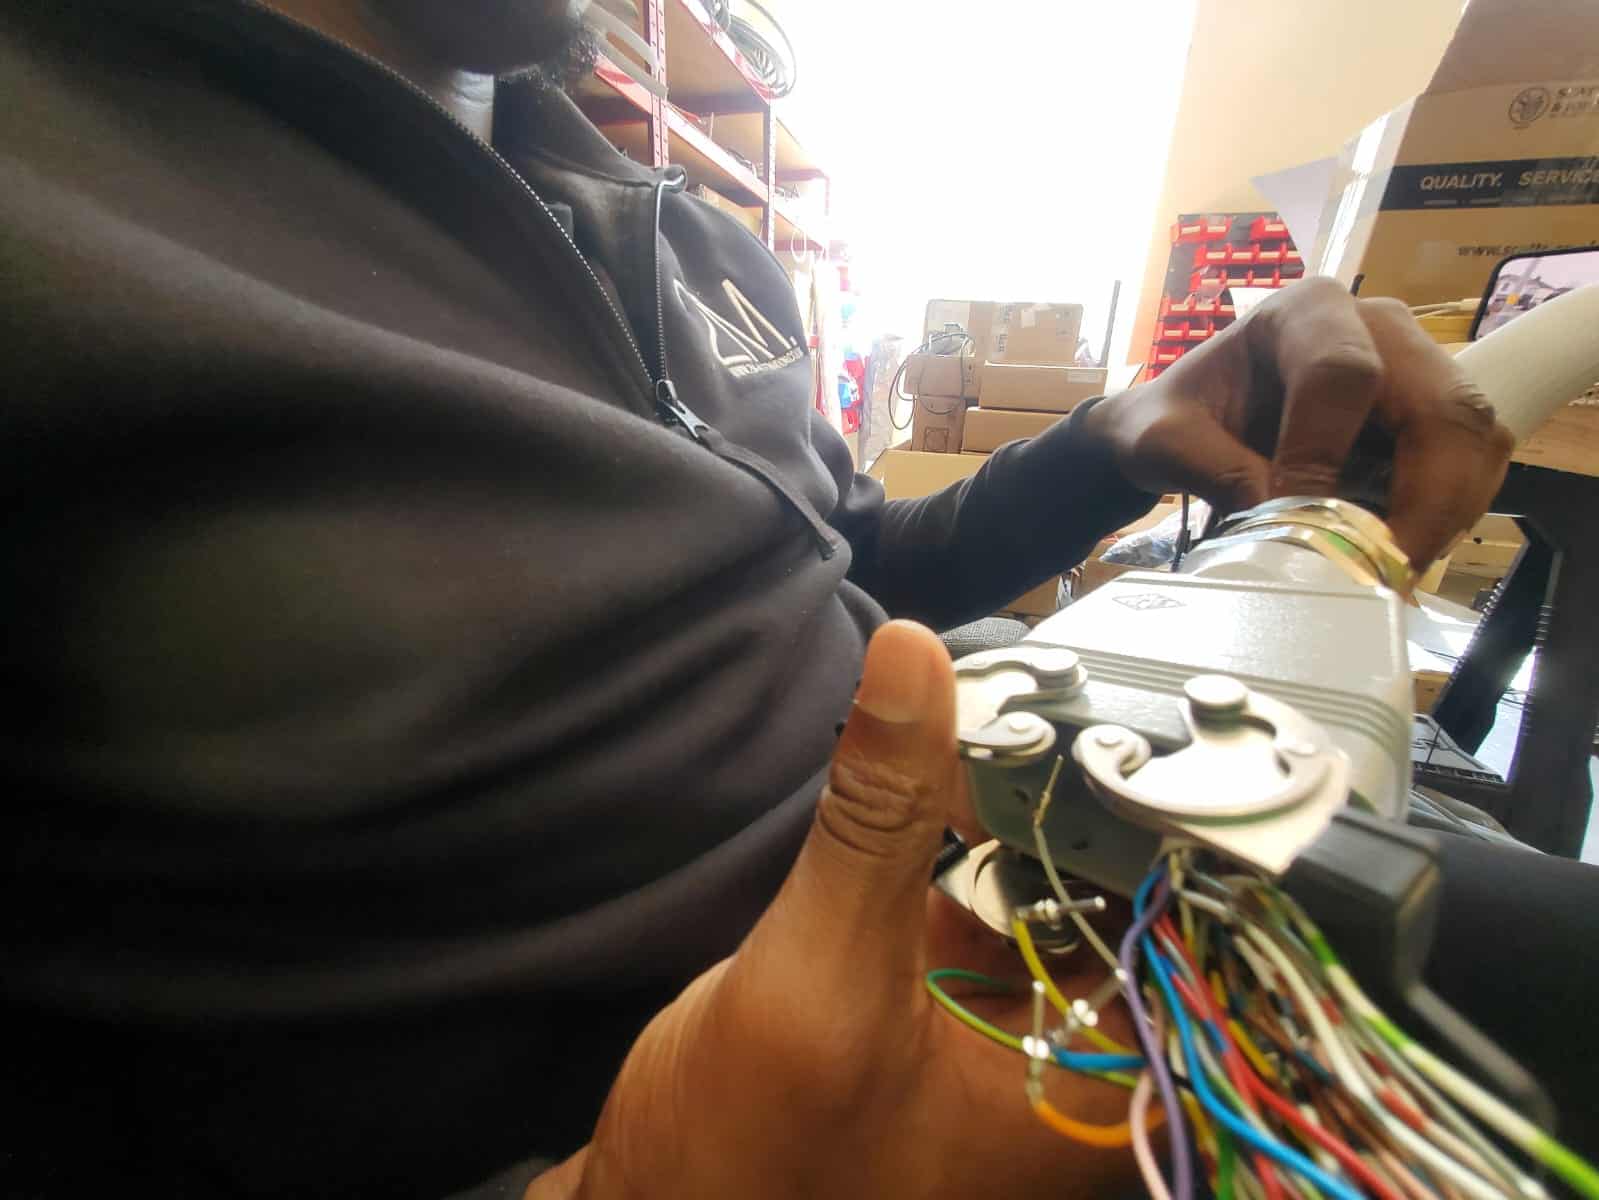
Here one of the cable plugs is being assembled with:
- a male modular unit
- frame
- hood
- gland
Each cable will have a male and female end. The male end will connect to a control cabinet, whilst the female end will connect to a handheld control unit.
Firstly bundles of crimped wire ends are pushed through the skintop cable gland and the hood whilst the male modular unit is screwed into a dedicated frame. Then each crimped wire is embedded into the correct plug point following the electrical diagram. Male crimped wire ends go into the male plugs and female crimped ends go into the female plugs, with a connectivity insertion and extraction tool being used to insert each port.

Below you can see a female plug and a female next to a male for comparison.
Related Work
albums
albums
albums
albums
albums
albums