Before & After II – Cable Construction

Cable Making
AJ’s making up some bespoke cables for this project using a 36 Core Cable and an Ethernet Cable per cable.
The 36 Core cables were ordered and delivered in the required lengths, which meant that the ethernet cables needed to be cut accordingly to match.
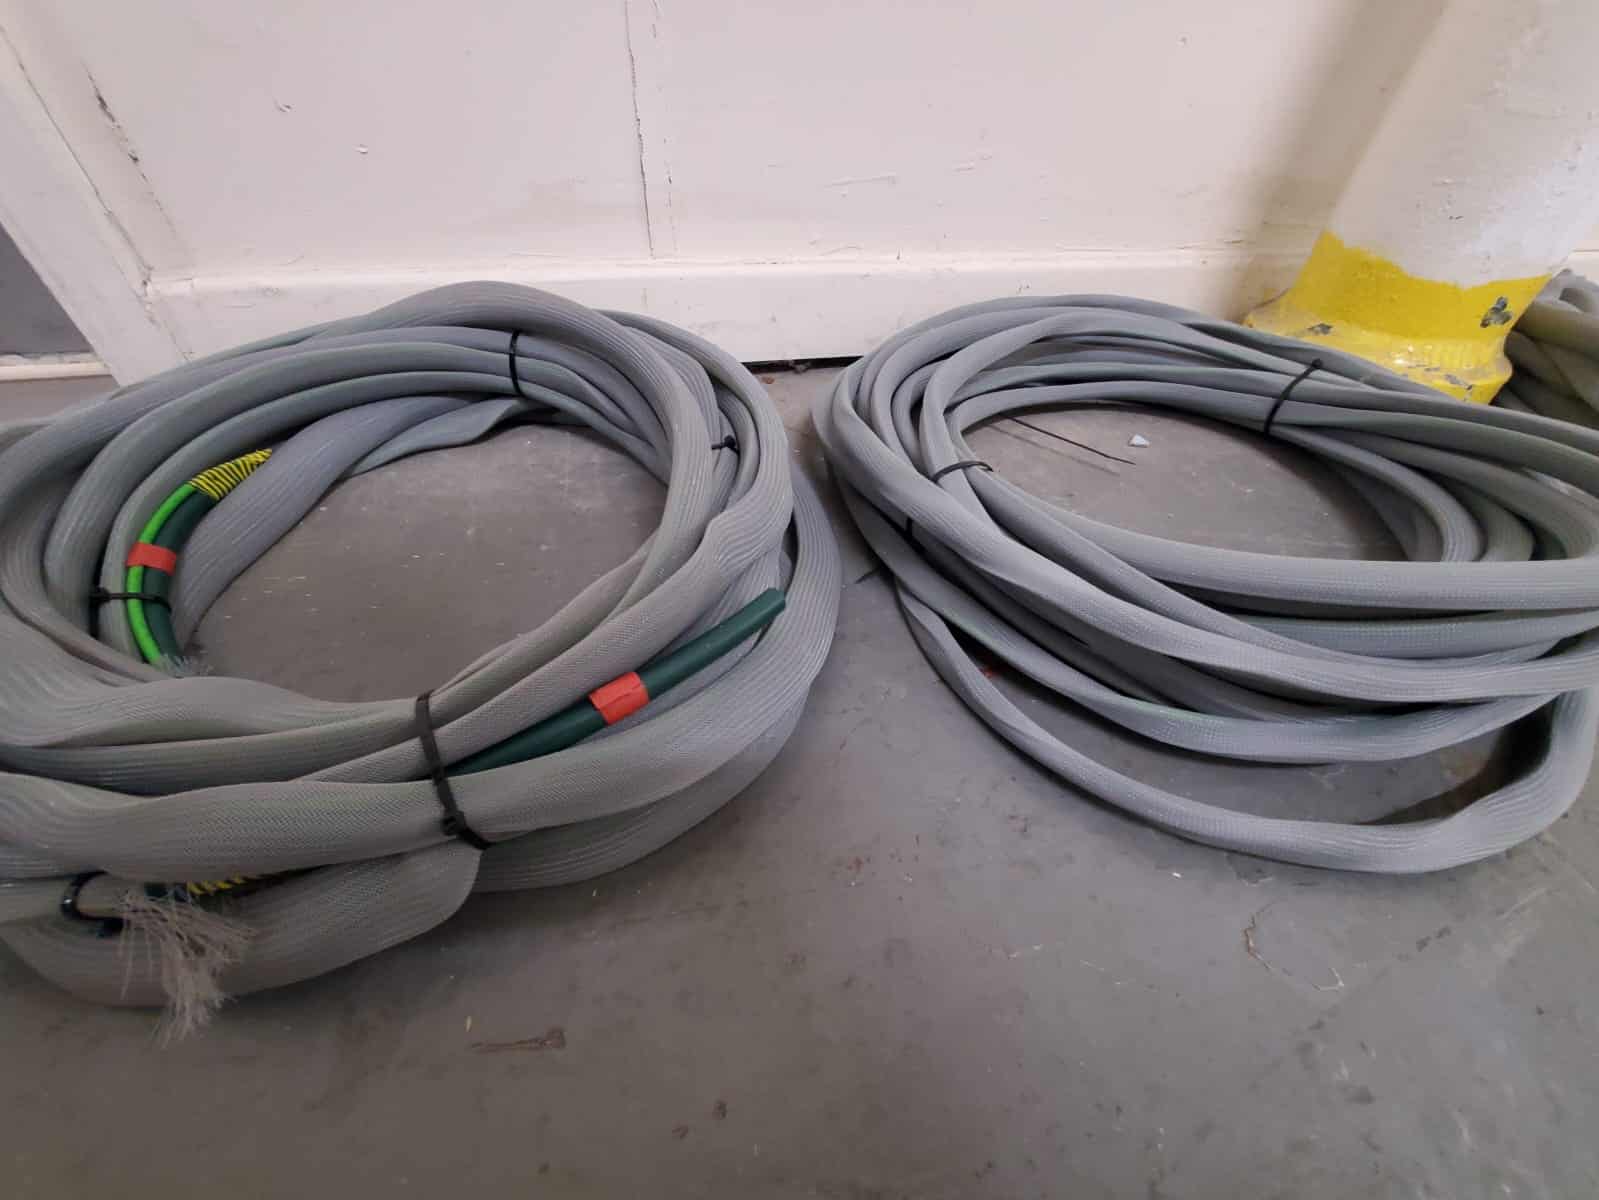
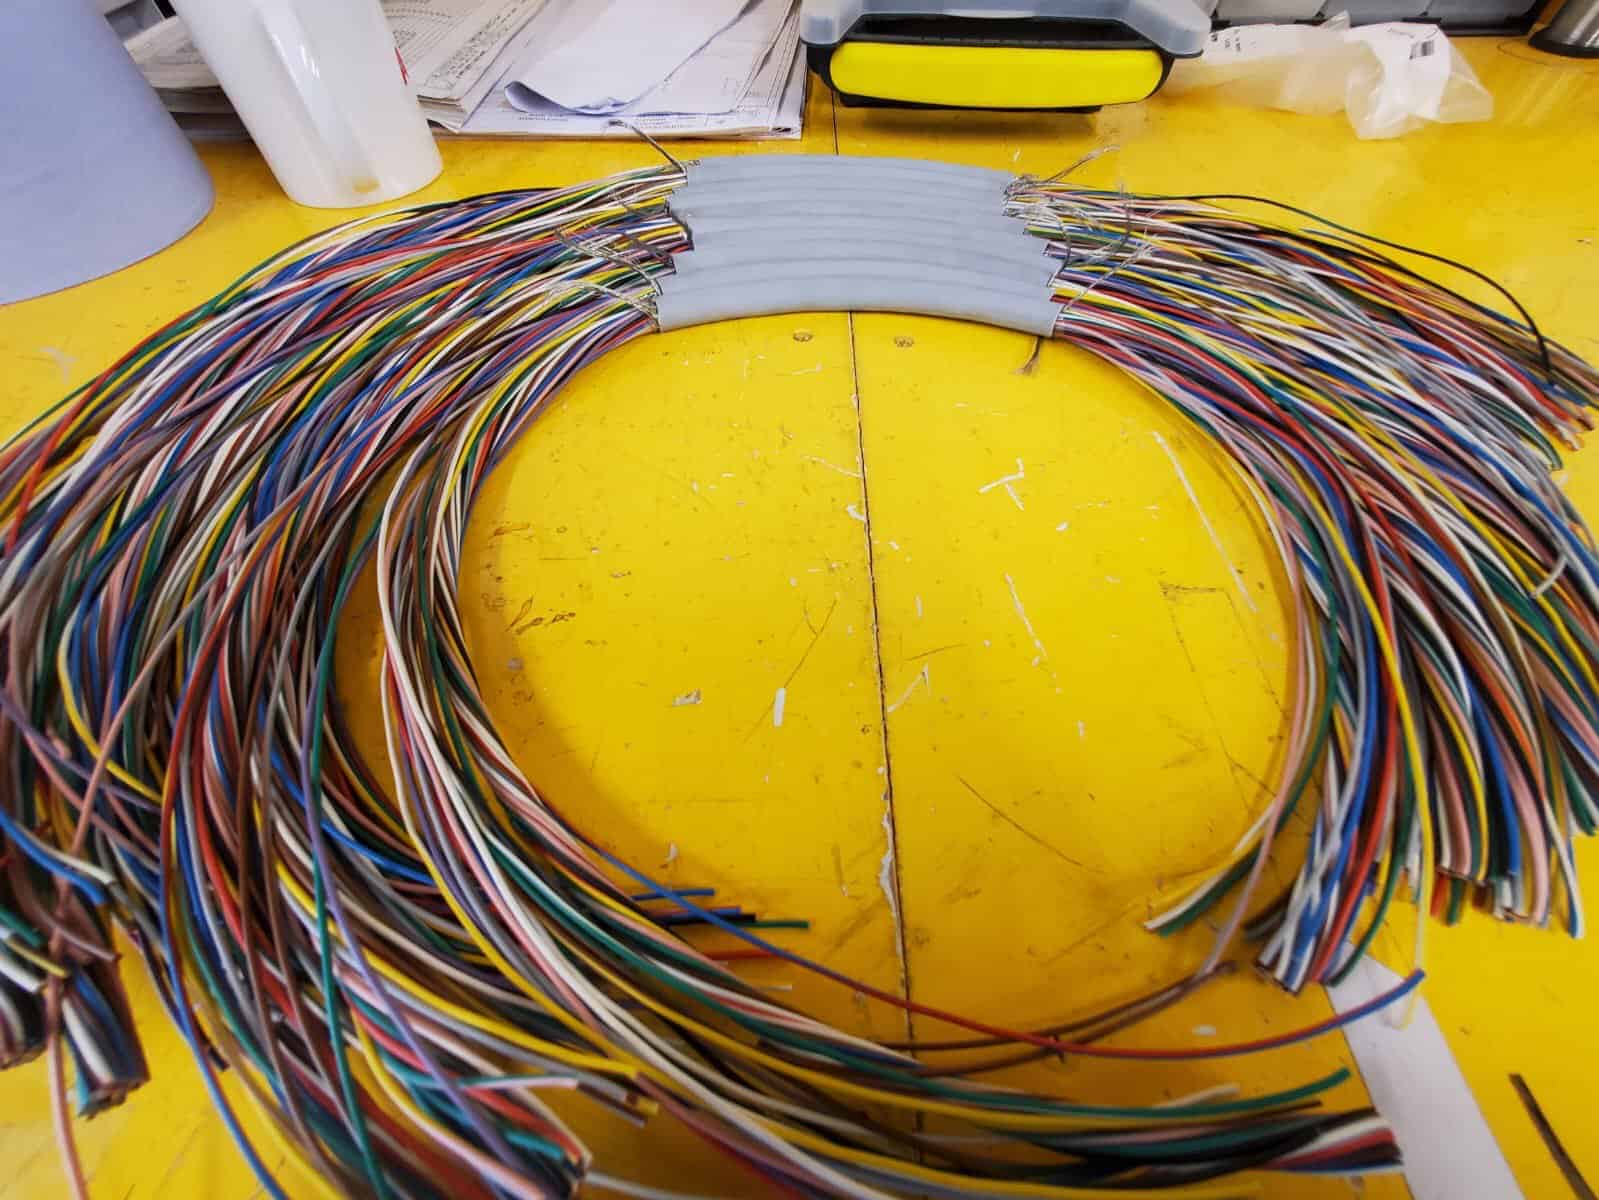
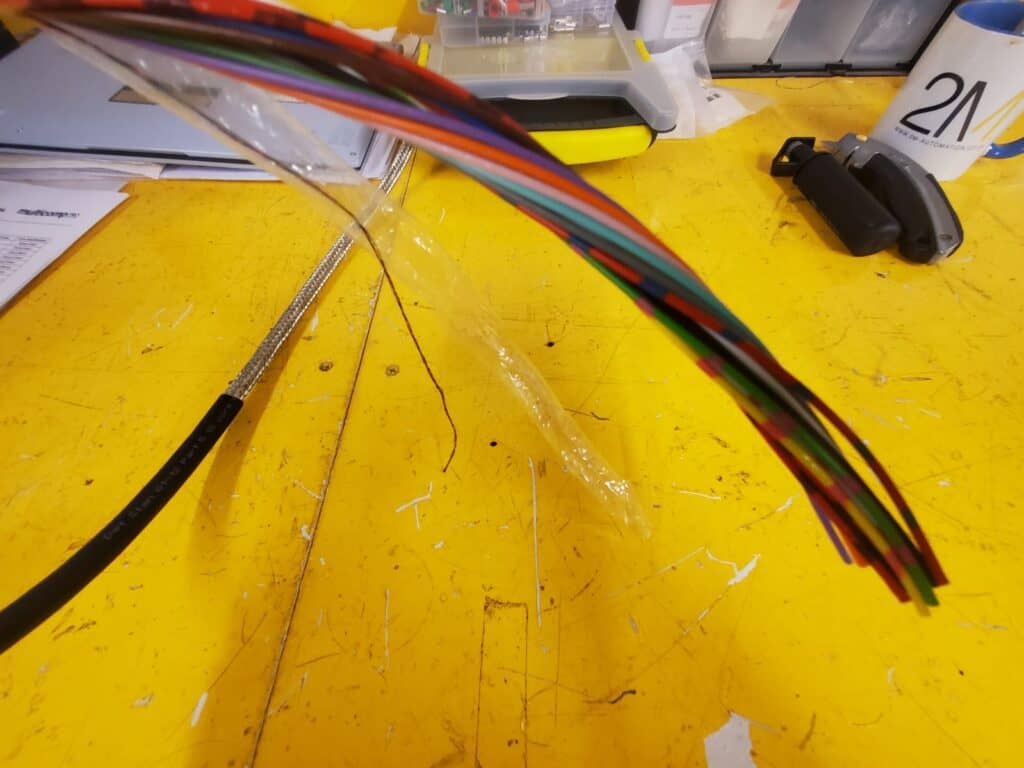
20 pairs are required for this project where each of the 10 Control Cabinets will have two bespoke connecting cables. After laying out each of the 36 core cables and measuring out and cutting each accompanying ethernet cable to size, AJ used duct tape to bind the cable ends together before he threaded each pair through the grey Heat Shrink that you can see.
The heat shrink was also measured to size, which means that cable cutting, merging, and threading consists of many relays up and down the corridor like an athlete.
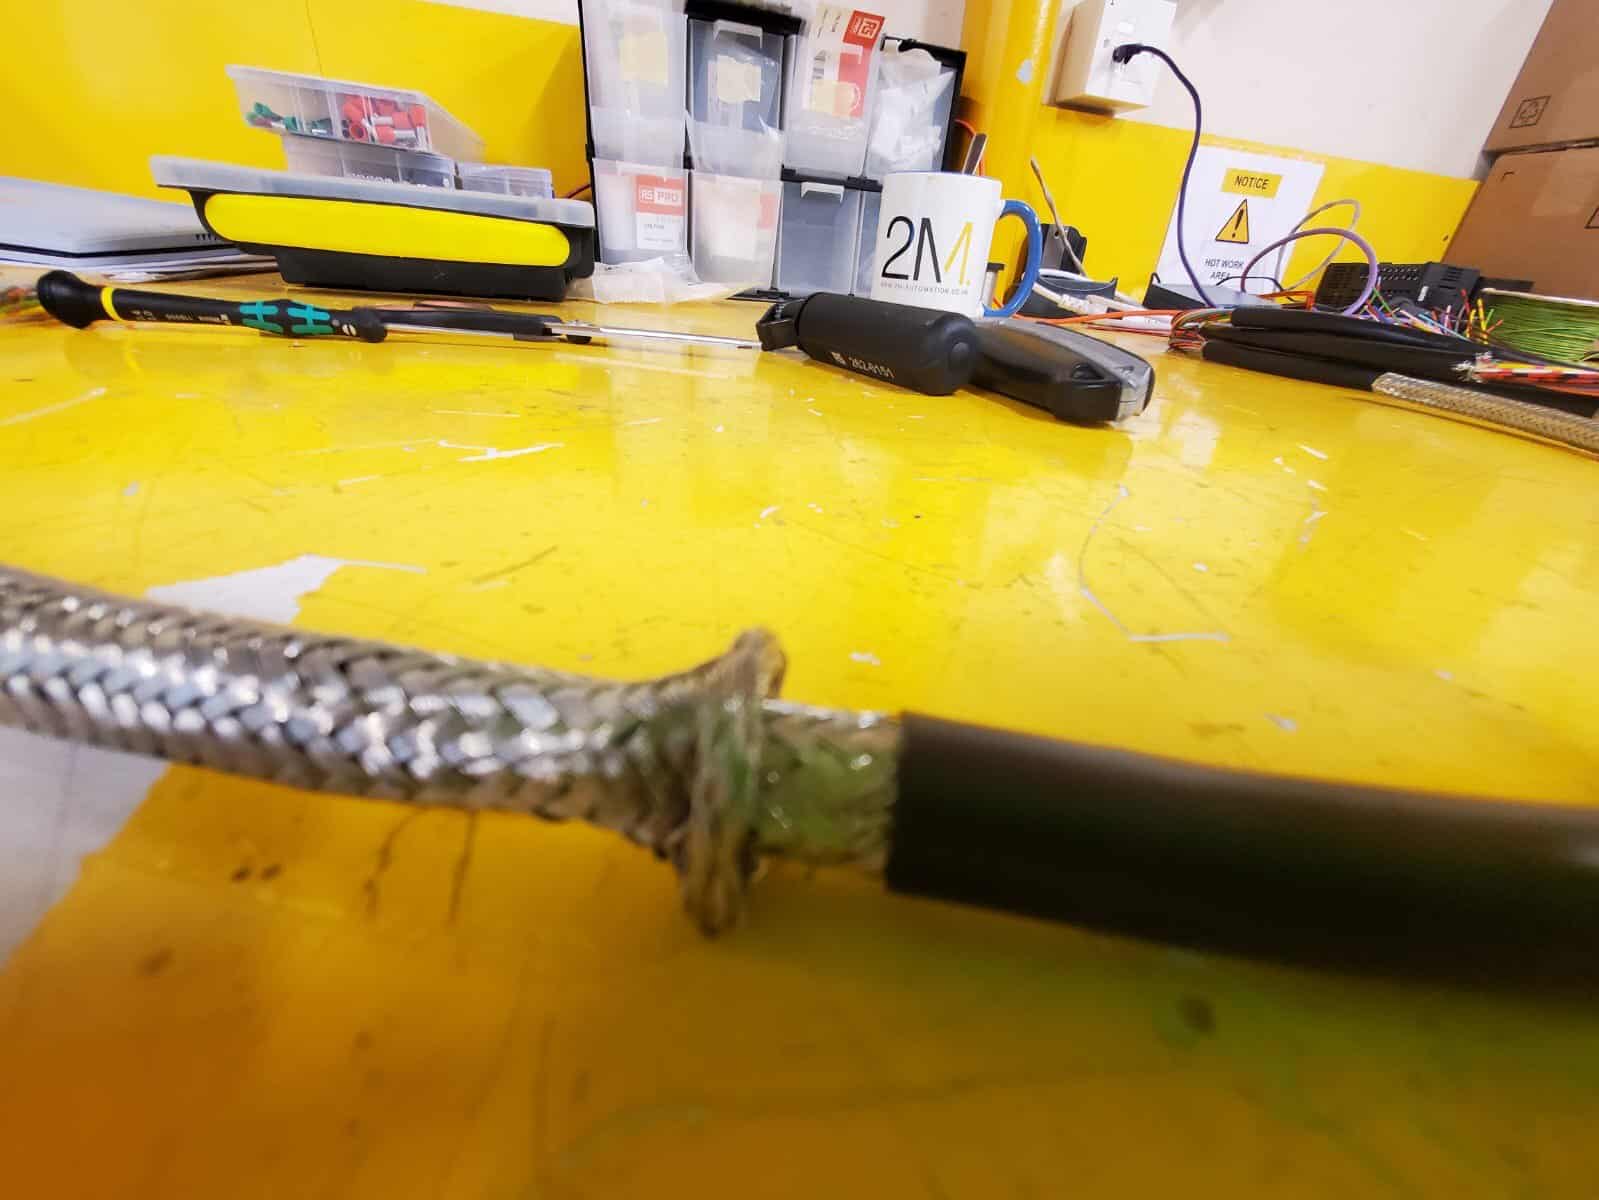
The second photo shows how the size differs before and after sheathing with heat shrink.
Cable Cores
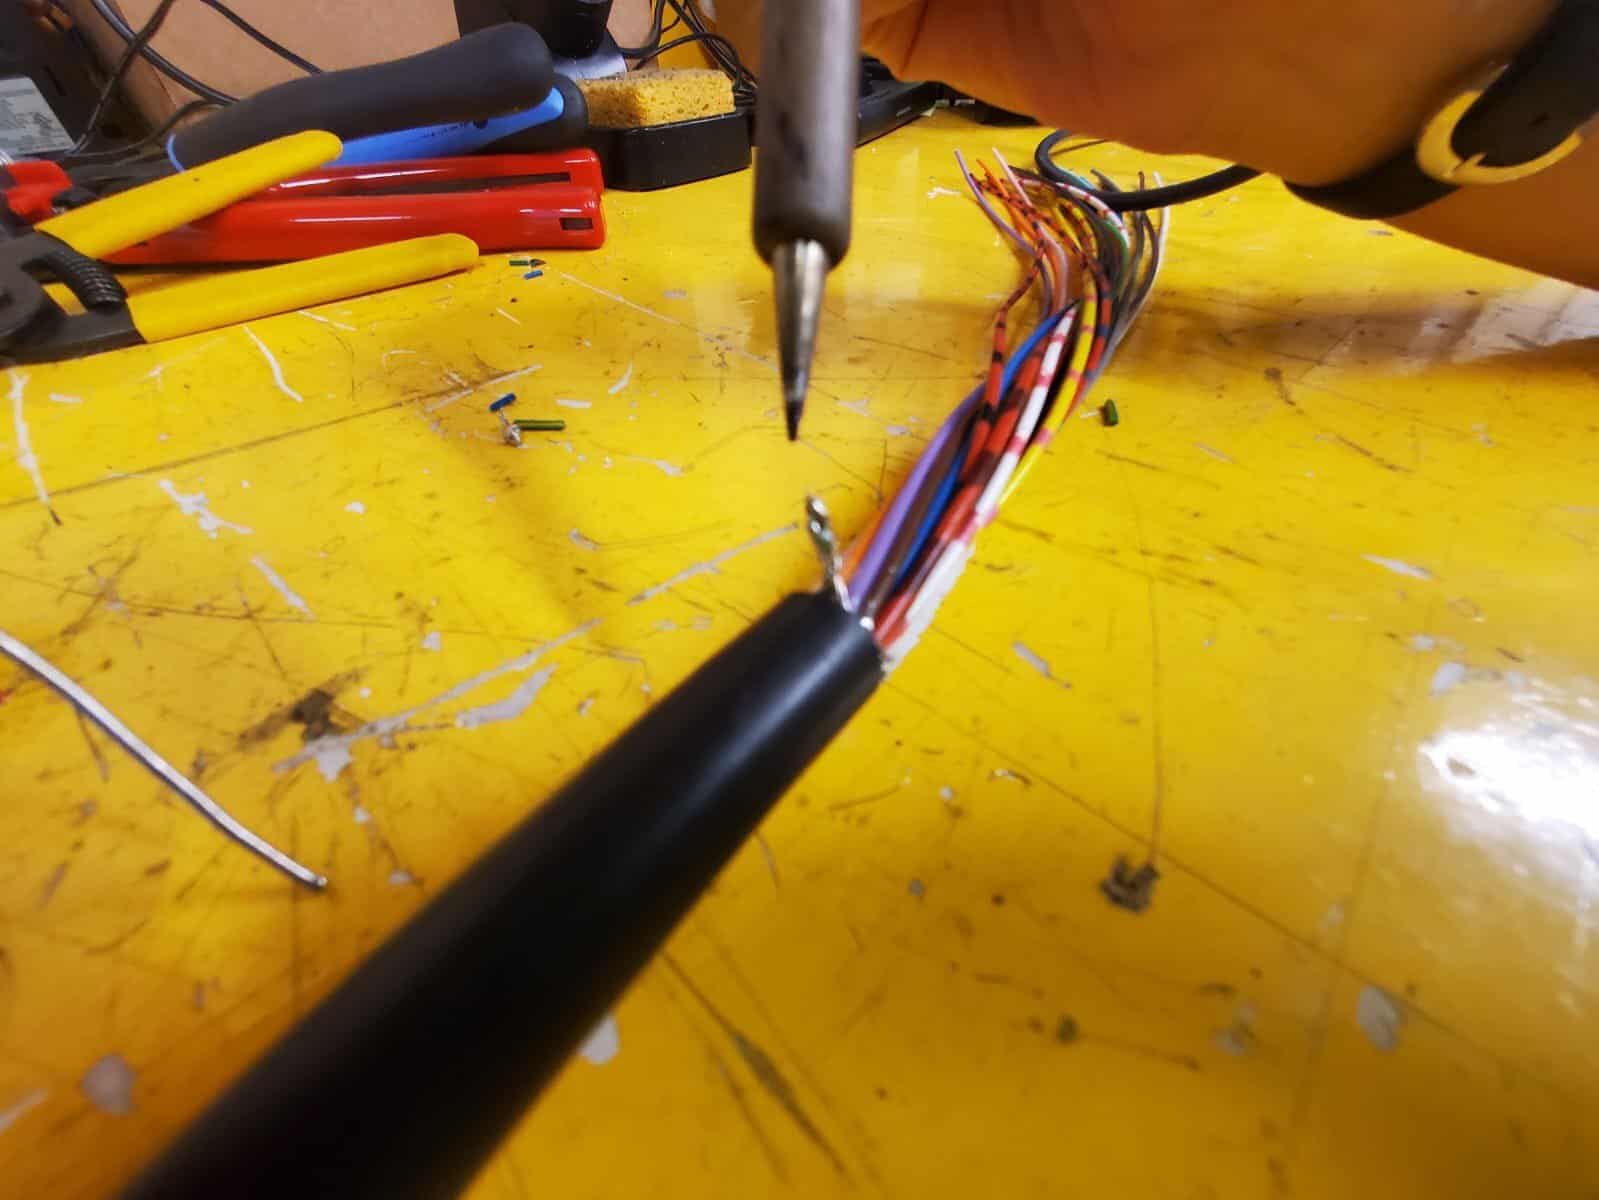
In due course, these cables will have their ends stripped ready for Crimping and connecting to the required fittings & components in the control cabinets.
About that Marathon
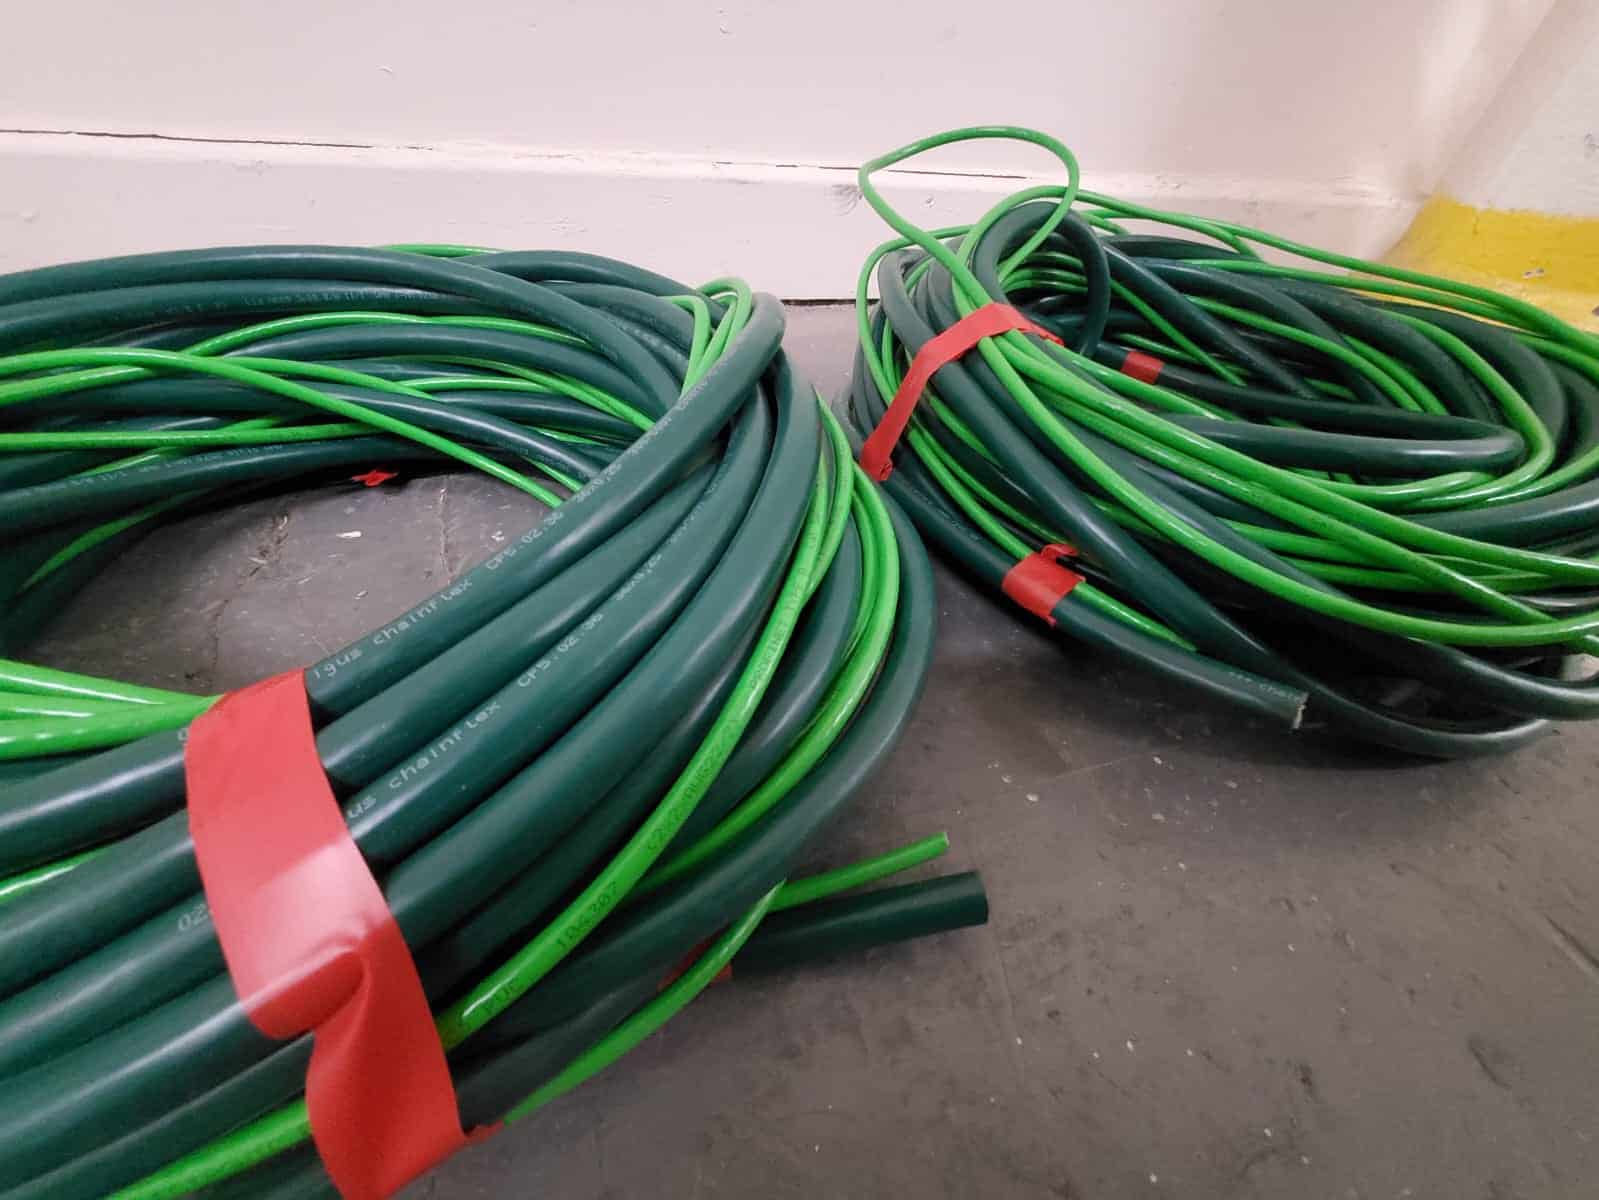
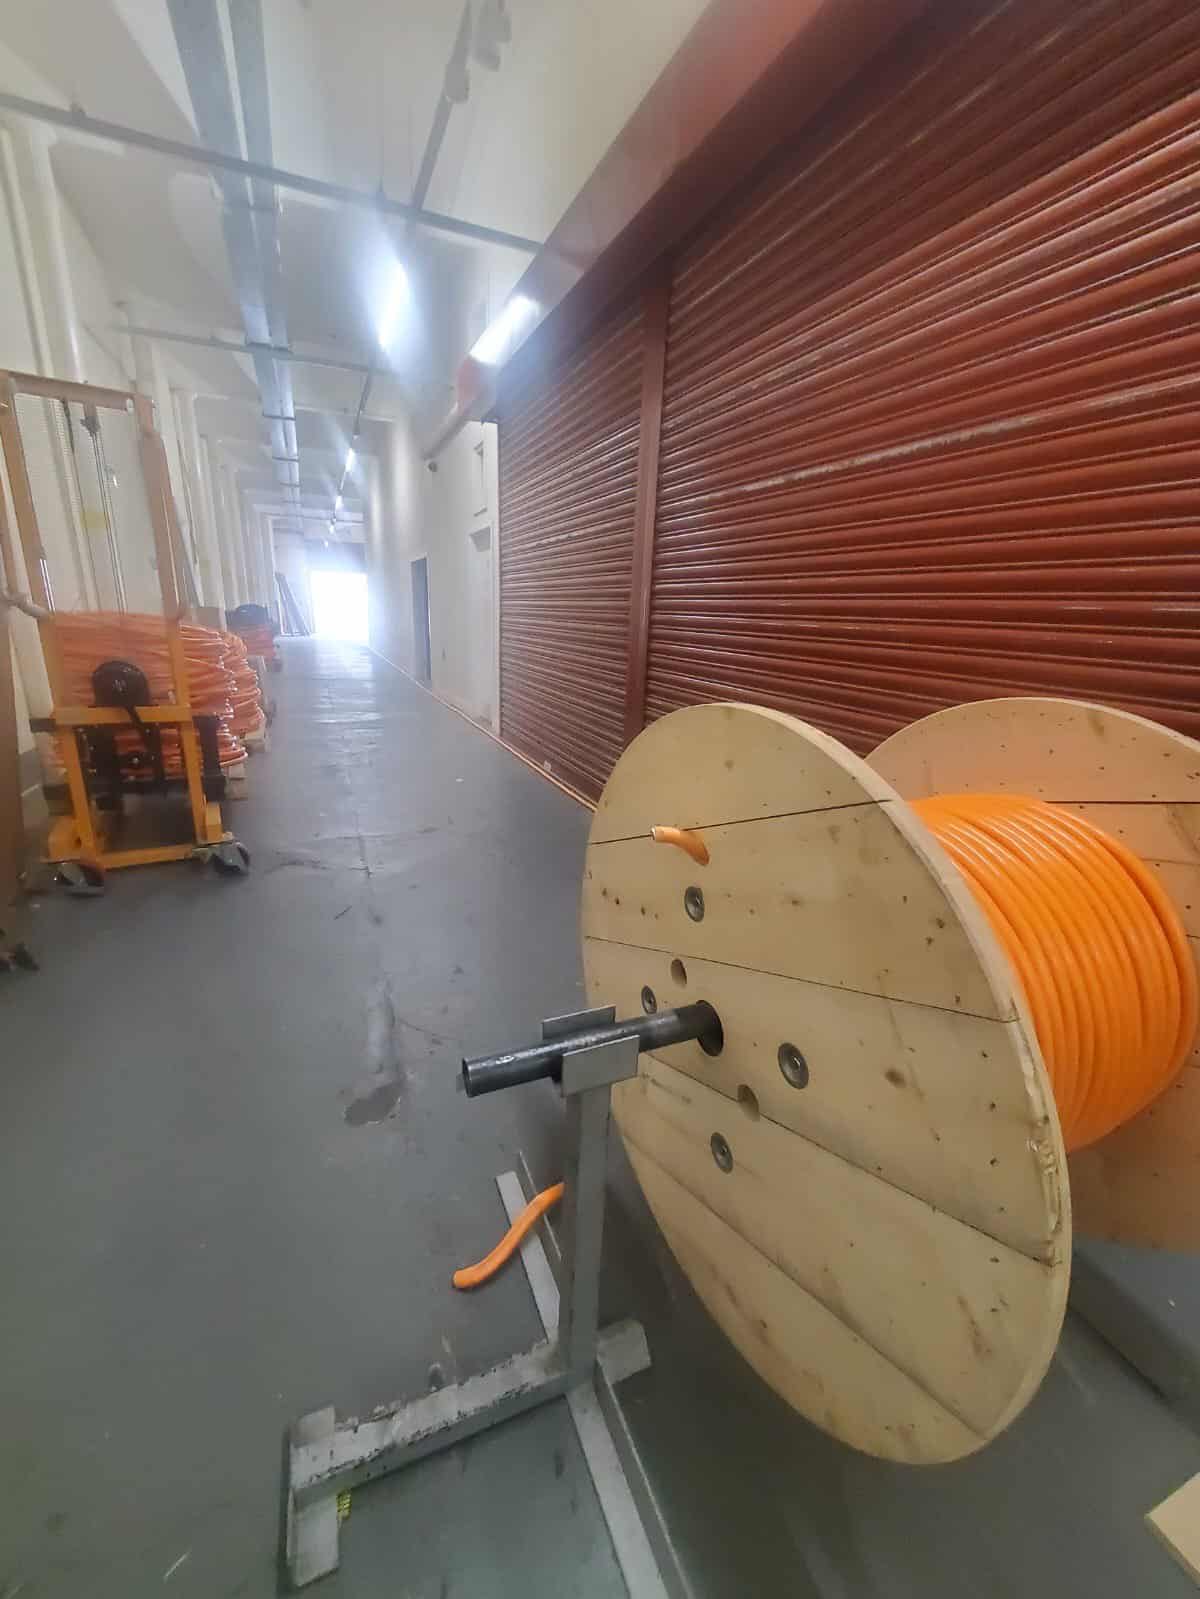
Here is a second set of cables being cut. These orange cables are also being cut to 20 metre lengths as the green cables before them.
As with the green cables, each of the 10 Cabinets will be allocated two of these orange cables.
When in situ, each cabinet will be connected to a Handheld Control Unit with up to a 20 metre reach to allow access throughout site. For even closer adjustments and observations, a second Handheld Unit called an Operator Pendent with another 5 meter reach may be attached to the first.
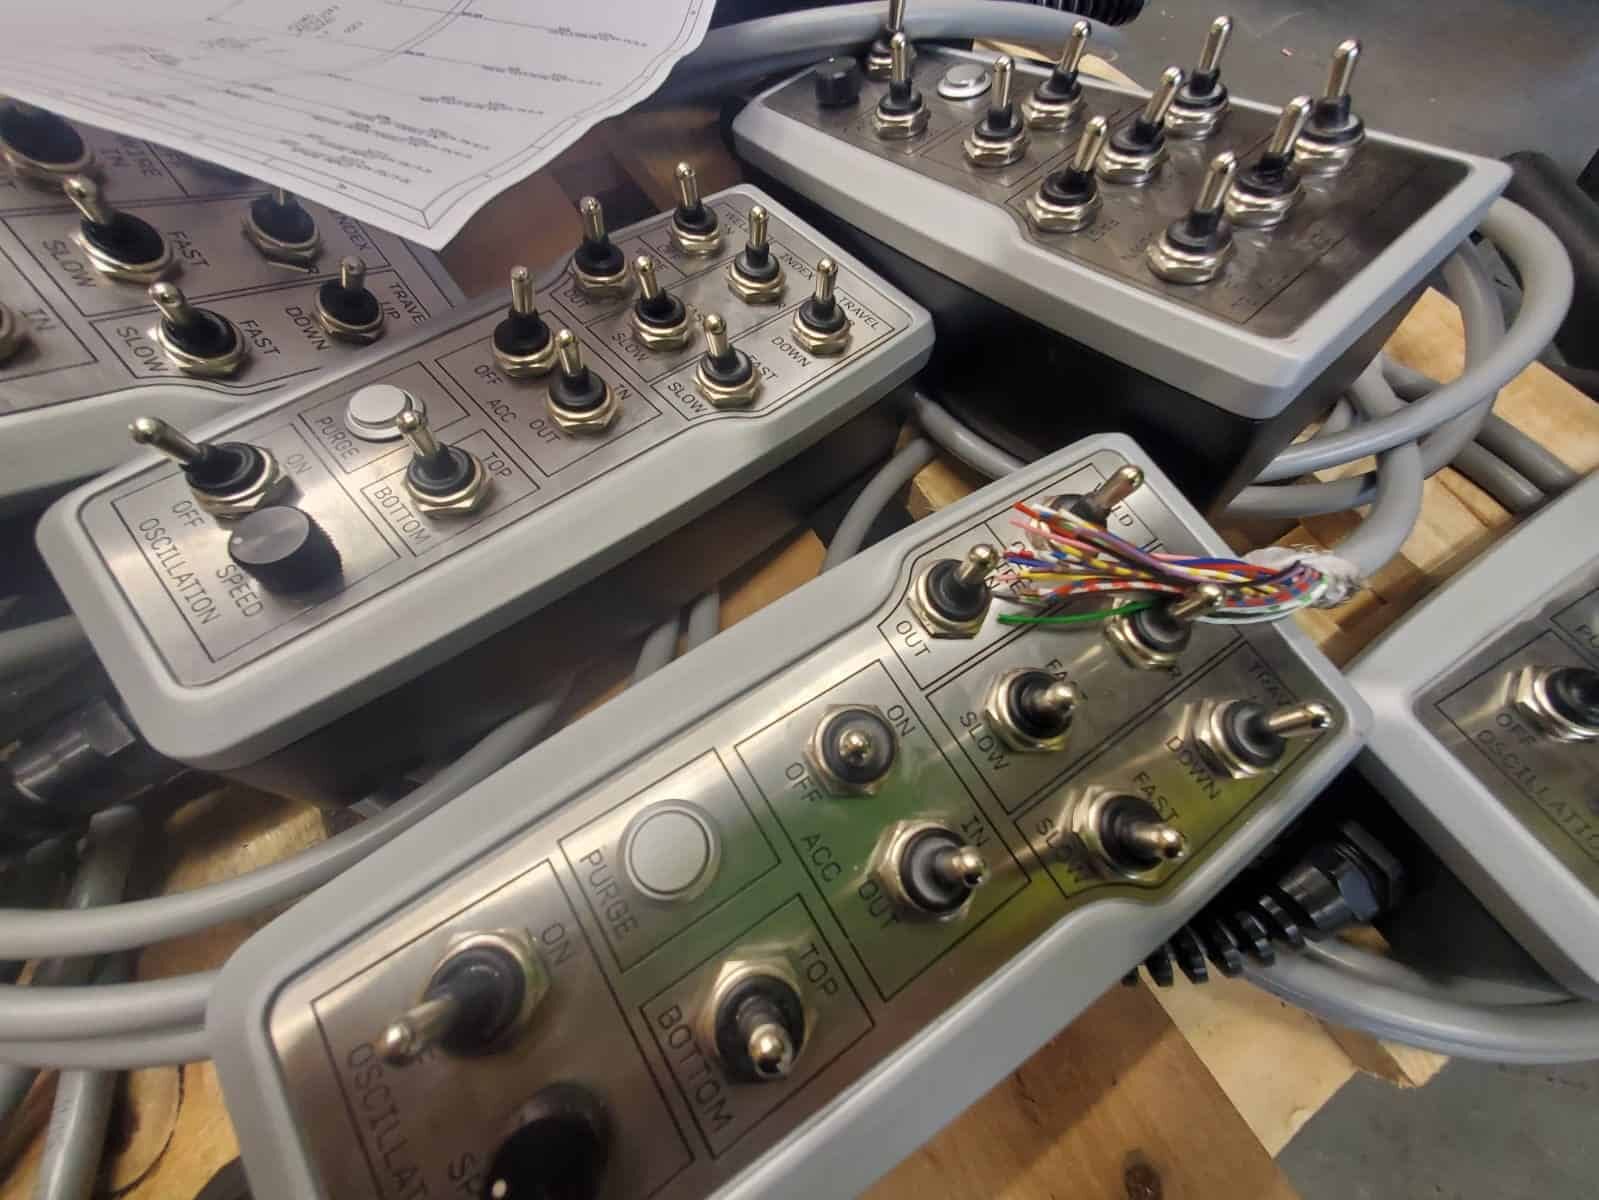
The design and use of each console is unique, with differing complexity and functions.
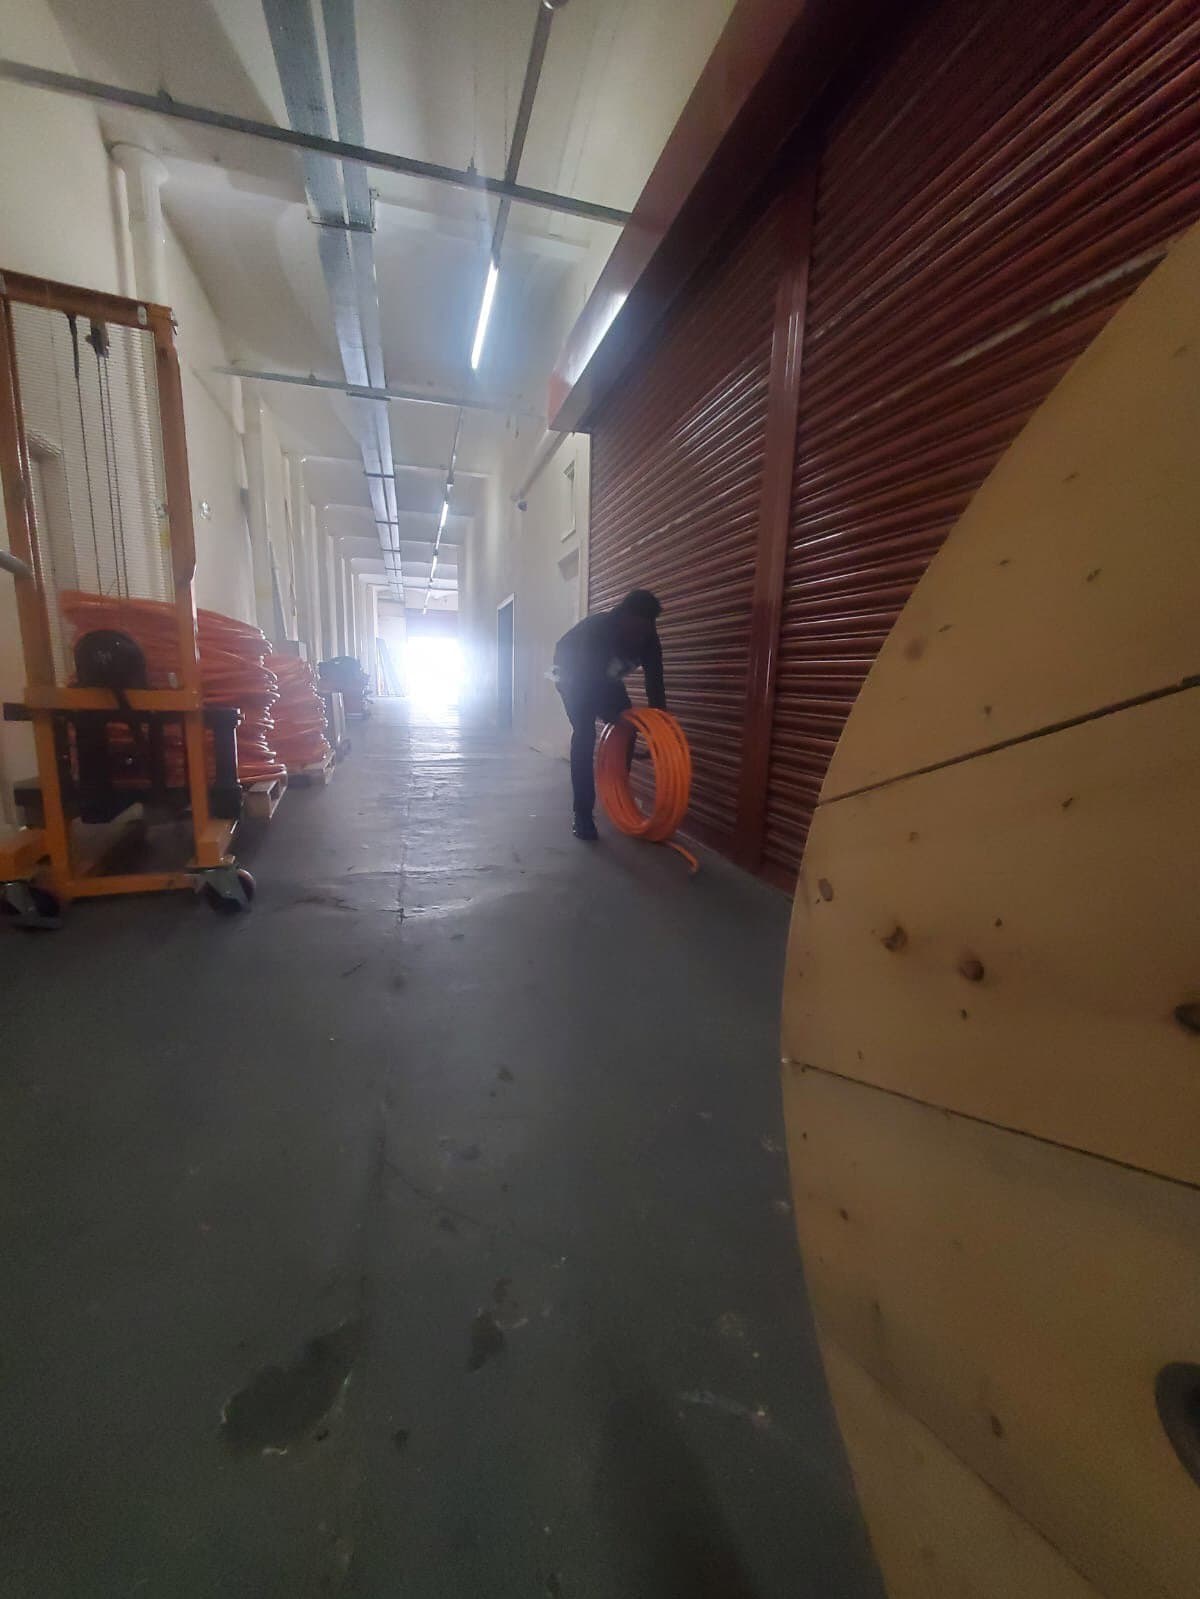
Those cables once they made their way back into the workshop for stripping.
Operator Console
ORANGE
The Orange Cables will connect the control panels to the Carriage. The carriage will hold welding torches on the machine. The second orange cable is an add-on extension which will allow Operators to extend their reach to 40 metres across the site.
GREEN
The Green Cable connects the control panel to the Handheld Control Unit’s aka Operator Consoles assembled by AJ pictured below.
Once again, the extra green cable is an add-on extension if required to extend reach and operator flexibility even further when desired.
GREY
Upcoming, grey cables measuring 5 metres will be made for each Operator Console, this time allowing connections between Operator Consoles and Operator Pendants which allow even closer inspection and live adjustments on the job for operators.
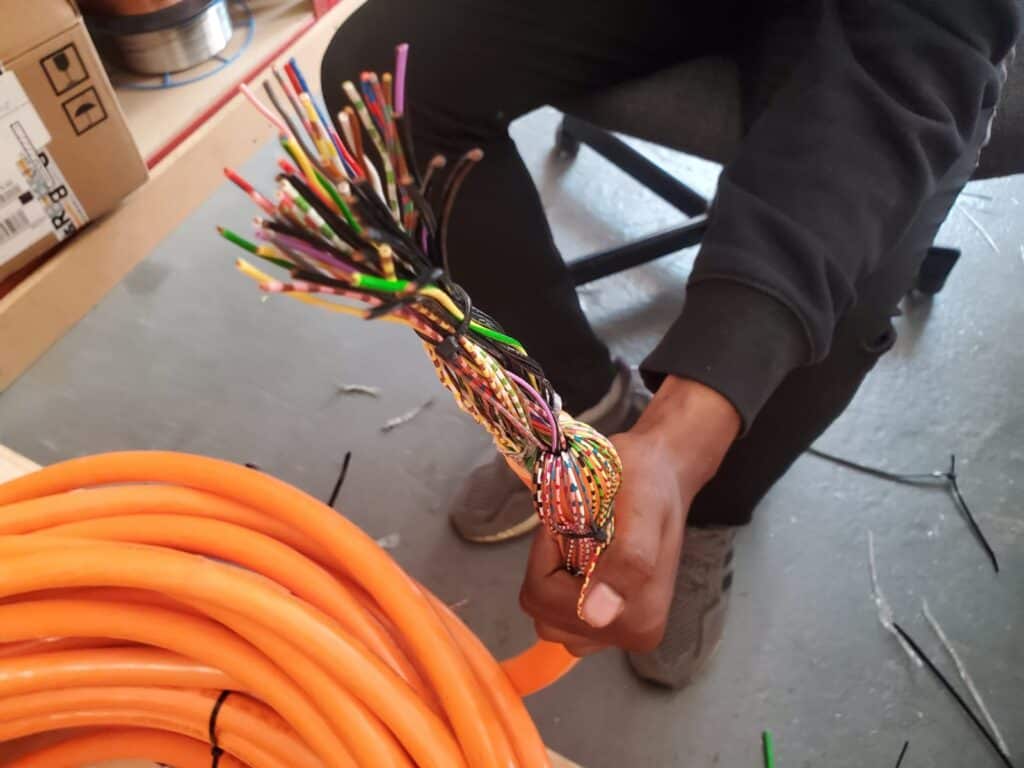
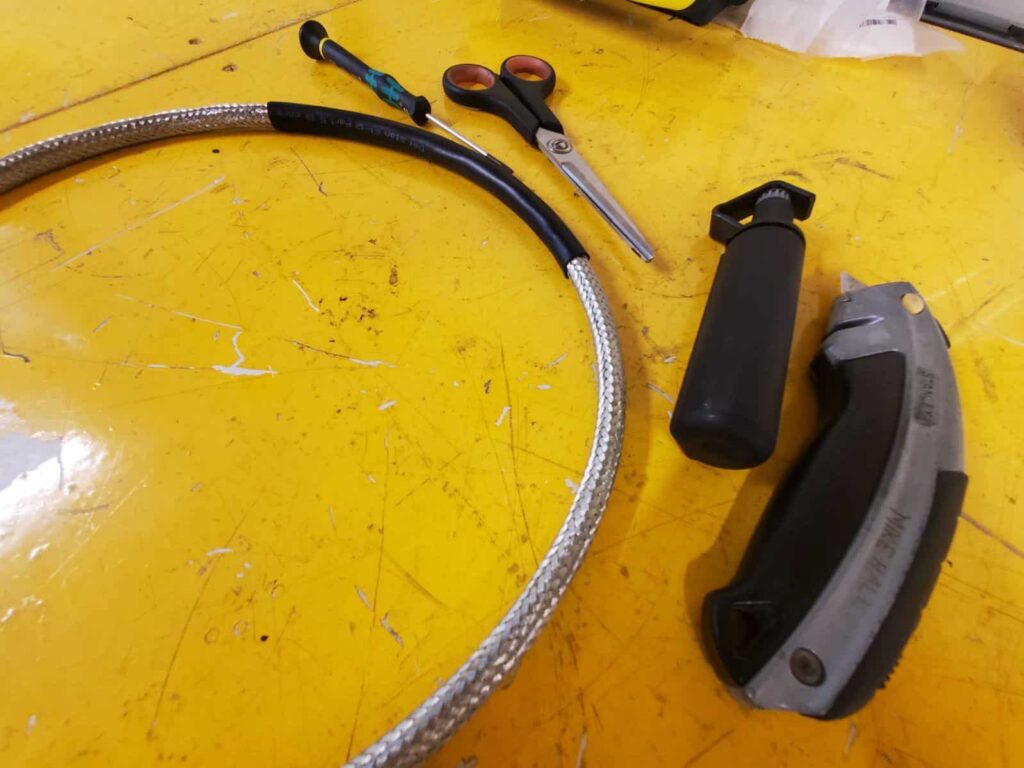
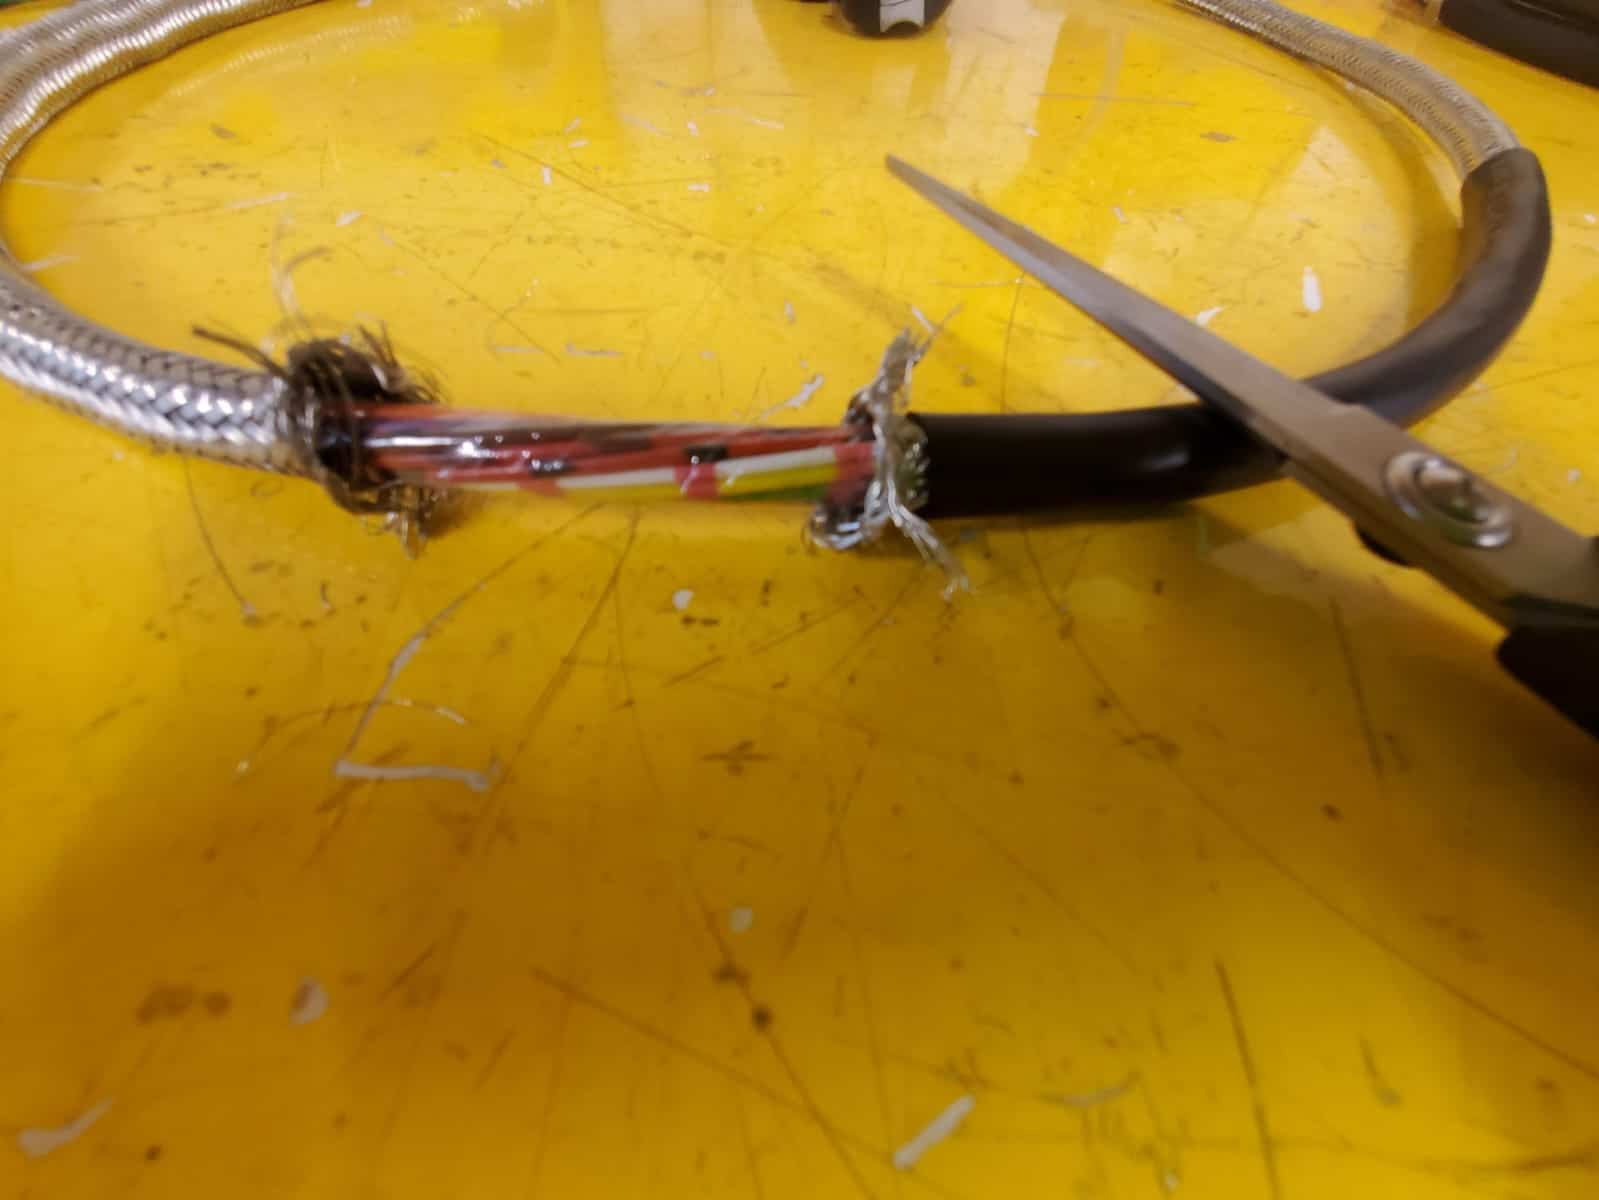
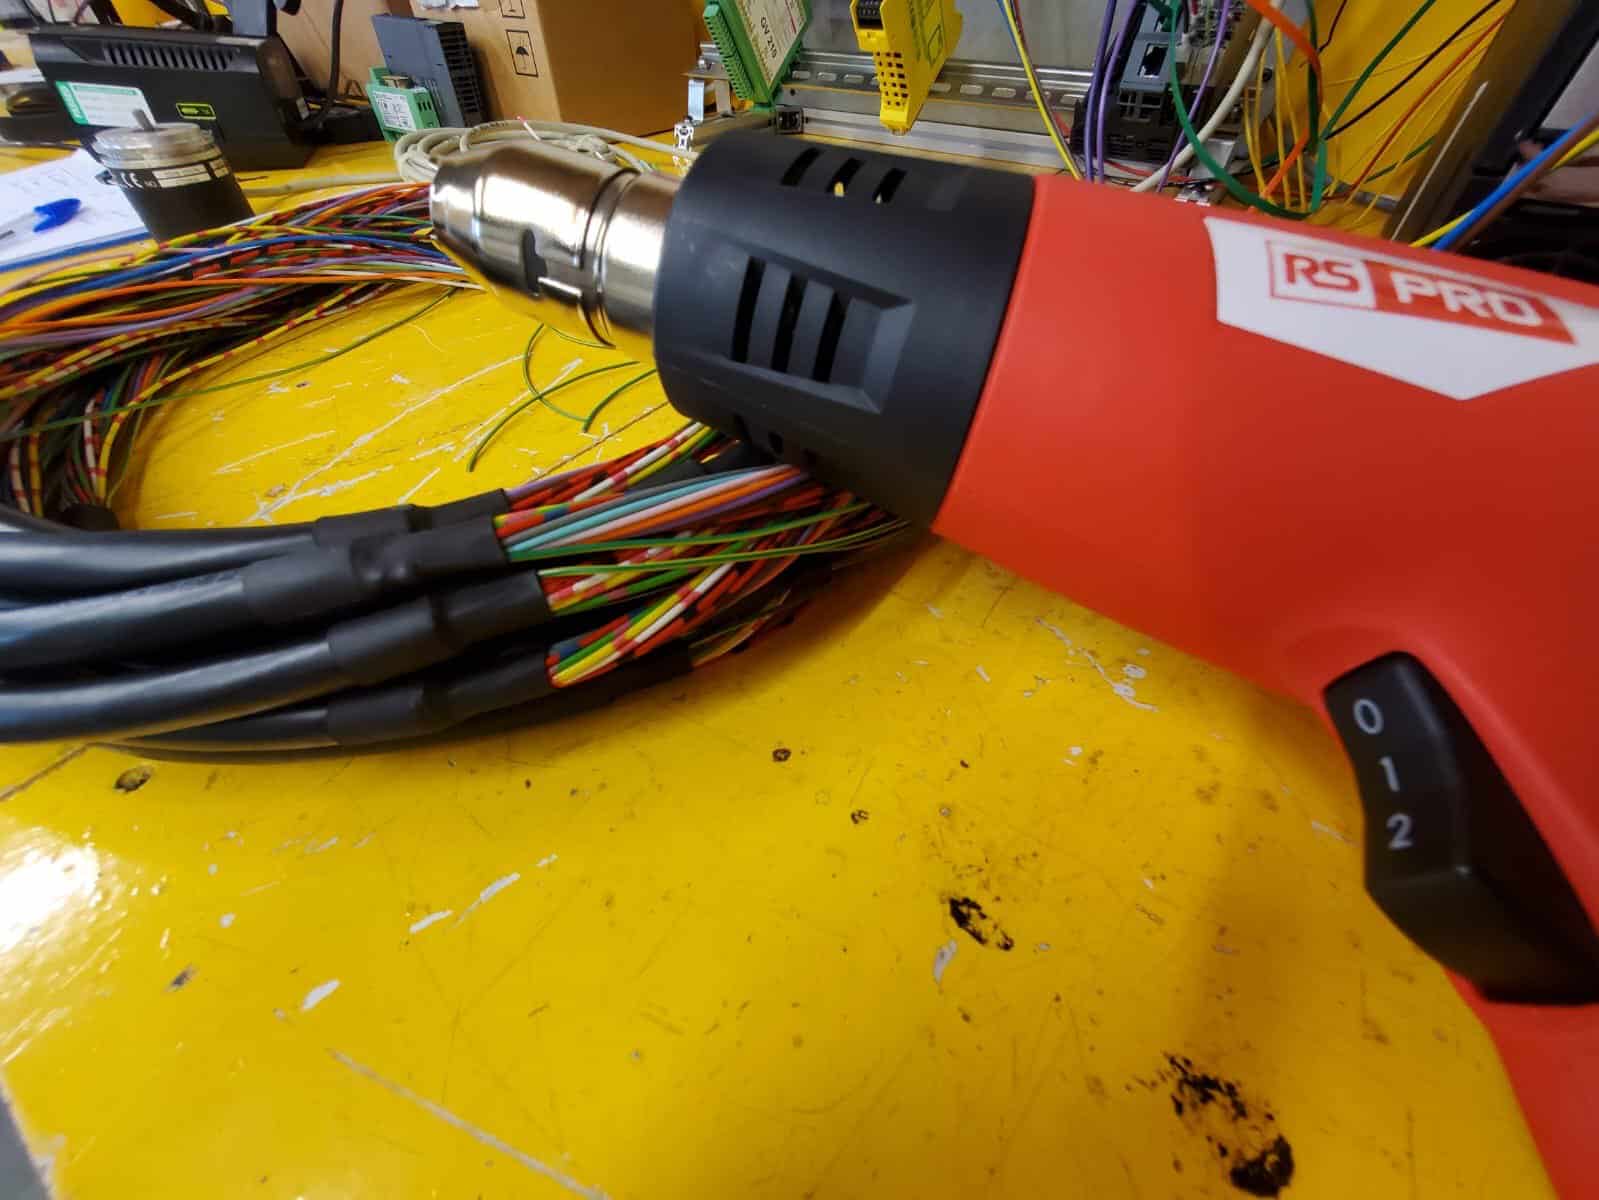
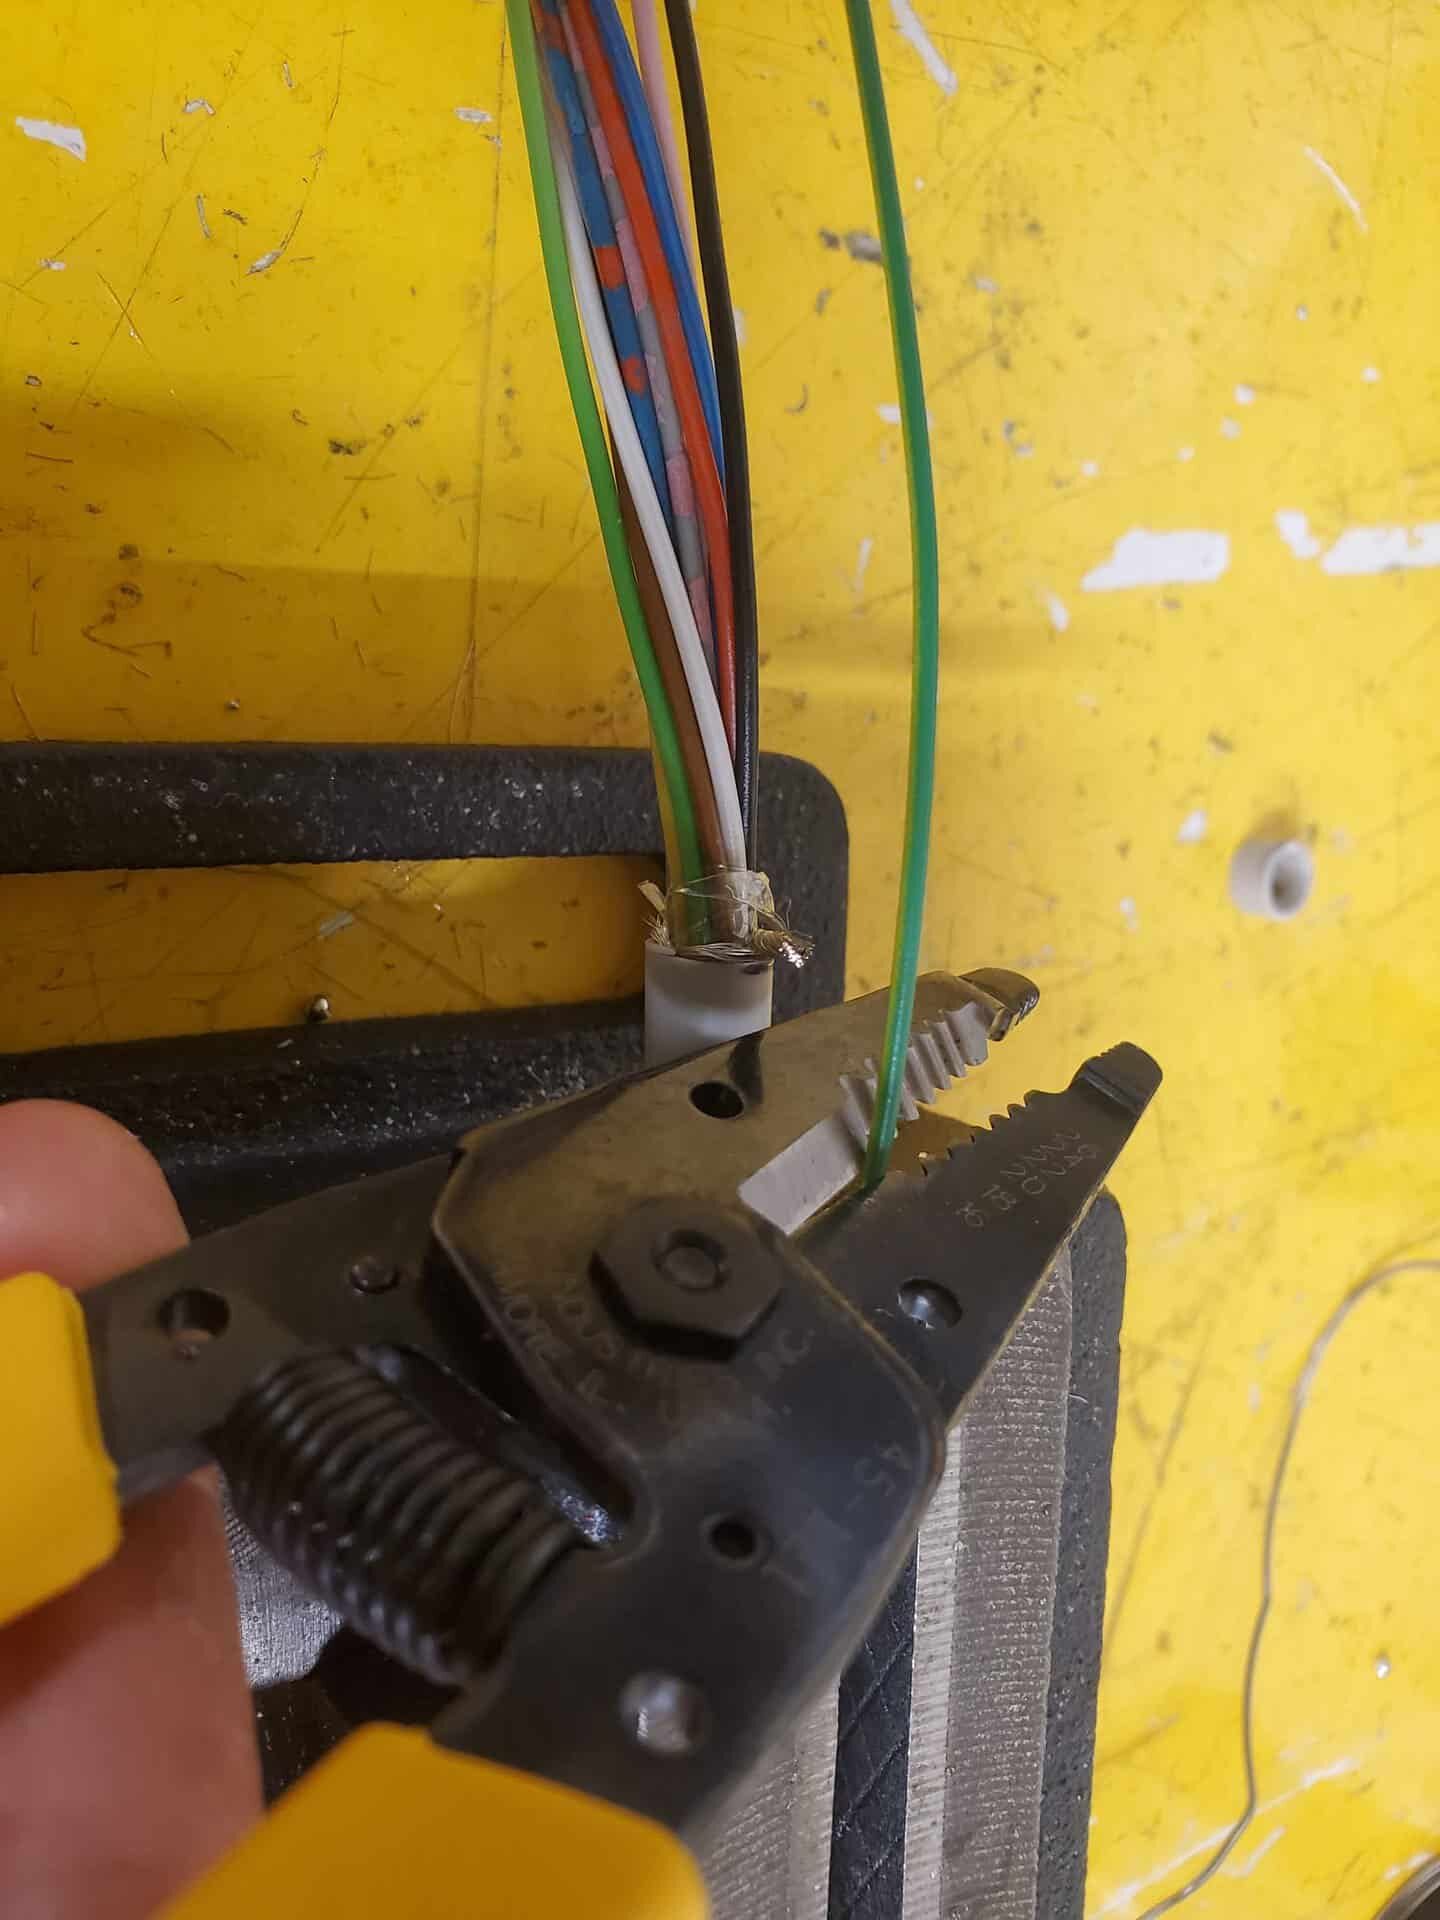
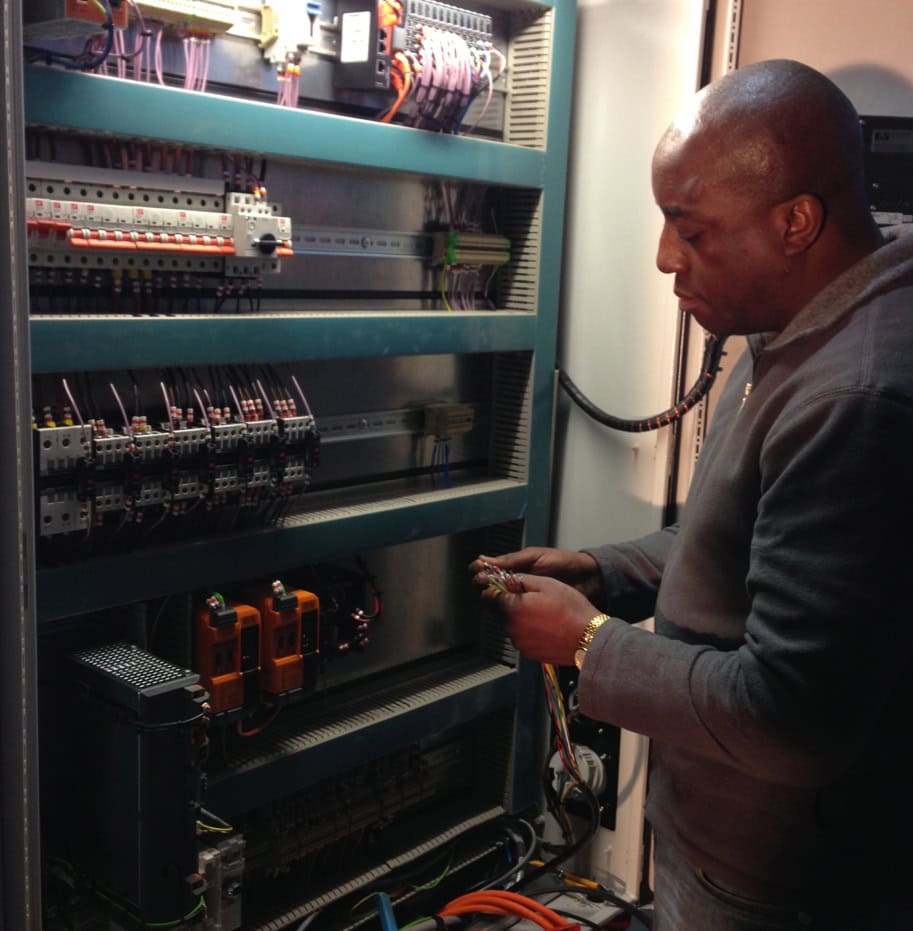
Cable Stripping & Sheathe Prepping
Here are some tools used for cable stripping and sheathe prep. Cable stripping in this case is to allow for flexibility in the cabinets. For me, it’s easier to do with a Box Cutter shown in the below photo alongside a dedicated stripping tool.
The thing to be aware of when choosing to strip cables with a box cutter is that sheathing can be of different thickness in different cables and that cable thickness doesn’t always align with sheathe thickness – so you must always be aware of not applying too much pressure as oftentimes you will need to save some of your sheathe for later Soldering.
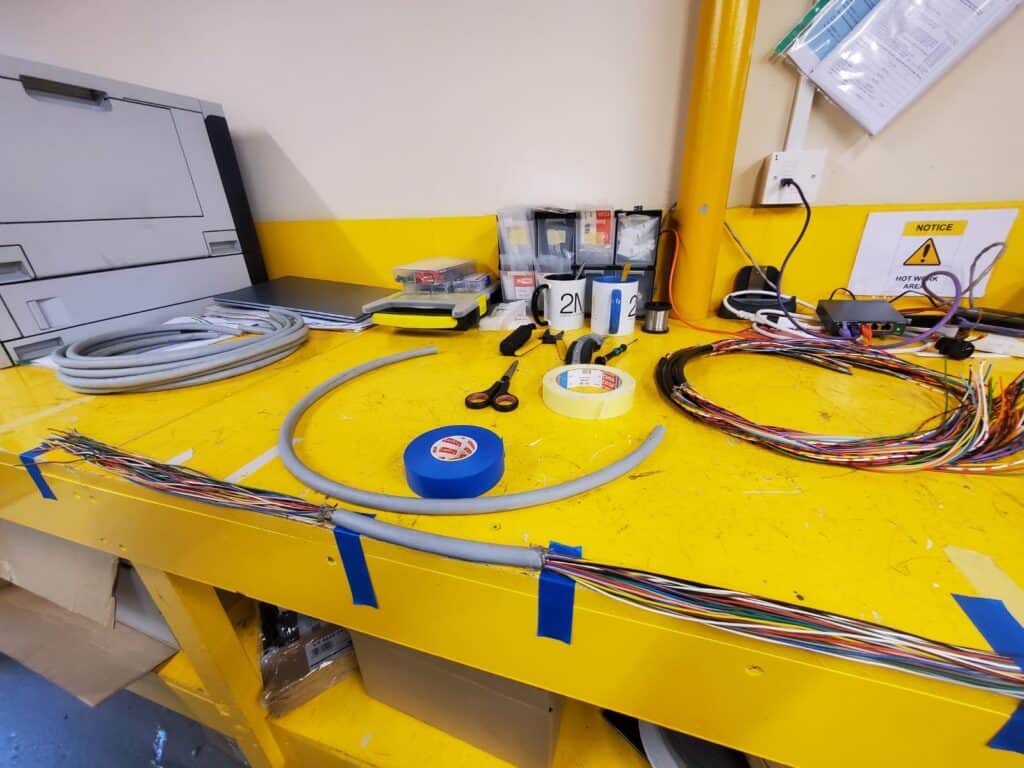
Measuring to Length
We go through a lot of duct tape by marking the required cable lengths onto the Workbench and marking desired cable lengths accordingly that way.
Once the desired cable lengths are marked correctly, stripping them commences. You can see that we’re working on different types of cables here, both in Black and Grey.
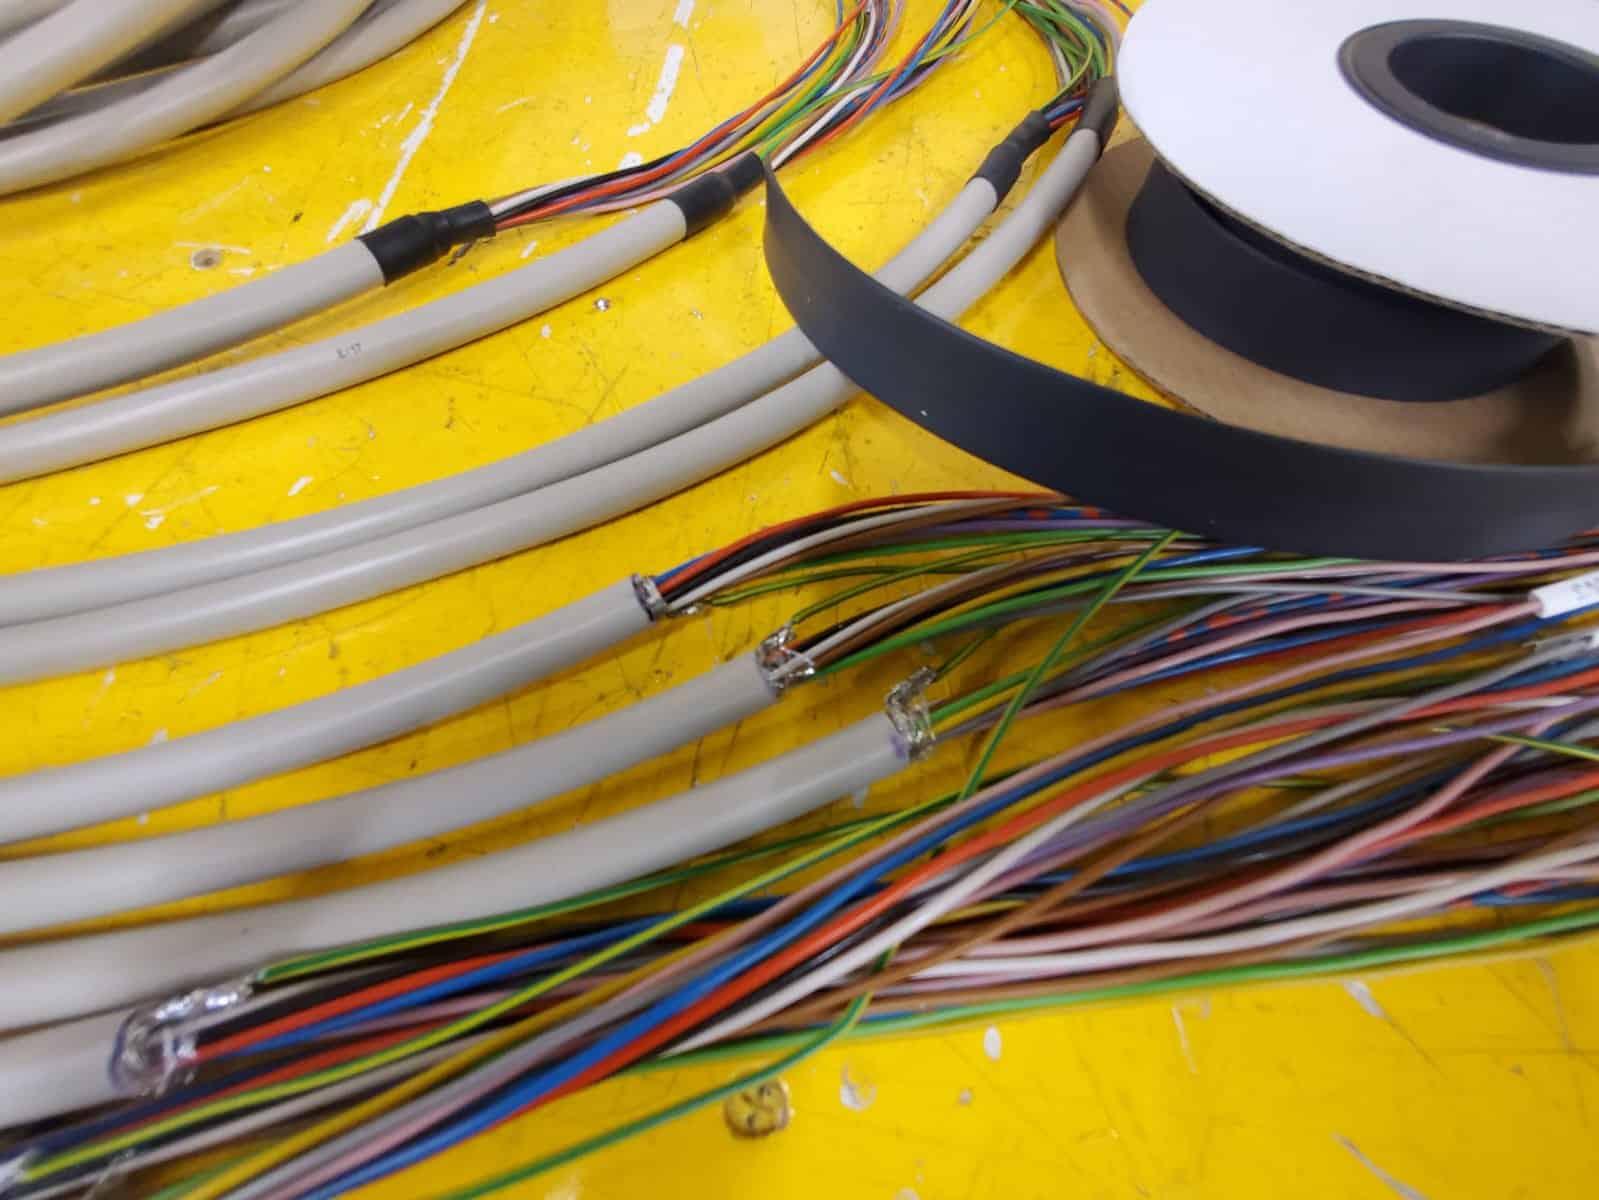
Before & After Stripping

Eagle Eye
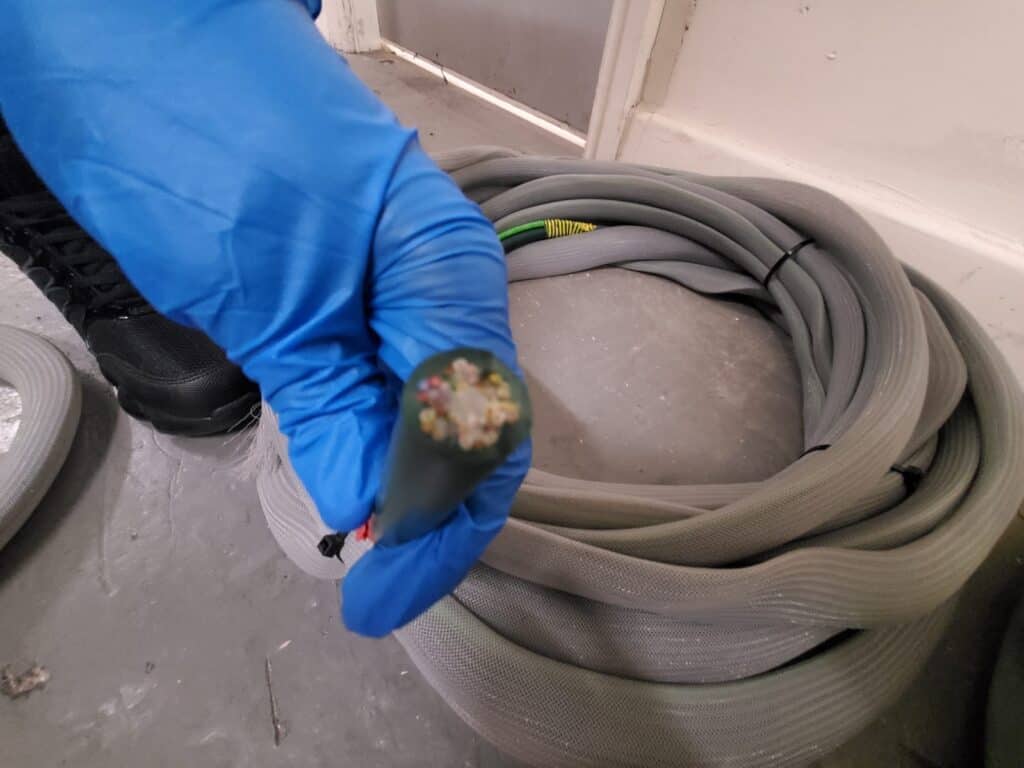
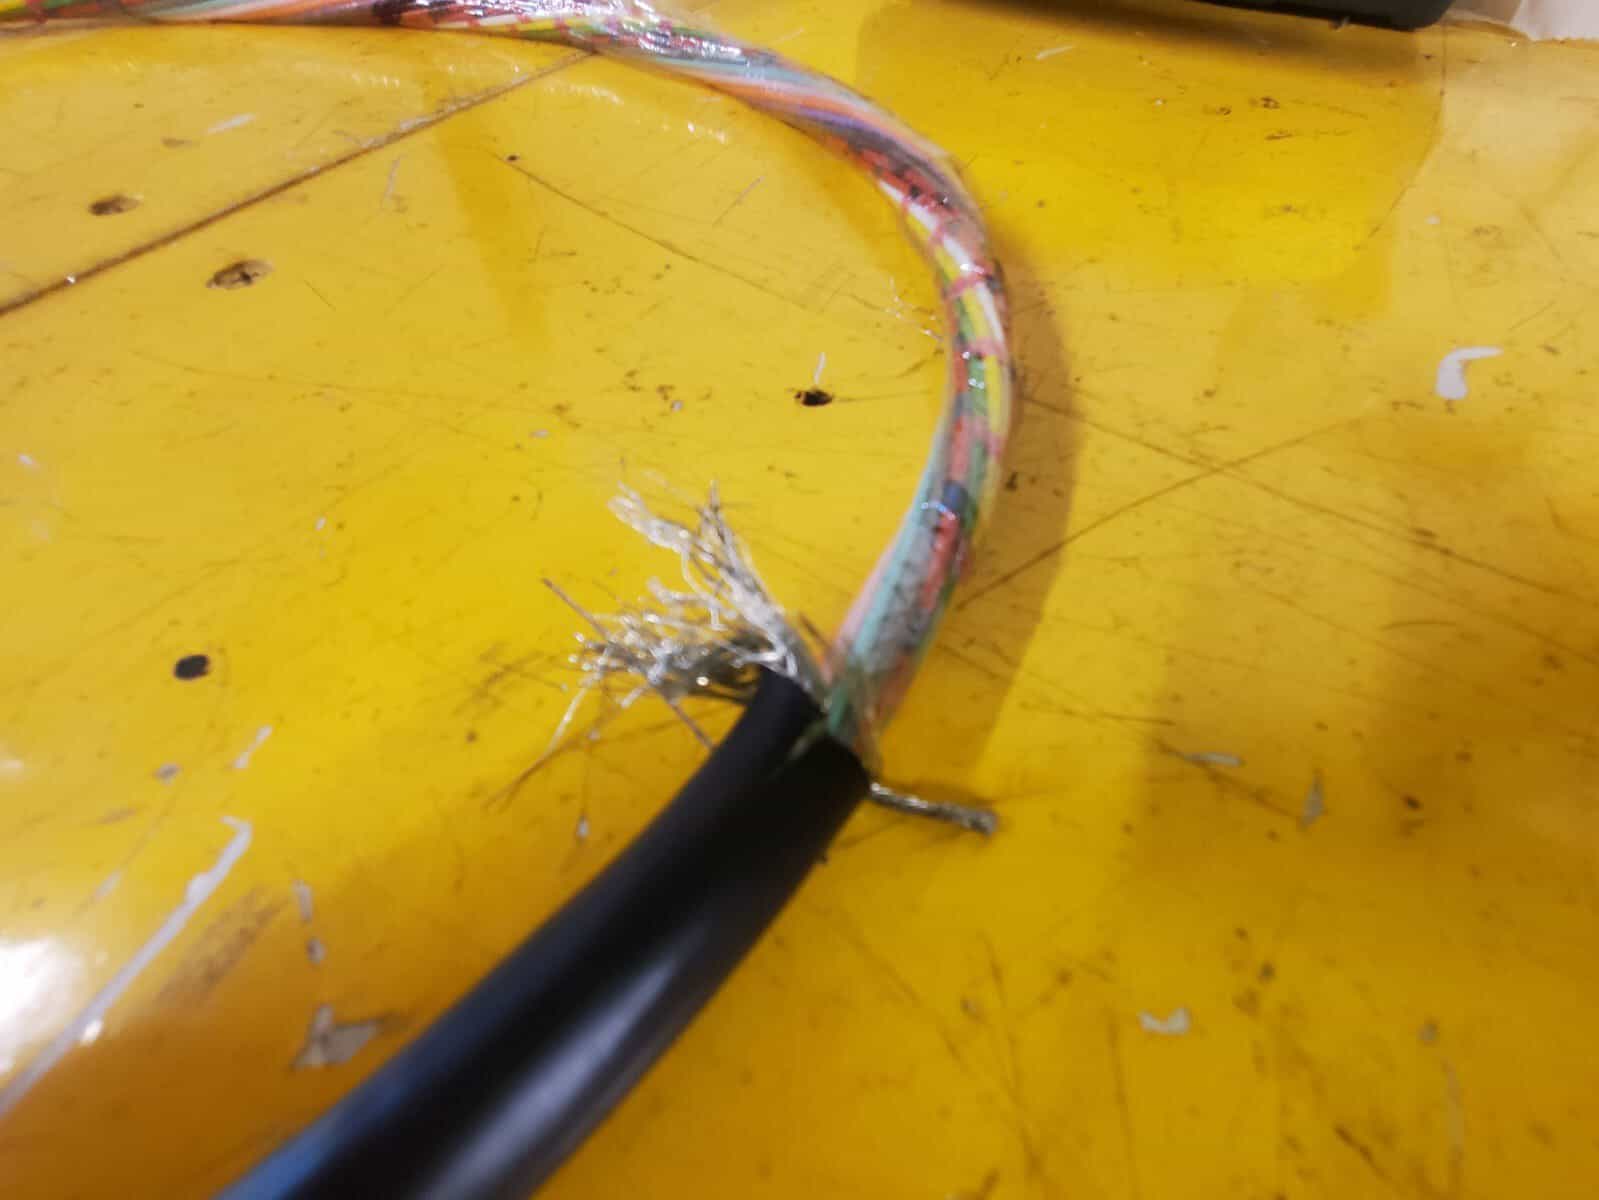
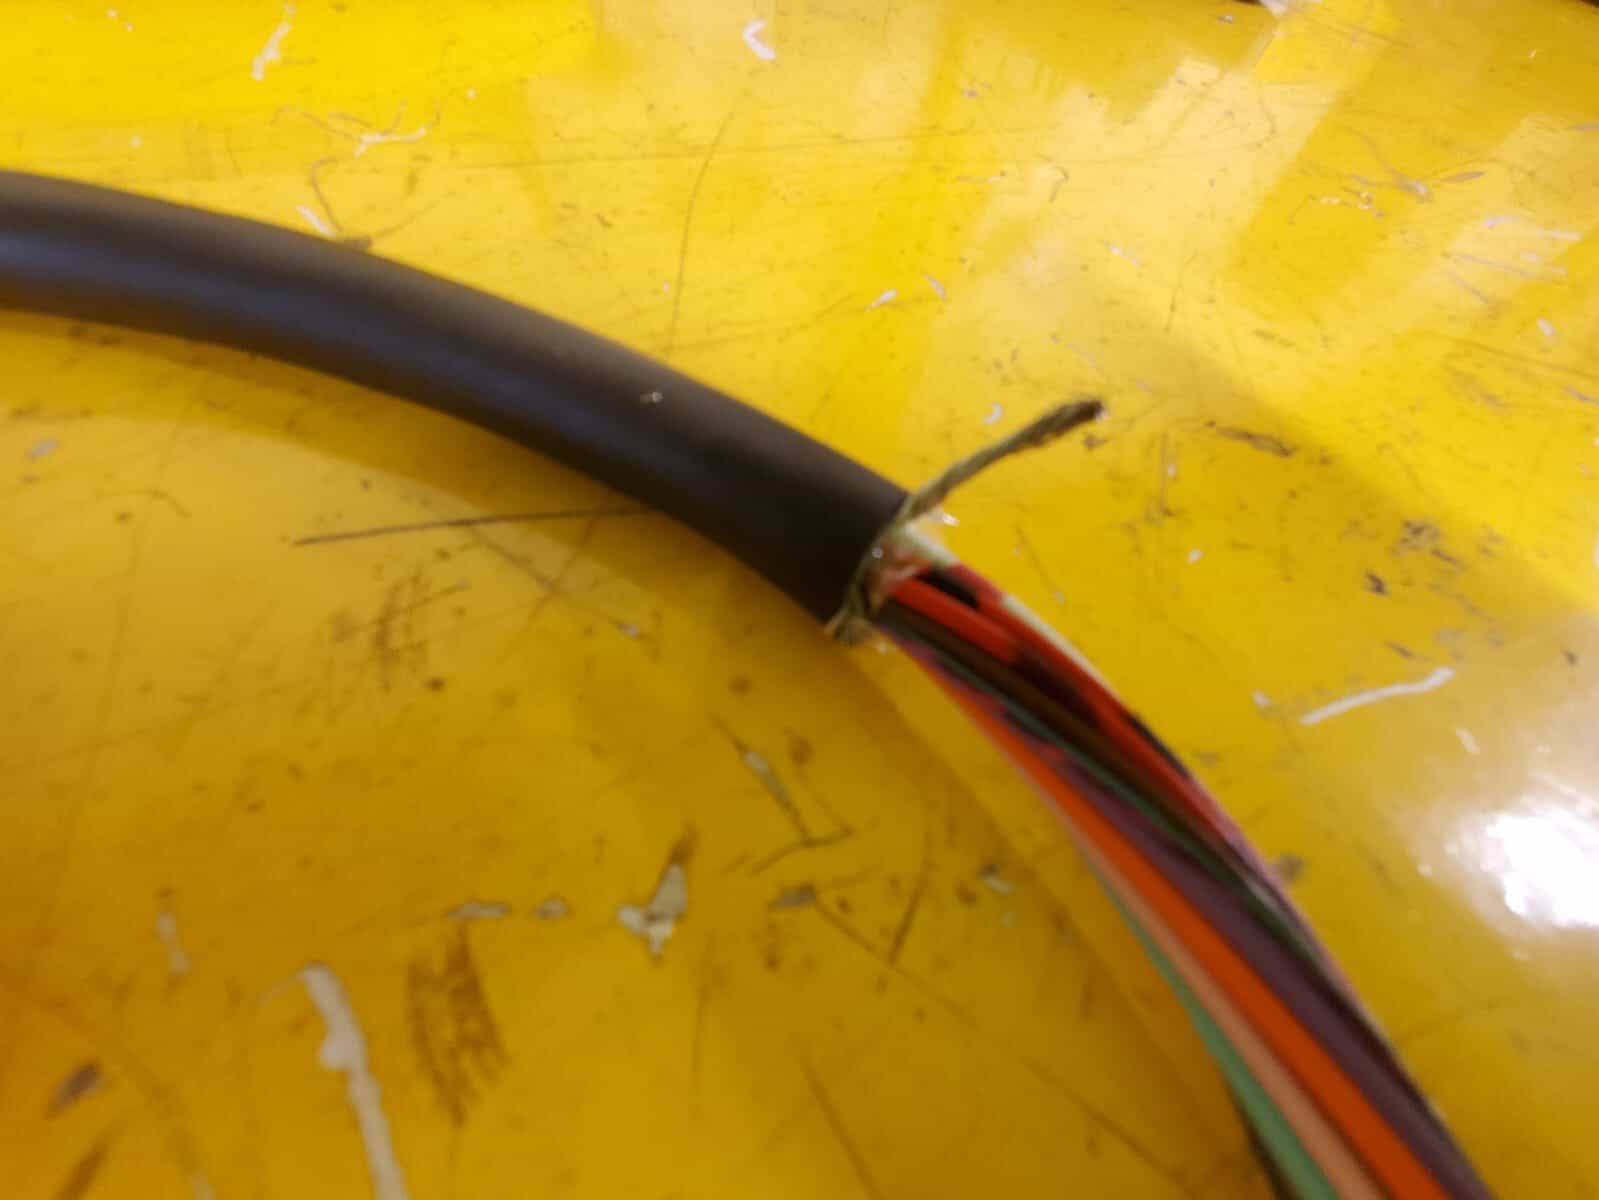
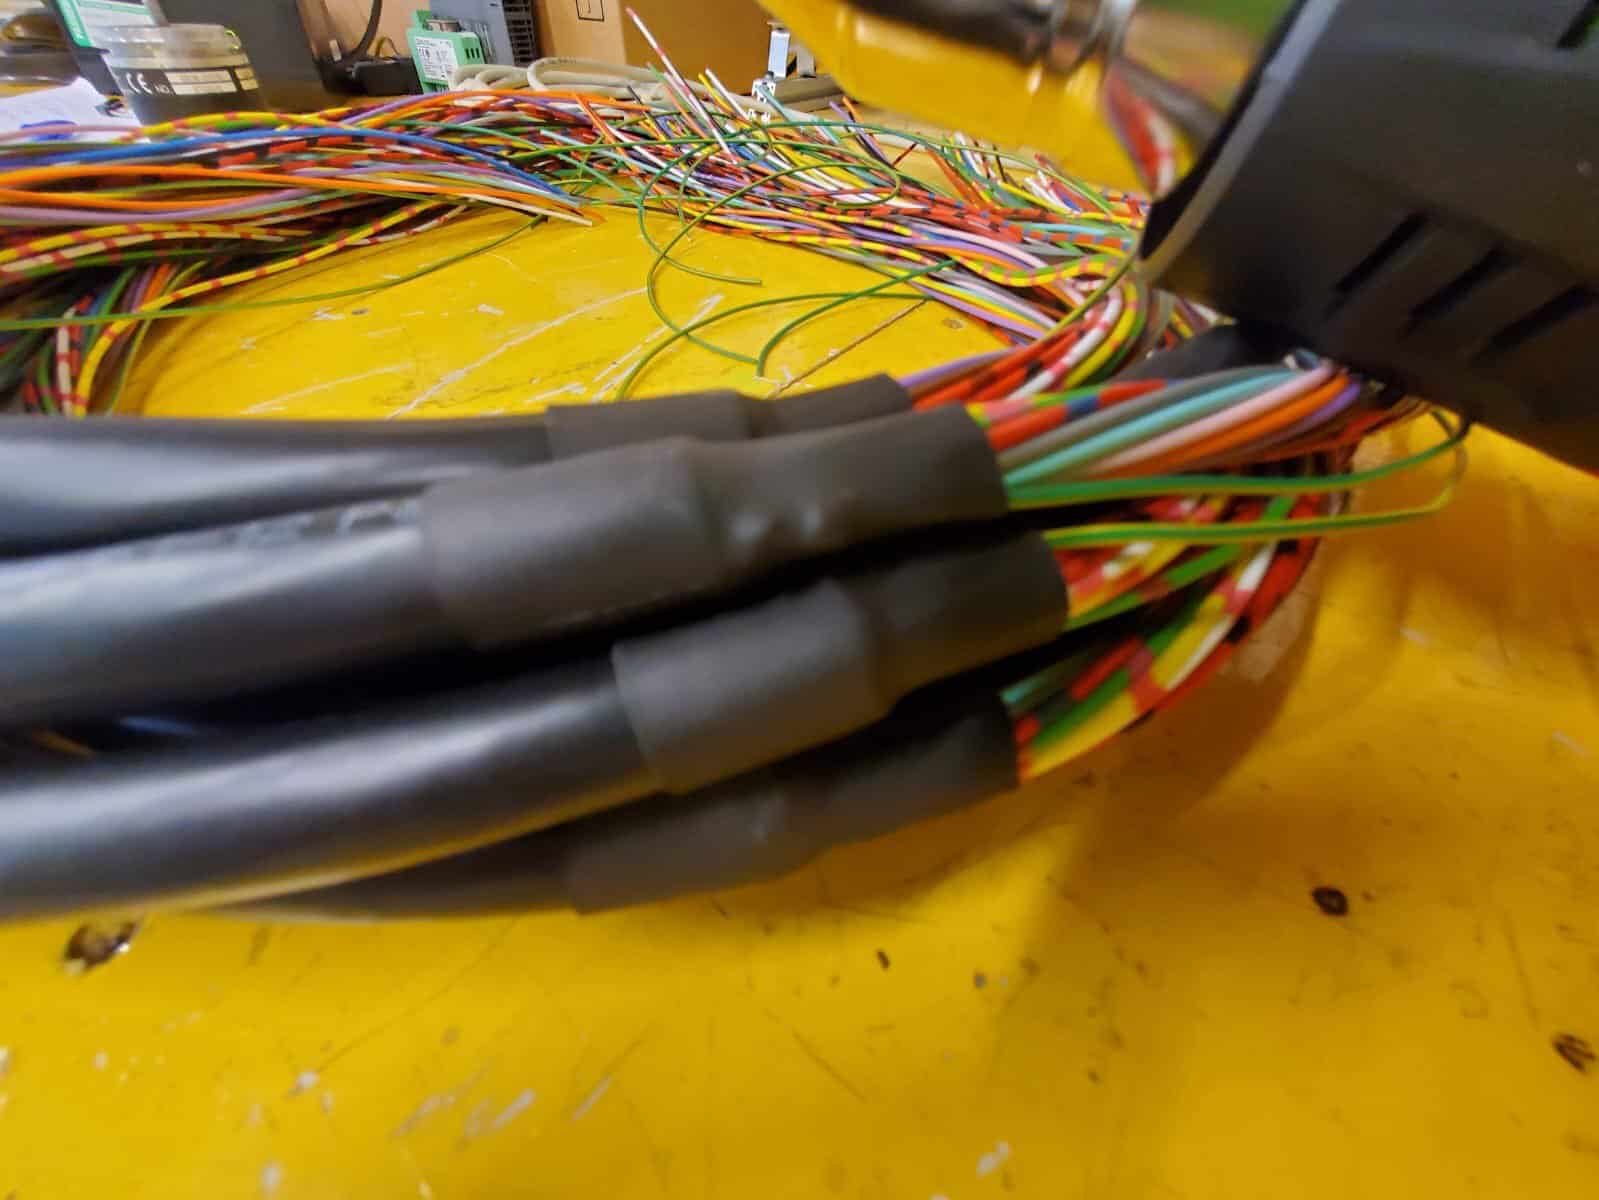
Did you notice a very fine detail on the stripped cables above? If you look closely you may be able to see short grey strips near the outer grey cable ends? Those are saved parts of sheathe which we require for soldering.
By way of example, here’s a way of bunching together sheathe before cutting off what is not required. The majority is cut away in this case, whilst short threads are kept. Those short threads are twisted together ready for the soldering station, and lastly, the second plastic sheathe around the cables is cut away.
Soldering
Below you can see Fatima getting ready to solder an Earth Wire to the rest of these screened cables using some of the saved twisted sheathing. Afterwards, Black Heat Shrink is applied using a Heat Gun.
In this case, the earth wires are being added to help reduce noise in the cabinet.
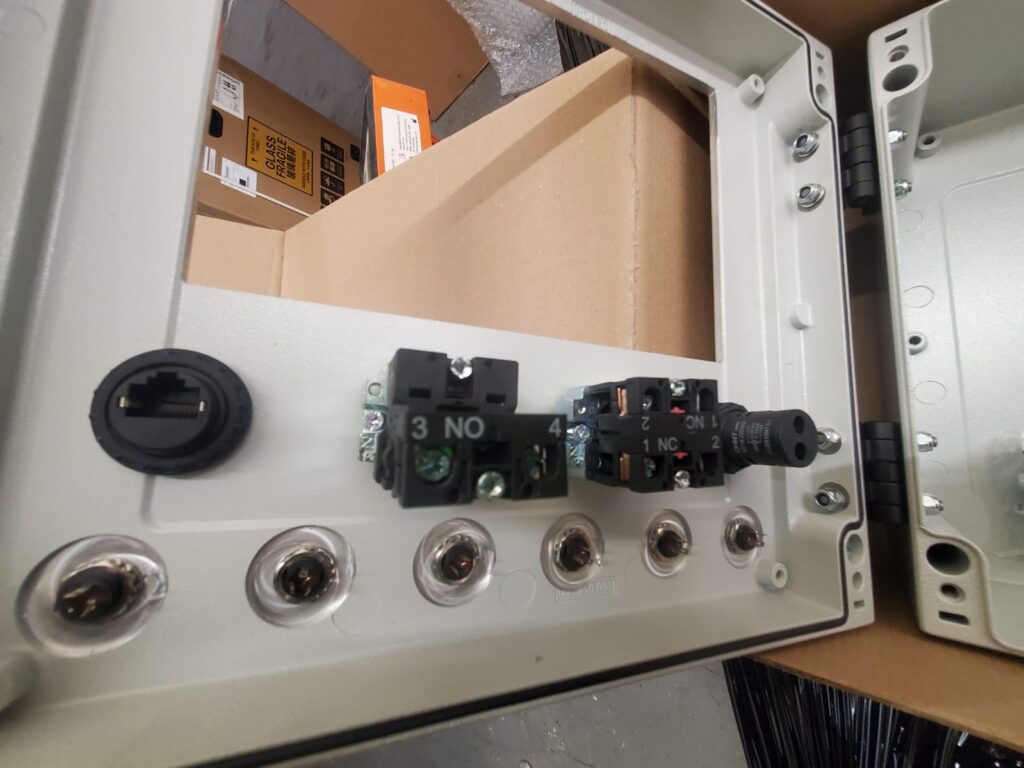
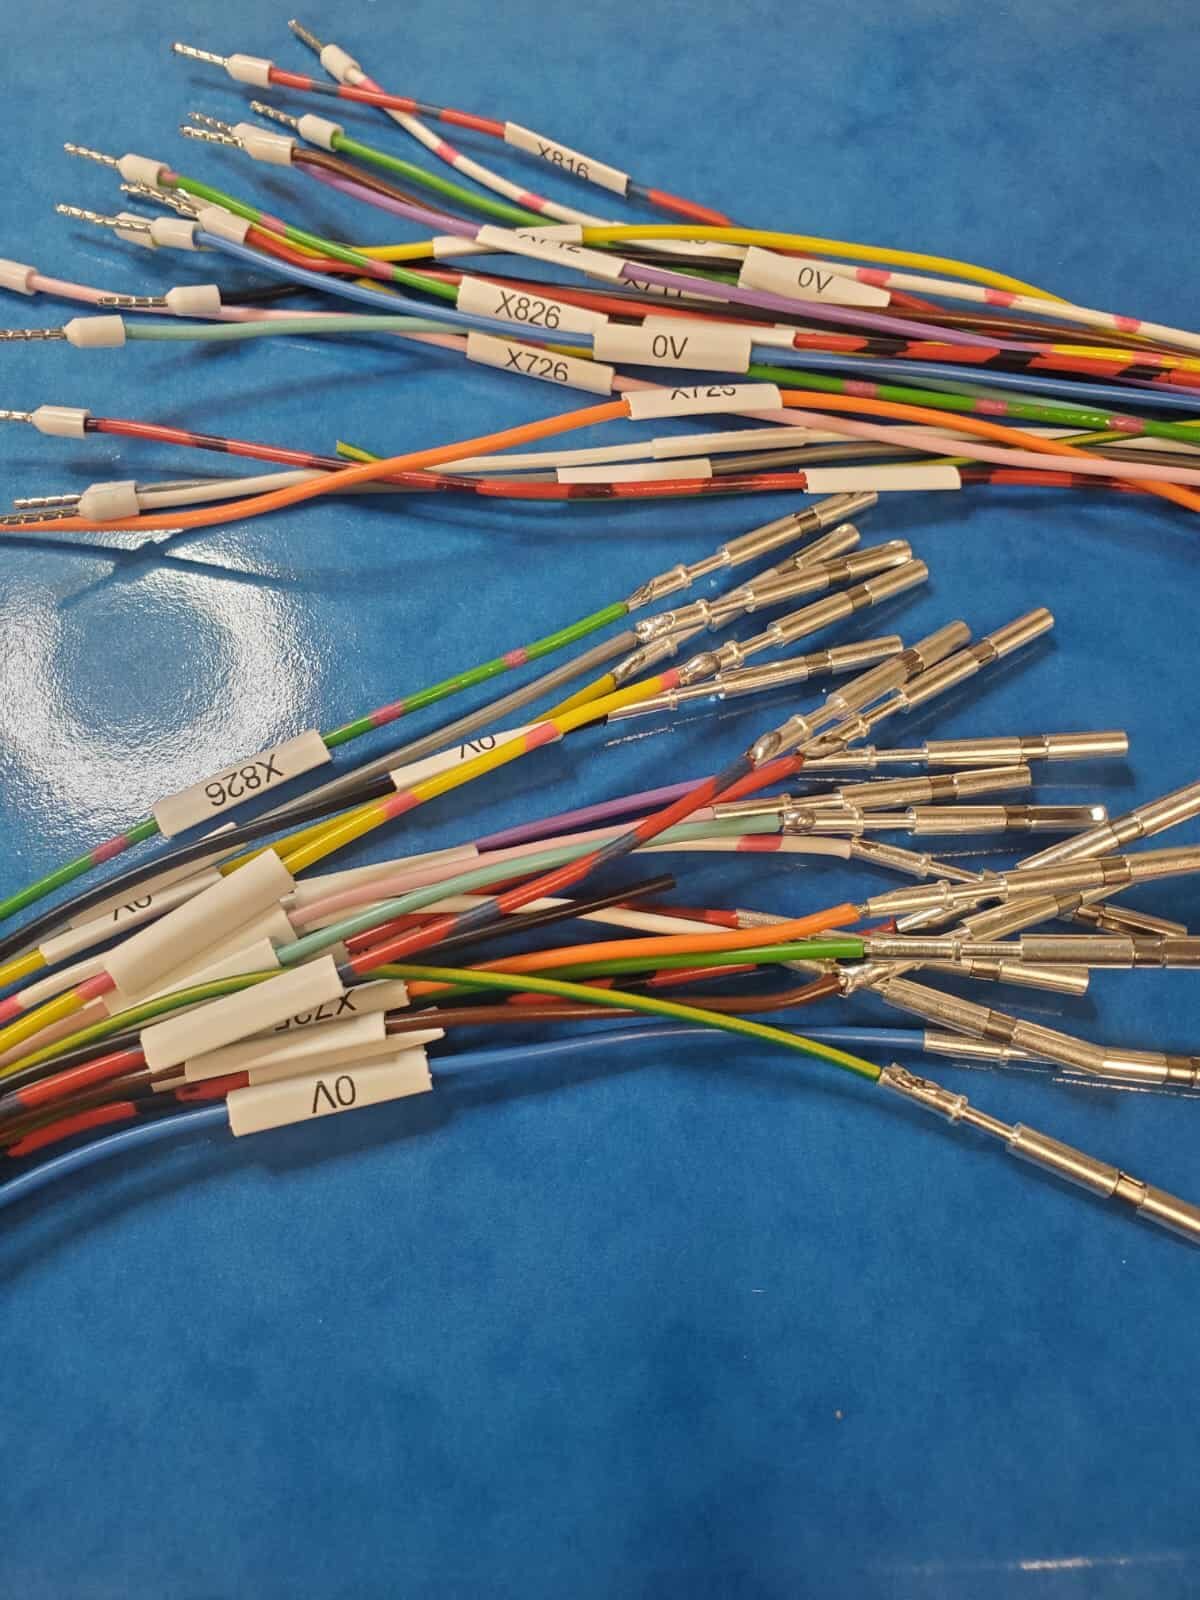
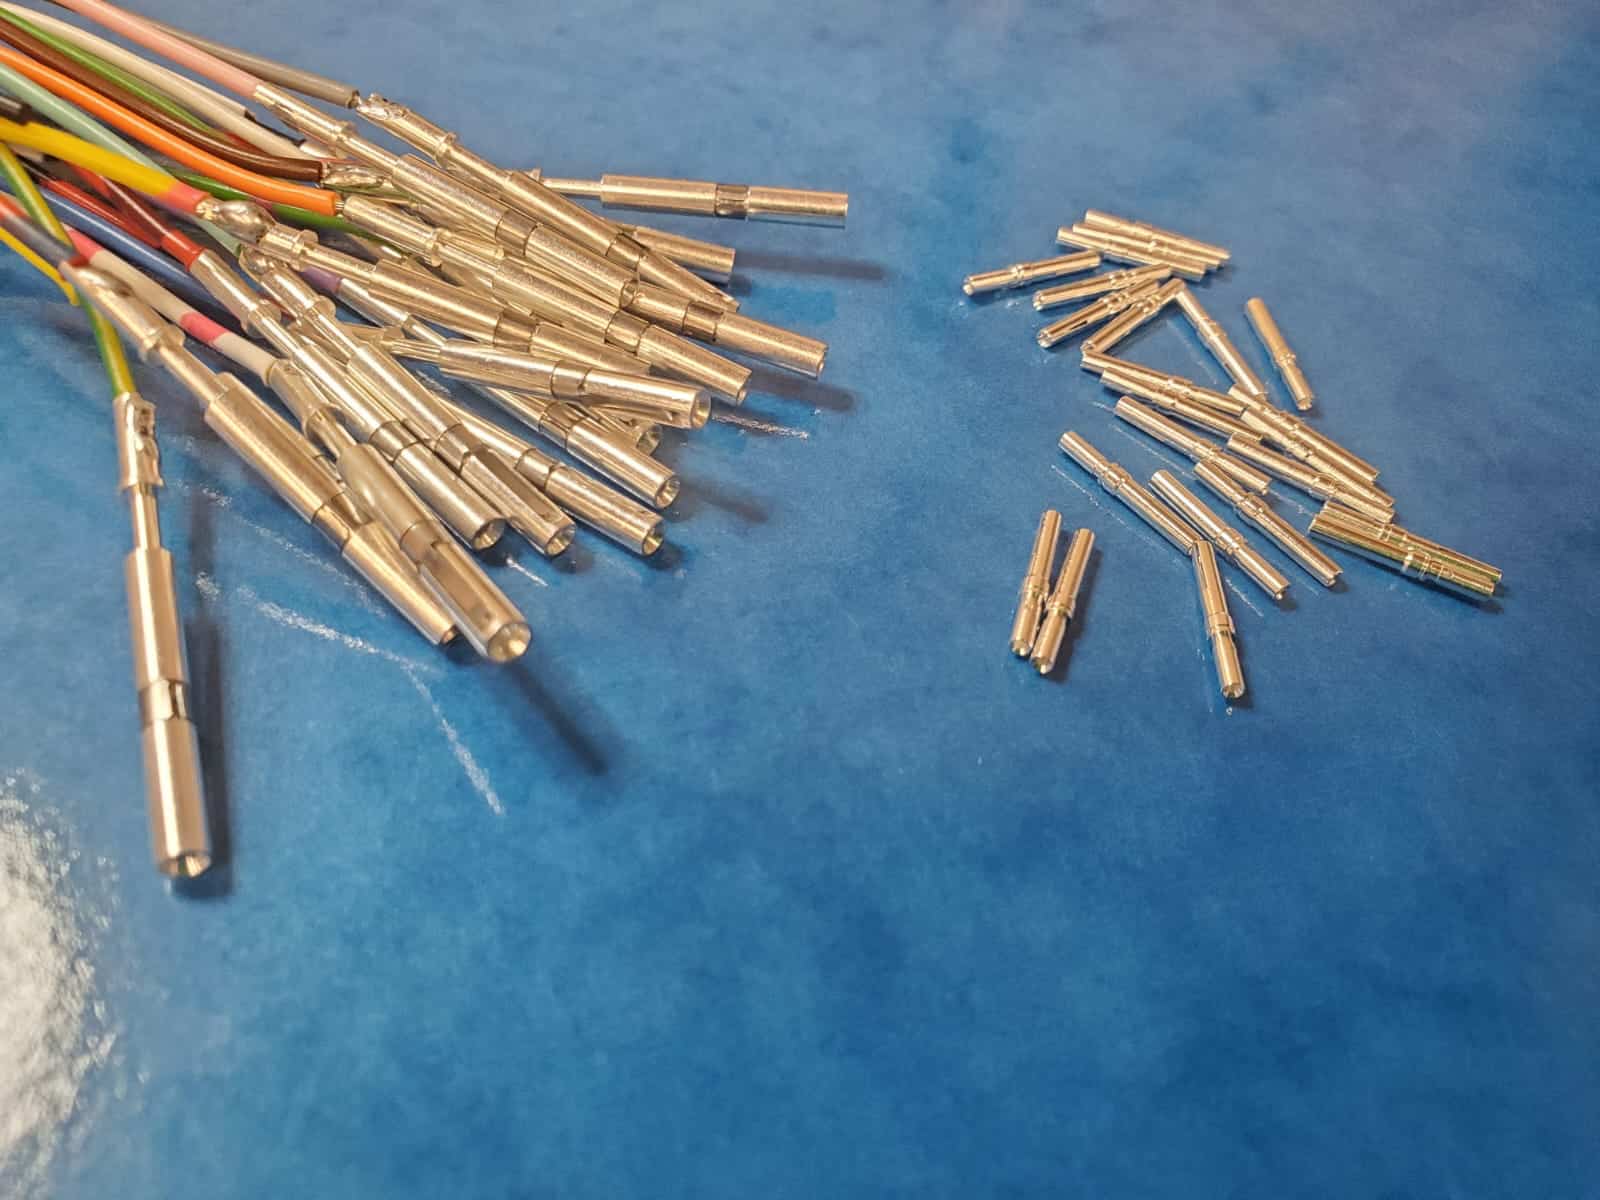
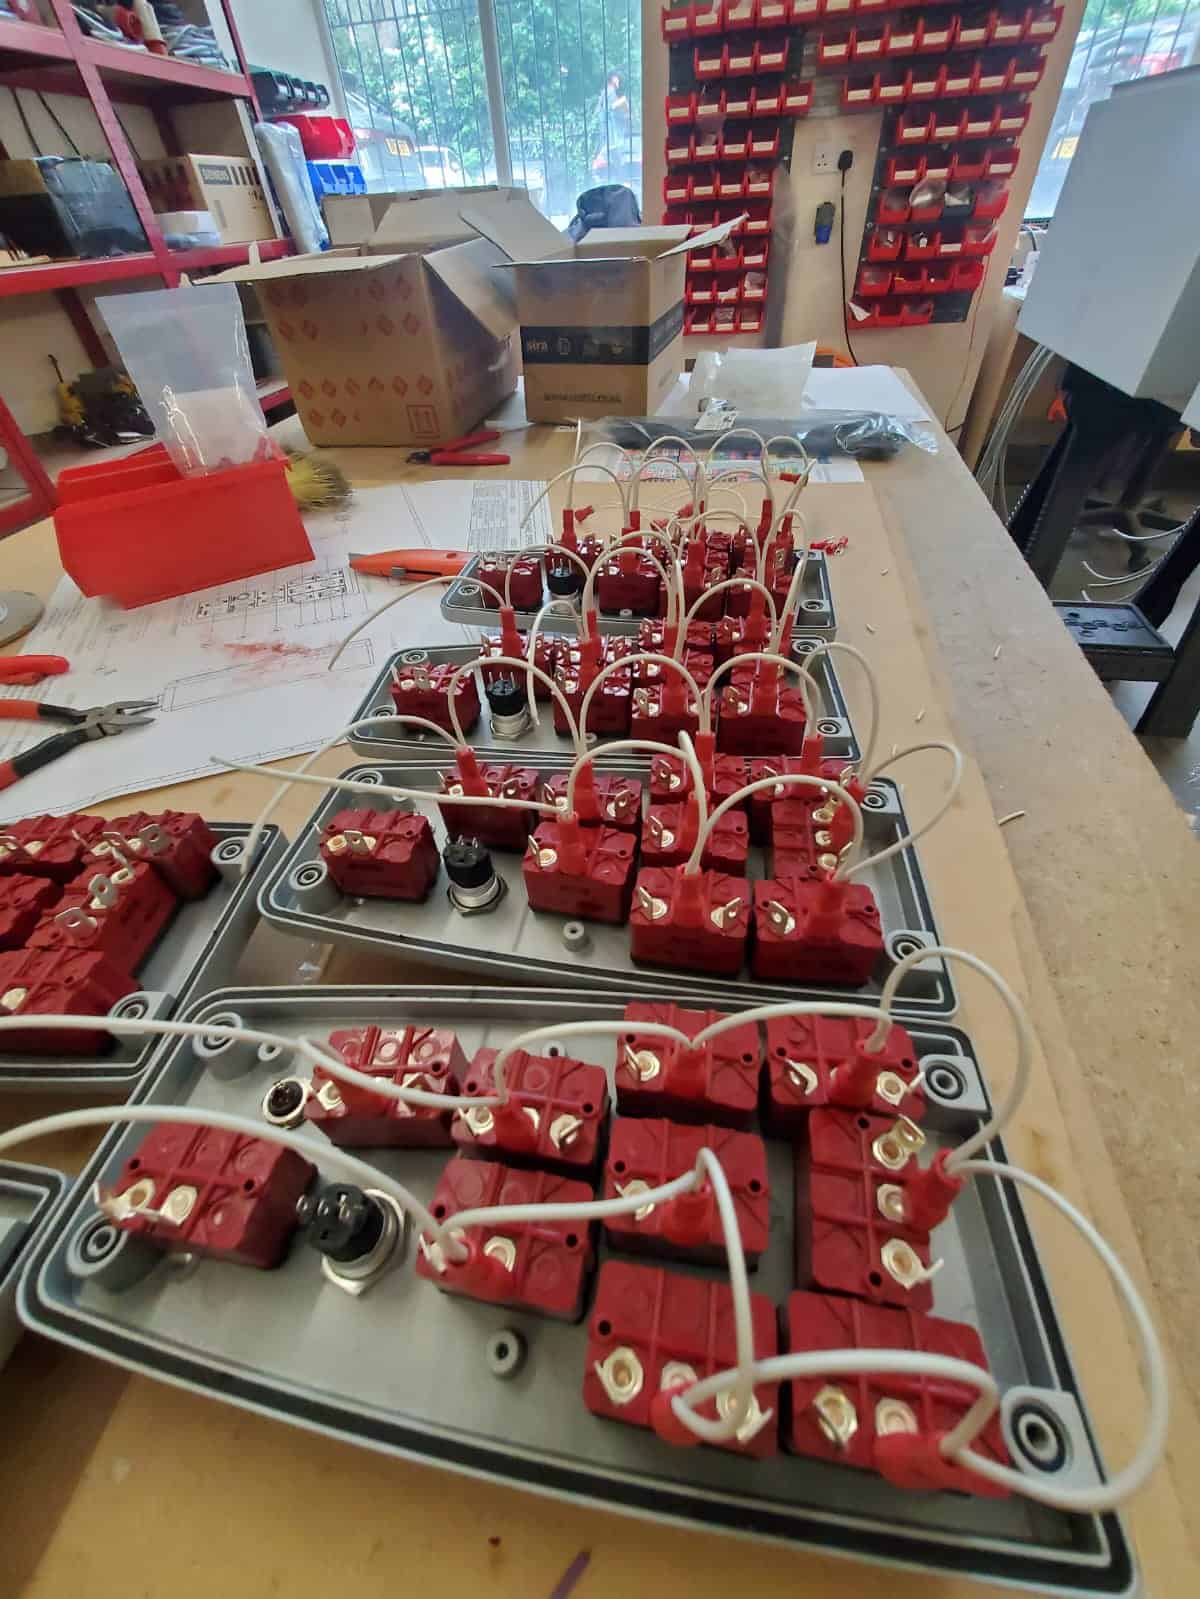
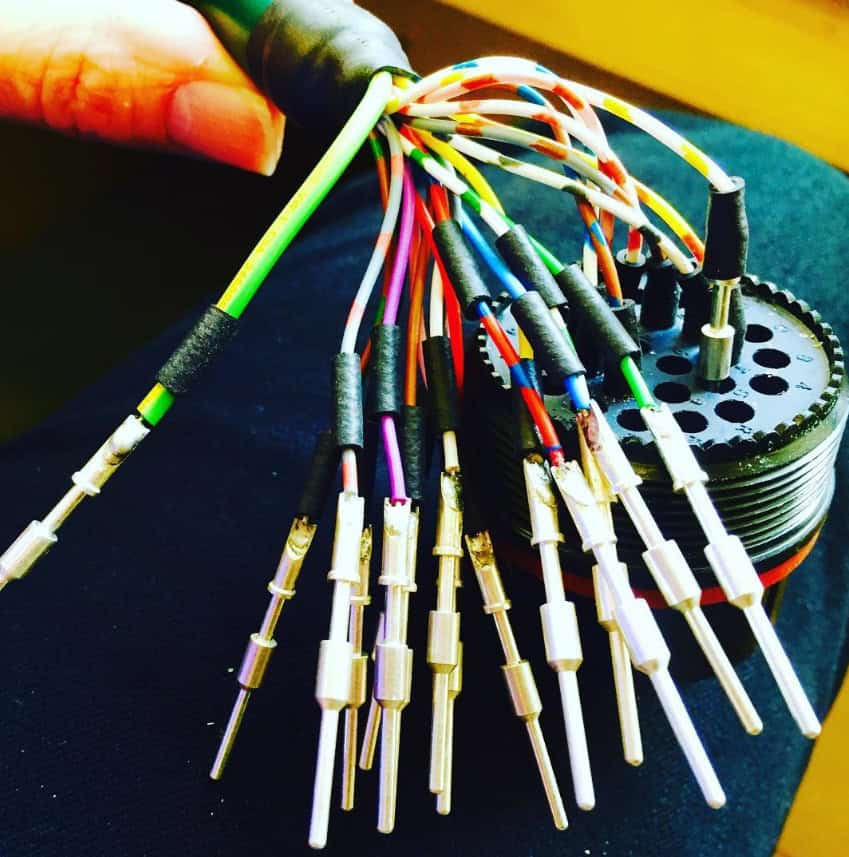
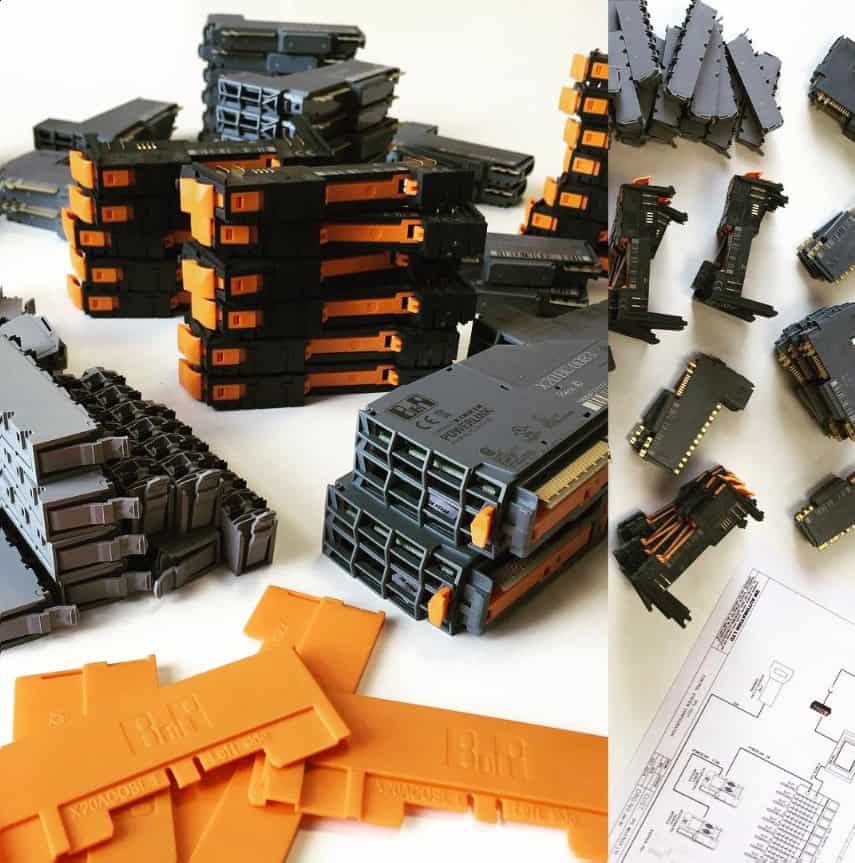
Female Sockets
Here, female sockets are being soldered onto 54 core cables by placing the sockets into a wooden mounting block ready for a steady hand.

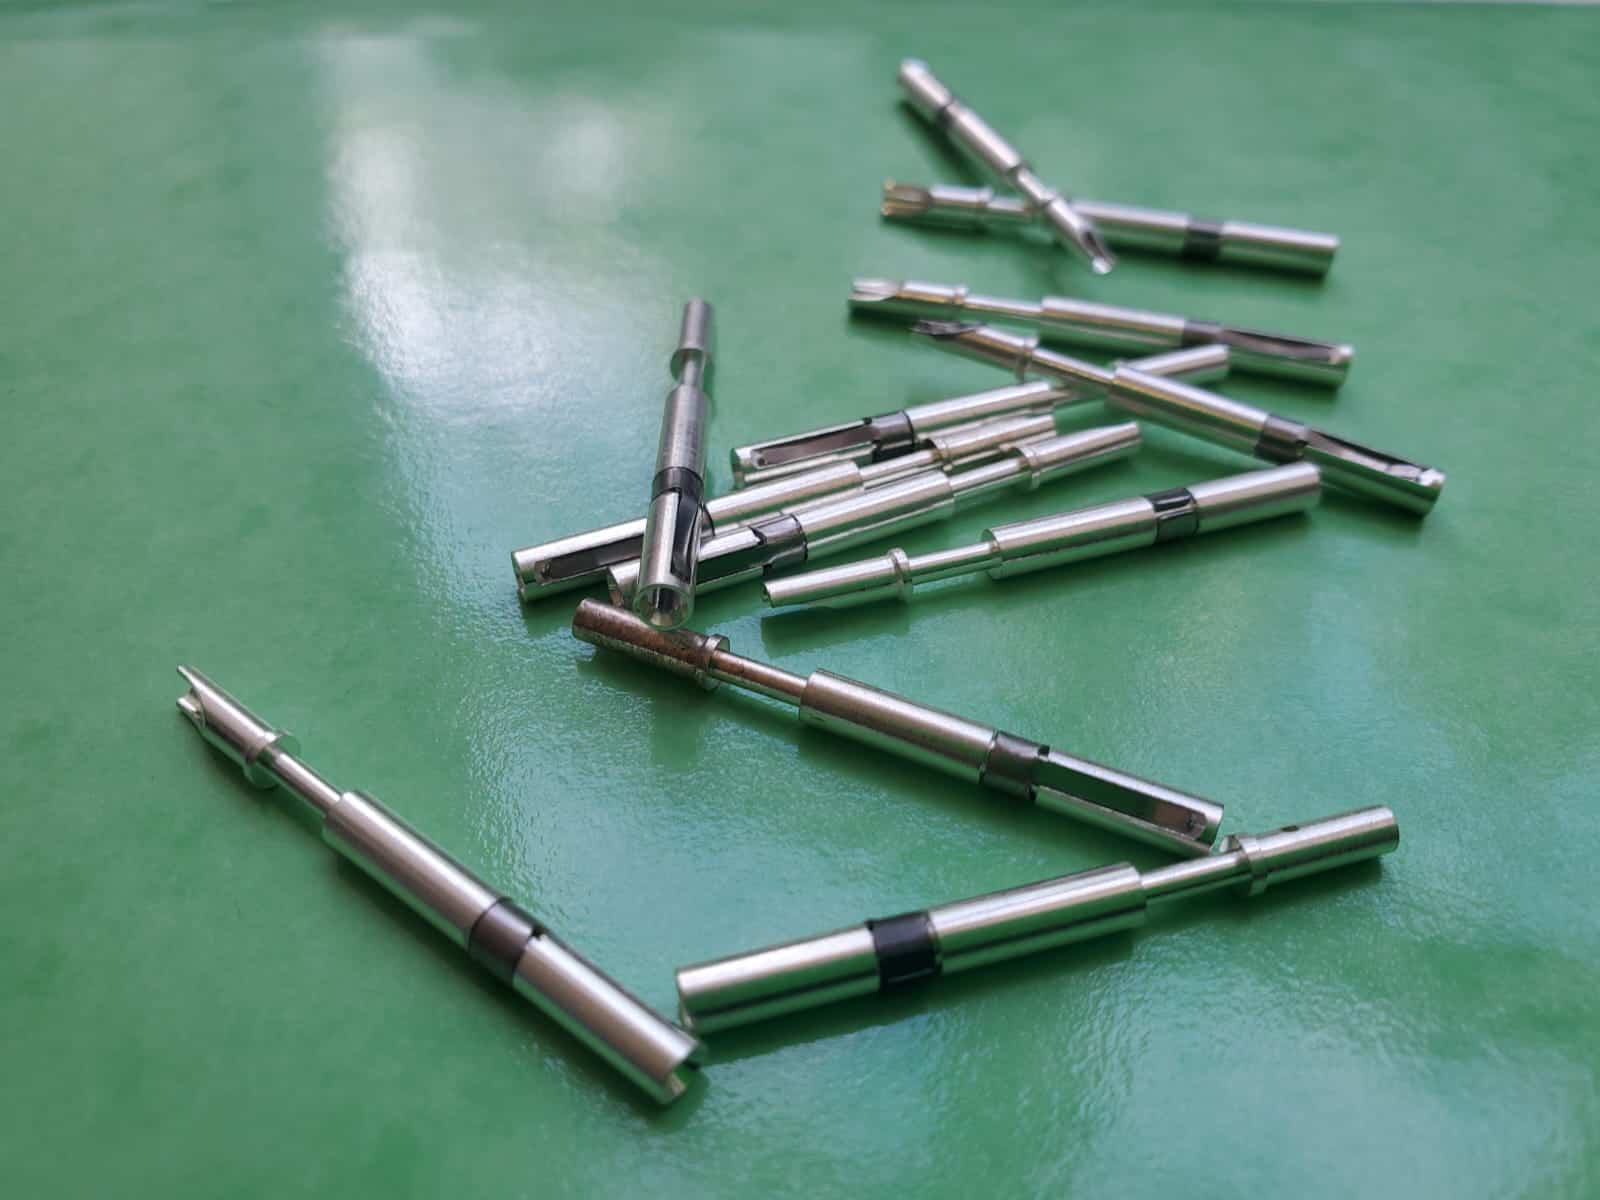
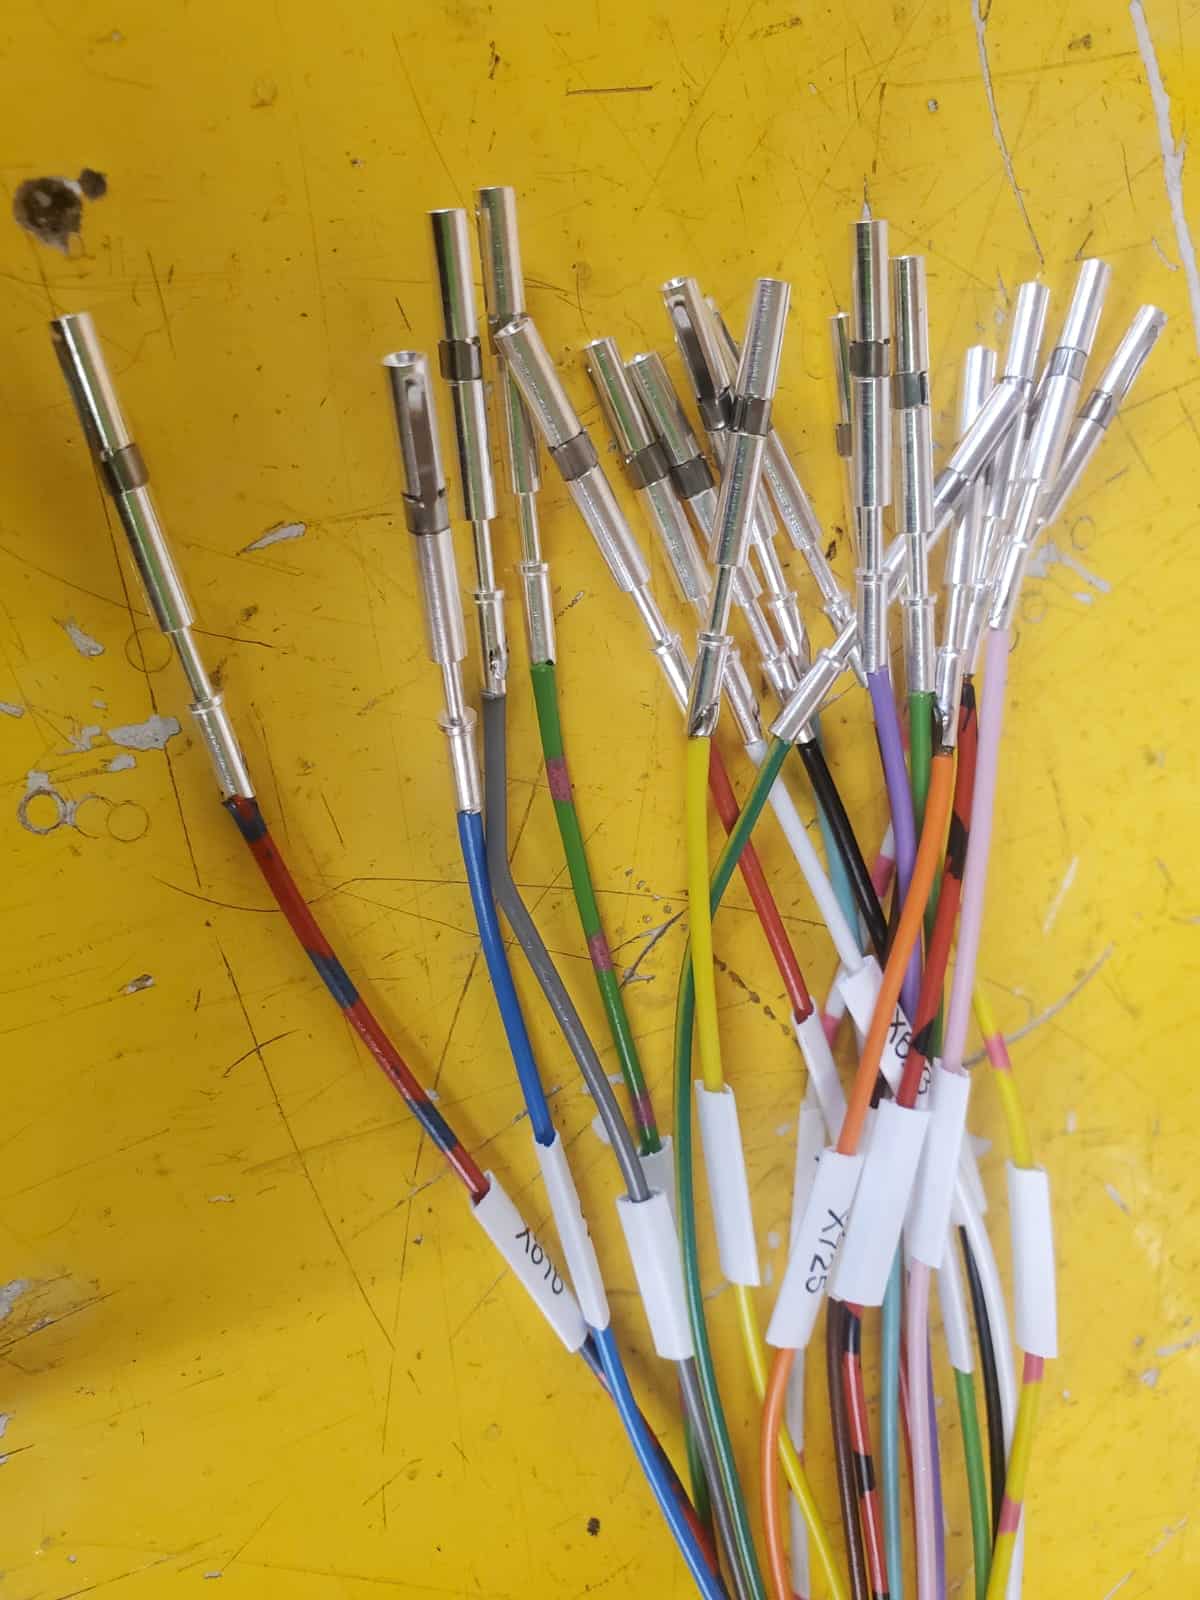
Here you can see the difference between these female sockets which will be embedded into a connector port outlined on our Plug & Socket Assemblies post and Bootlace Ferrules which are used to connect components in a control cabinet.
You can also see the difference in sizes that are available of female sockets, with the smaller type being used elsewhere on the build.
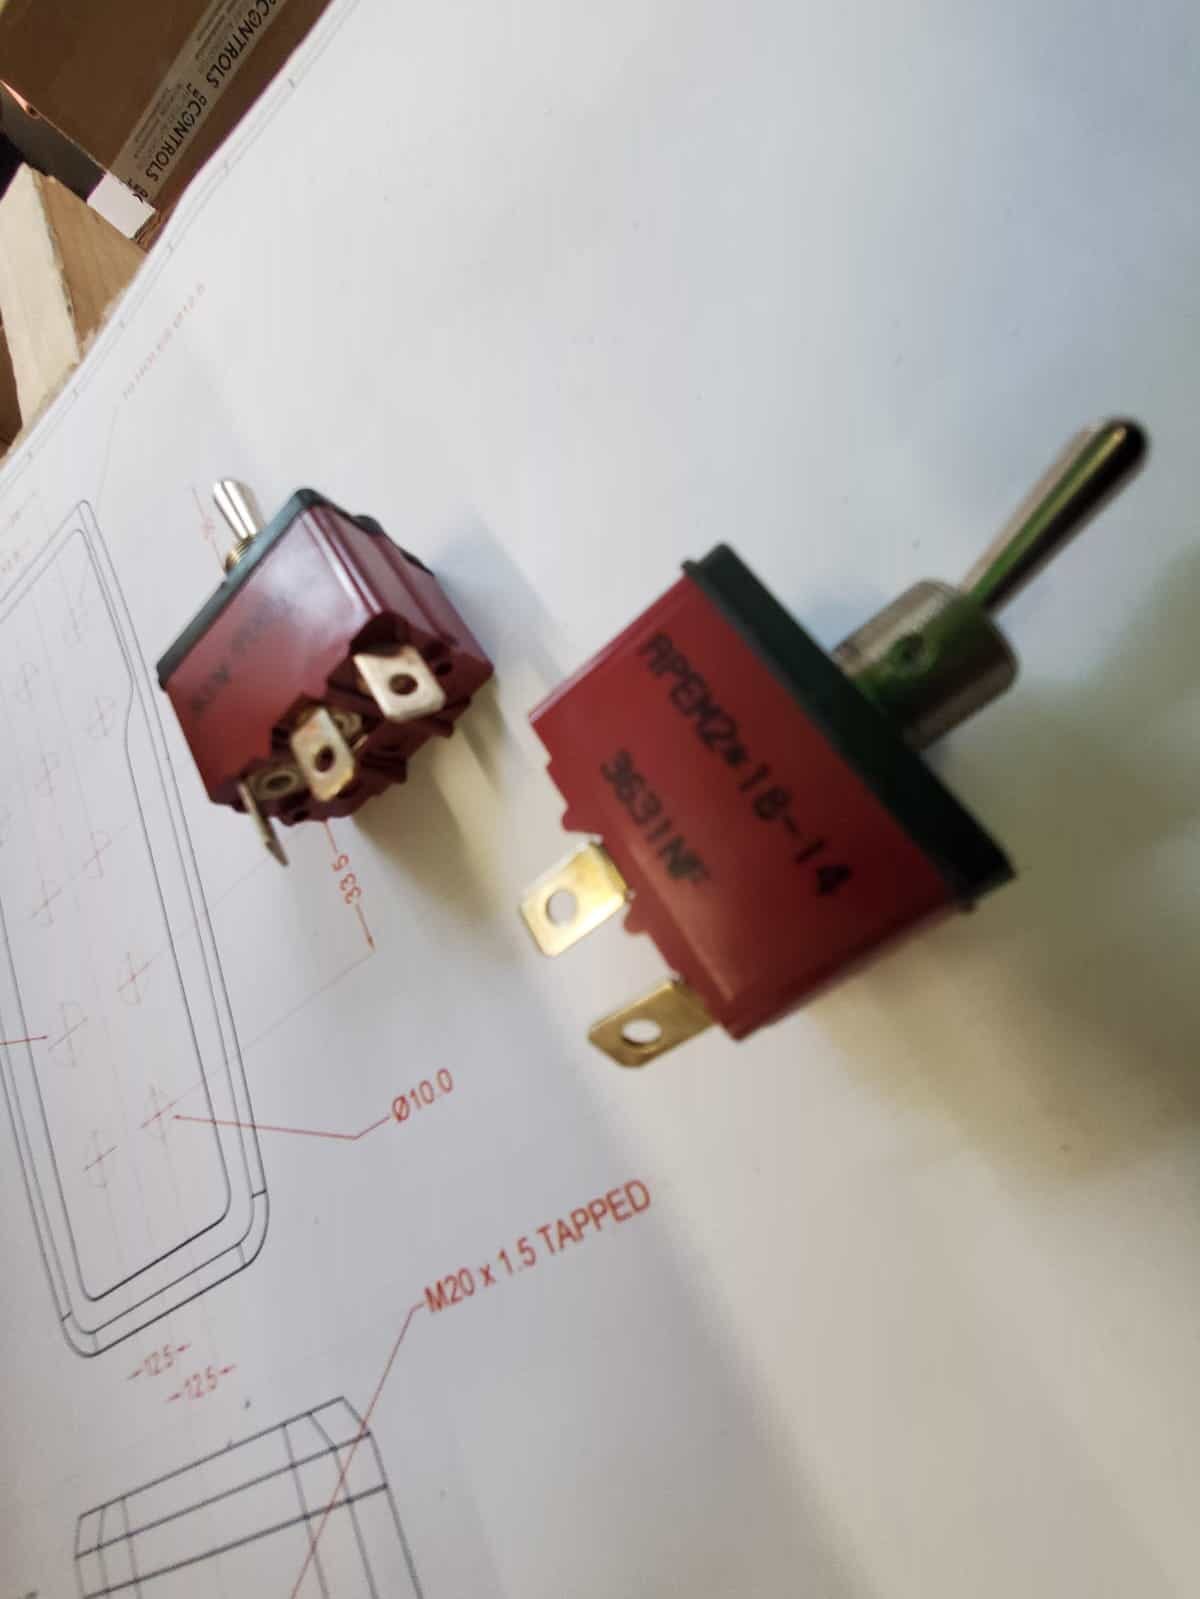
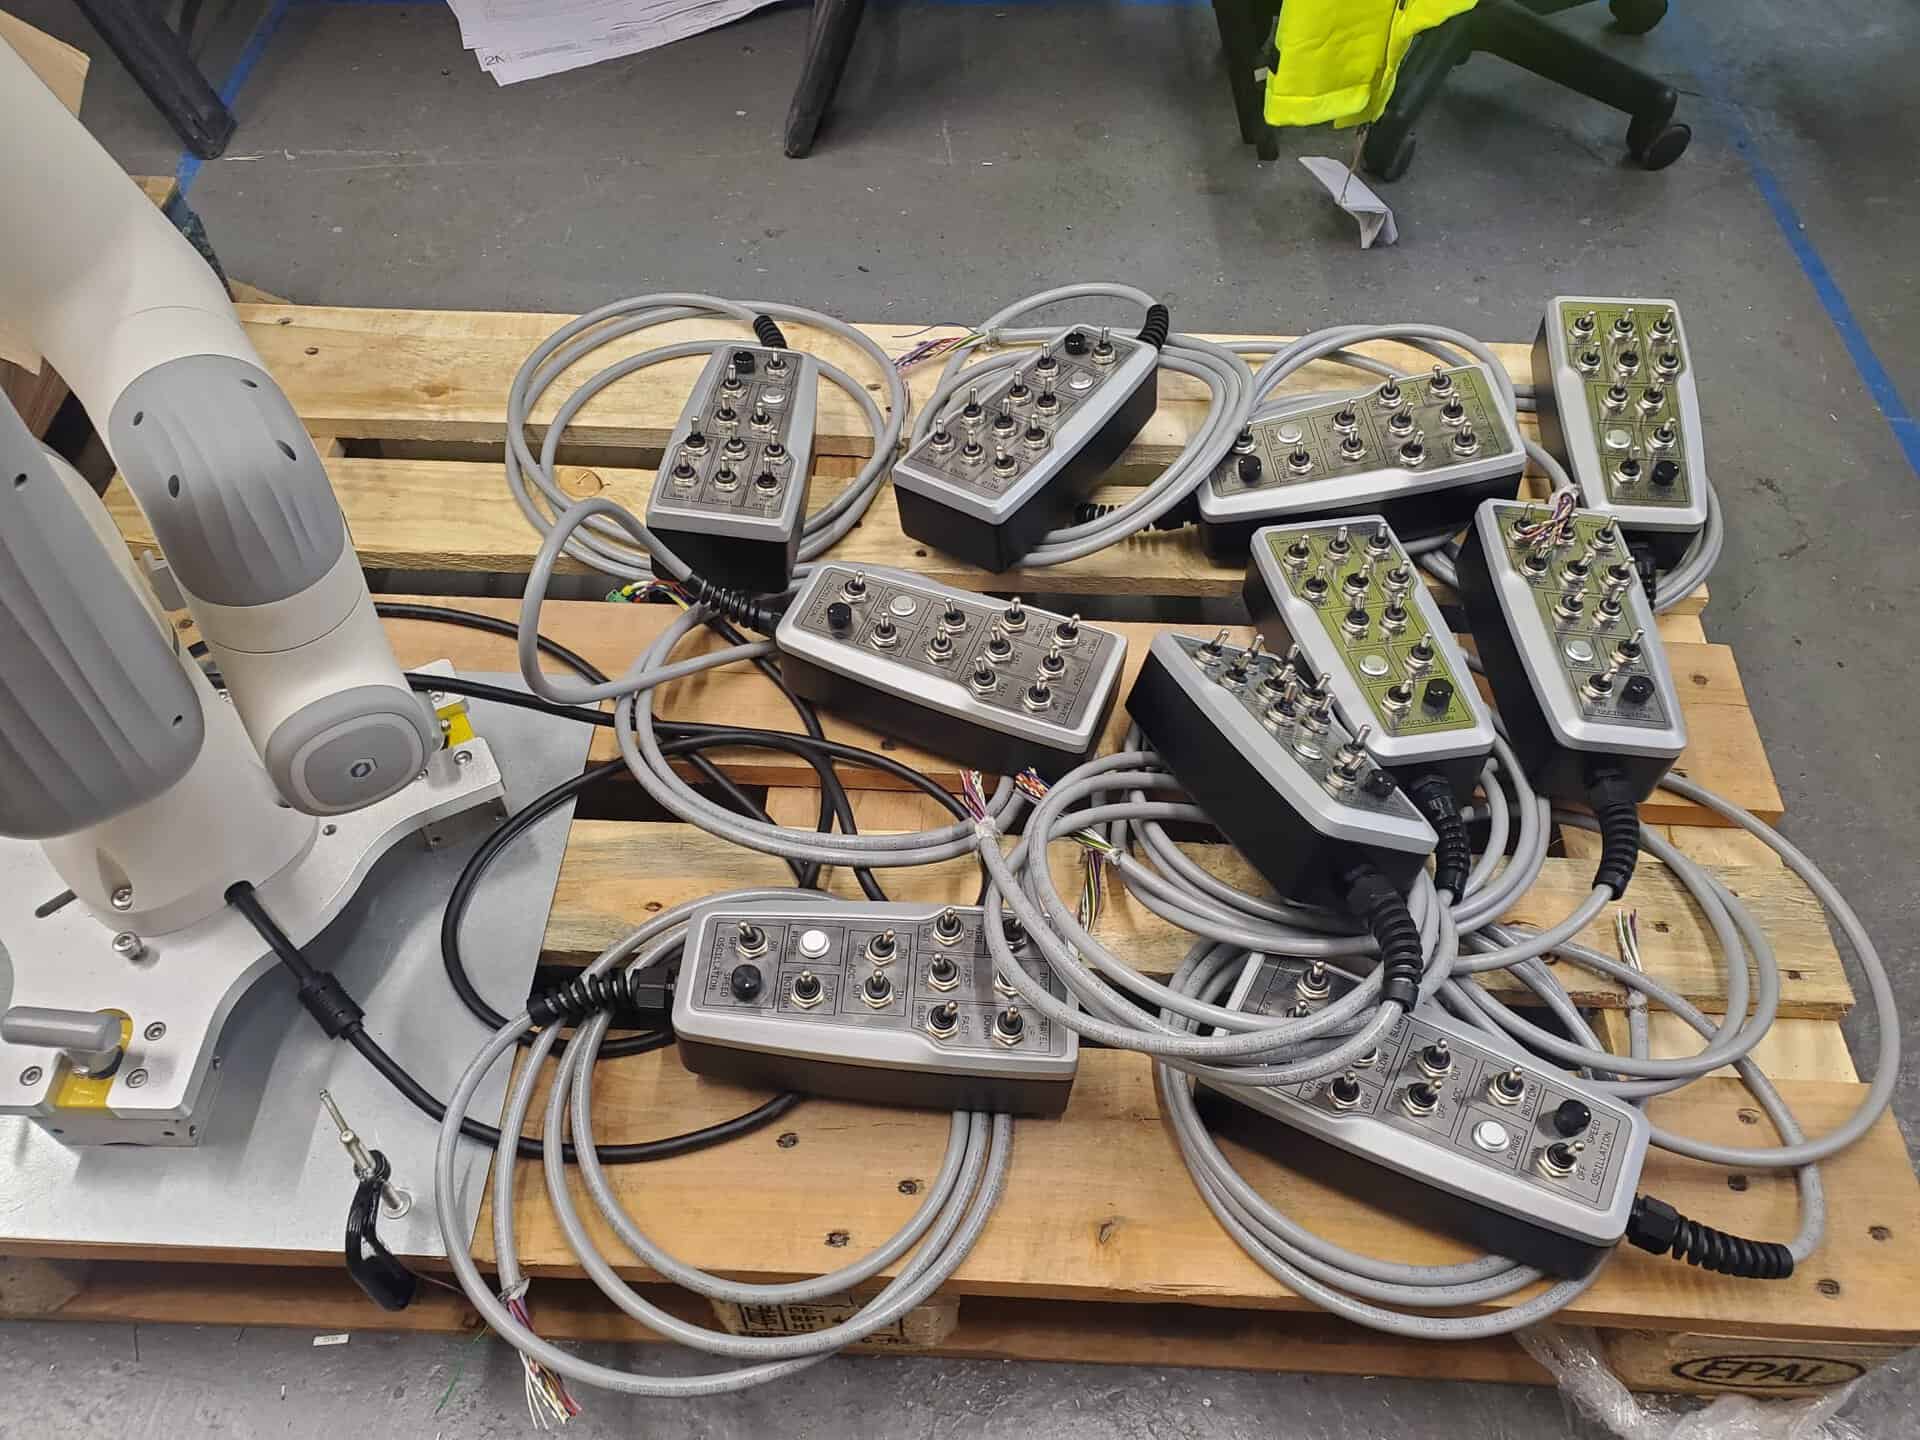
Operator Pendants
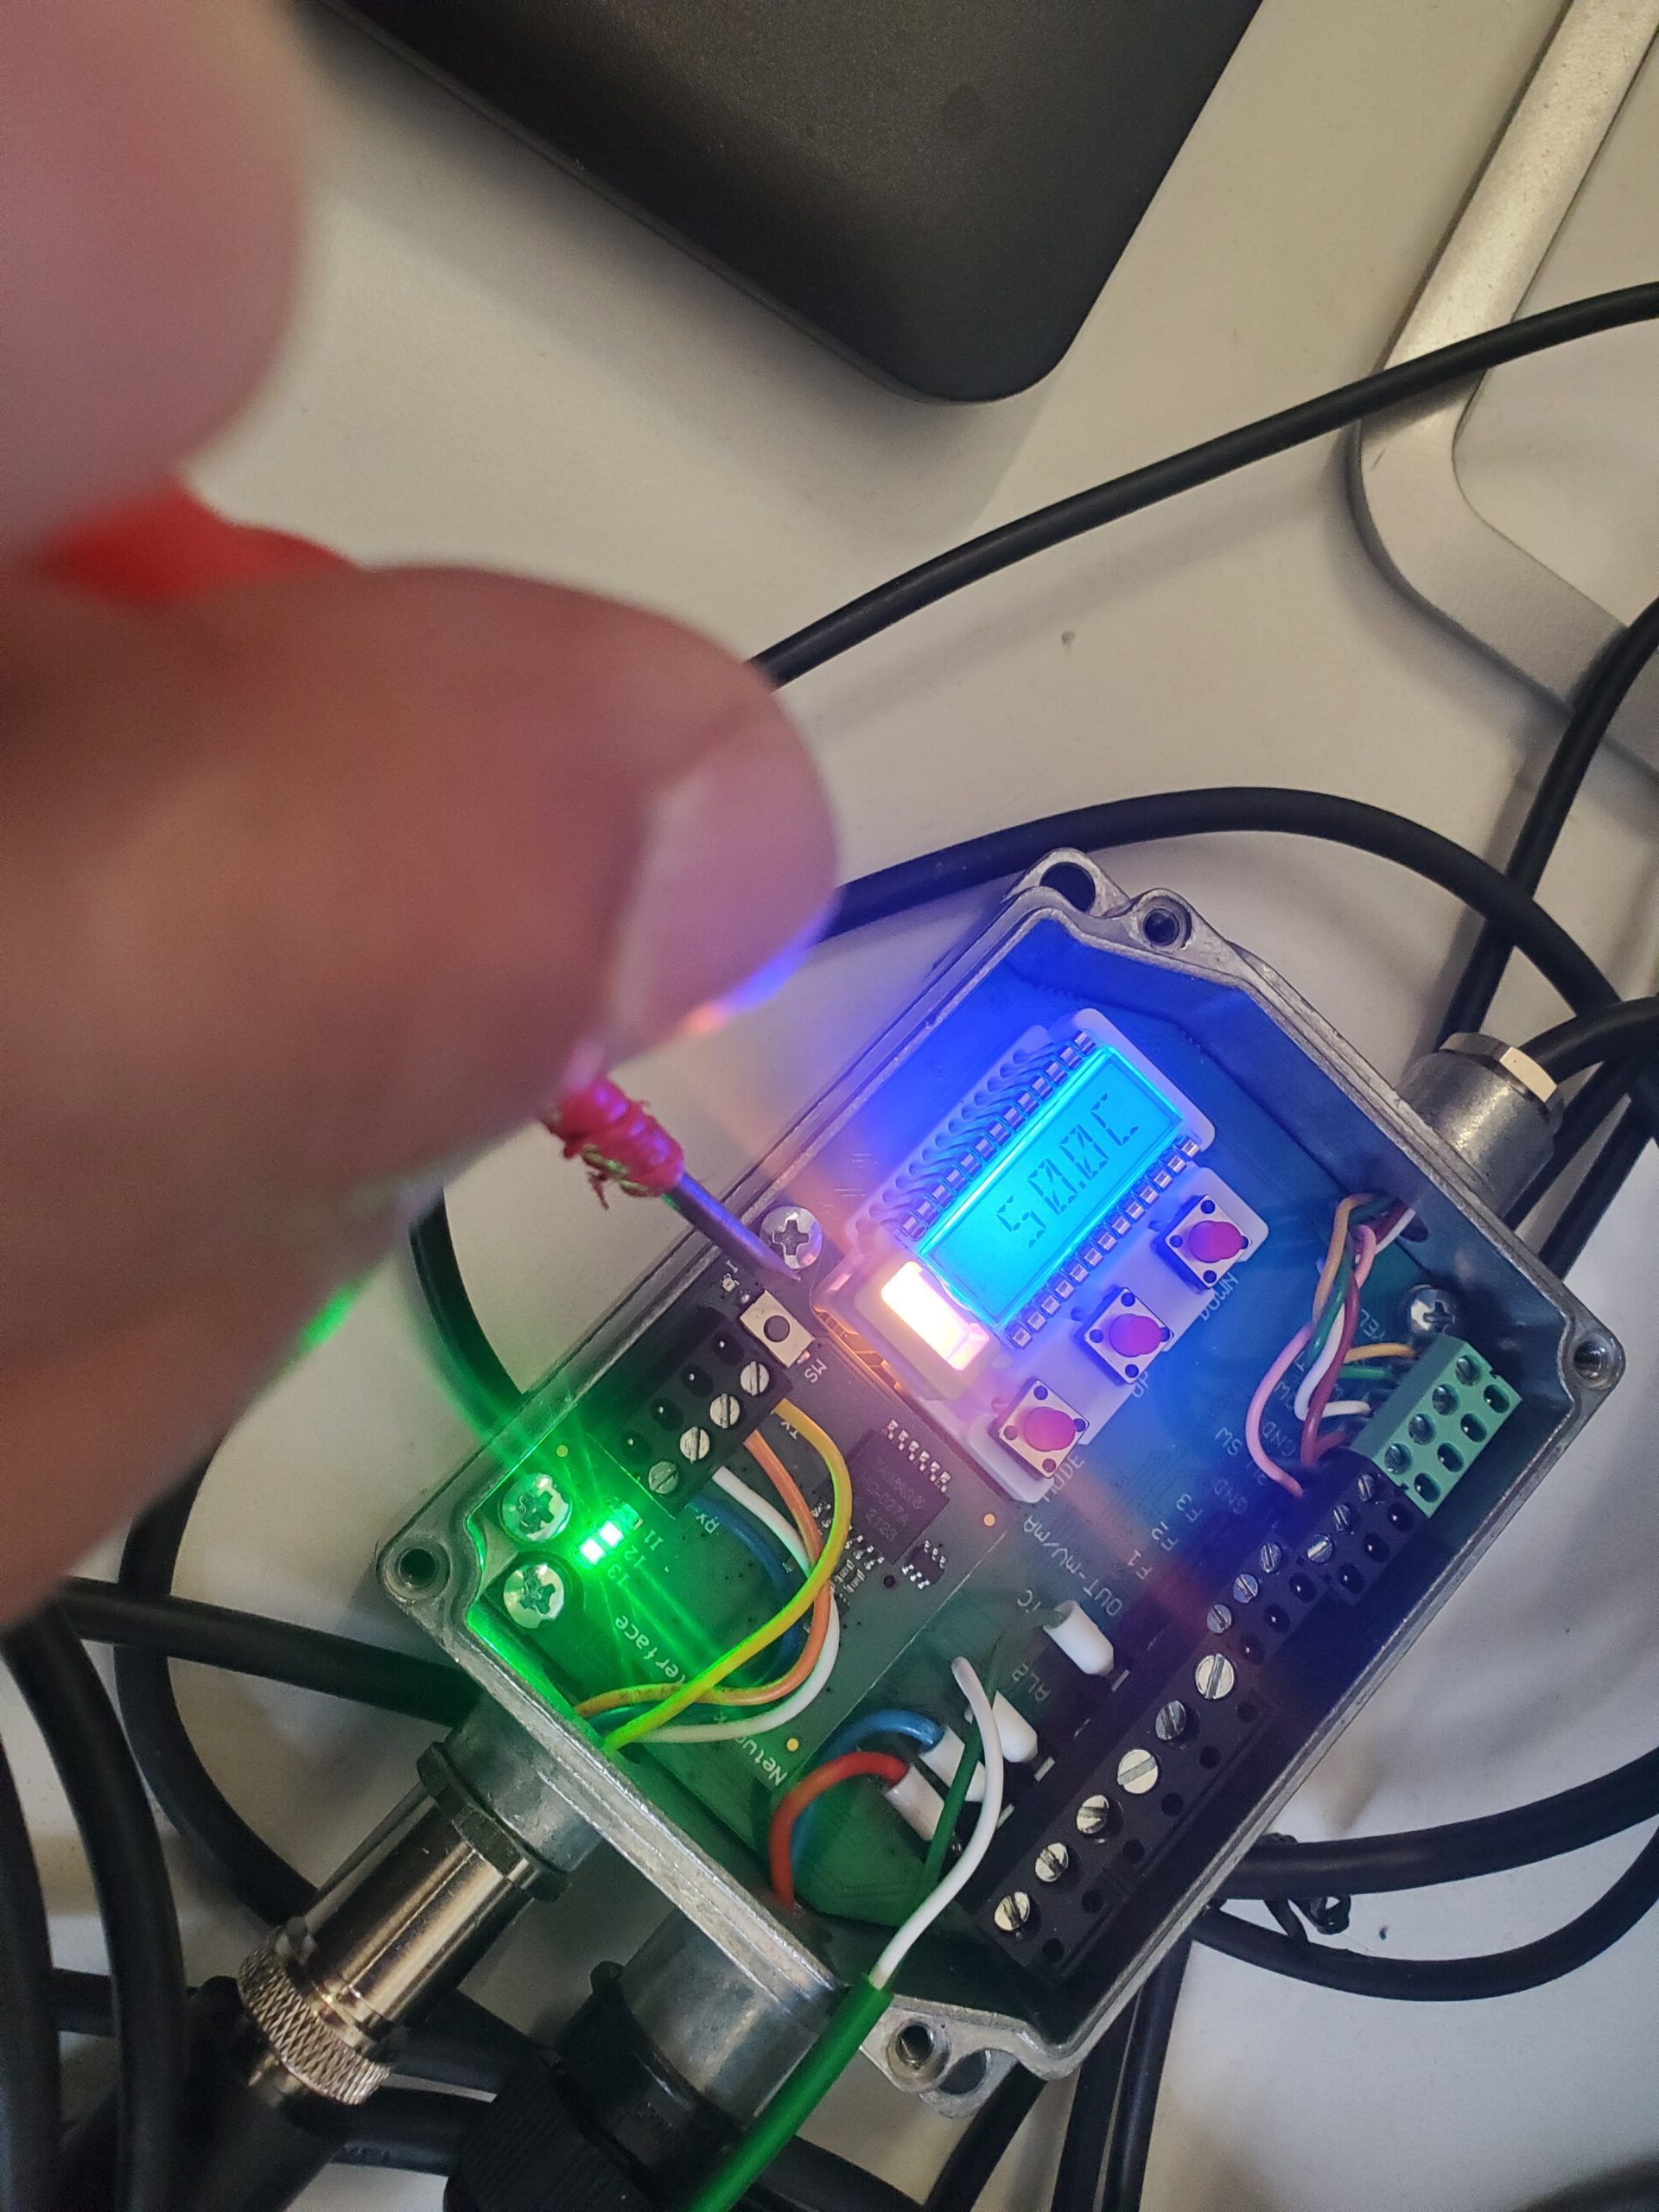
Now time for Mechanical Construction of those Handheld Pendants, with variety of Sealed Toggle Switches being mounted to the pendant casings before being wired in.
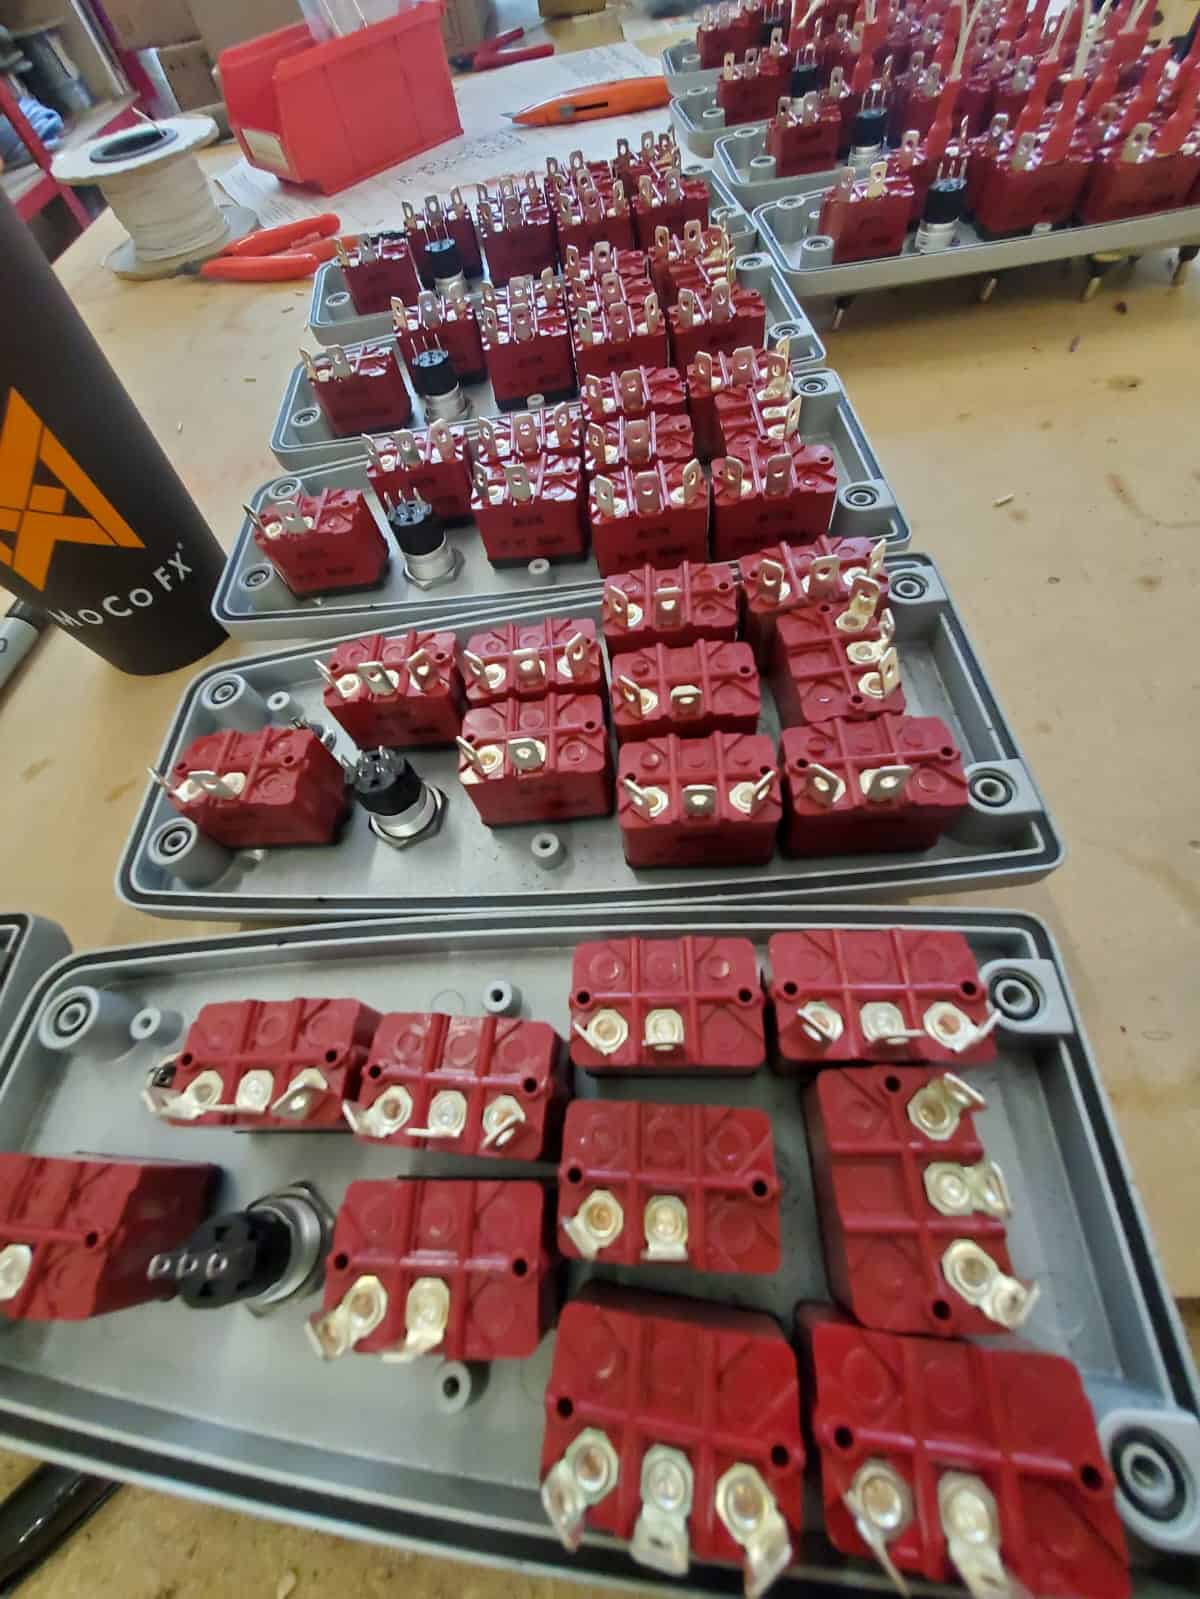
Here are the fully assembled Pendants ready for testing before being packed away for shipping.
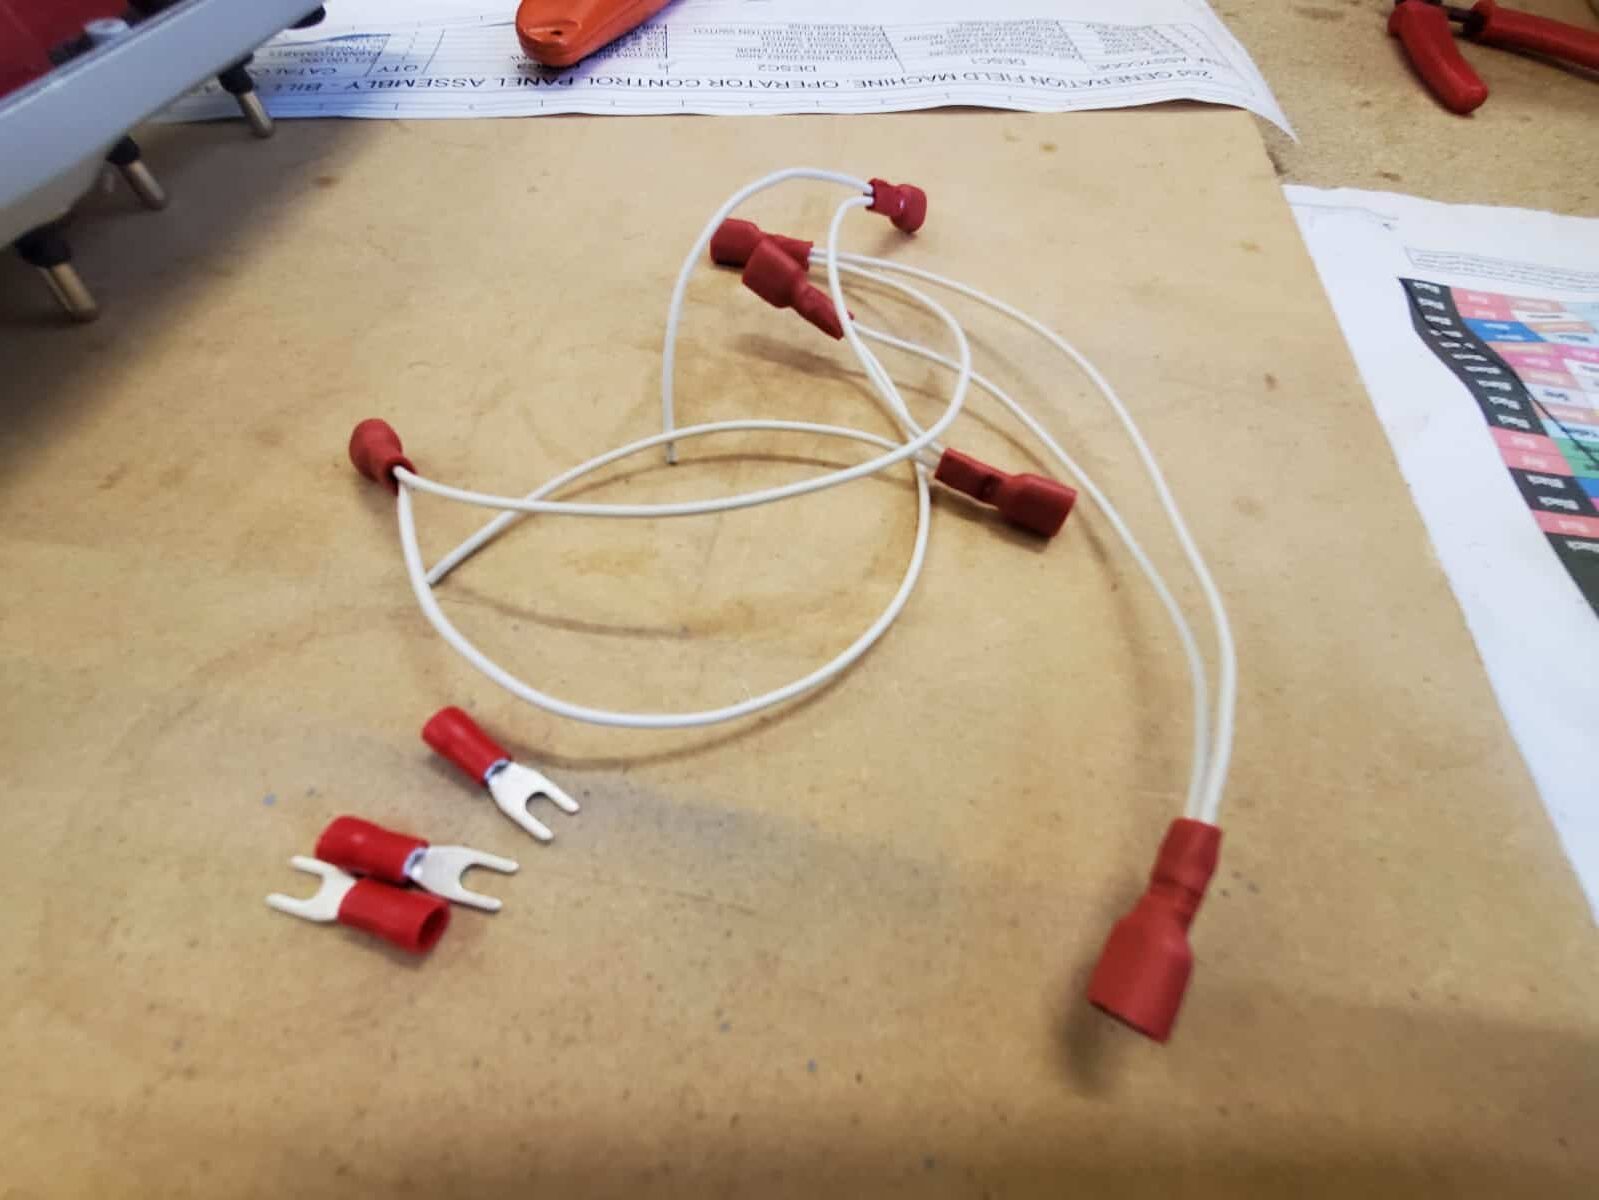
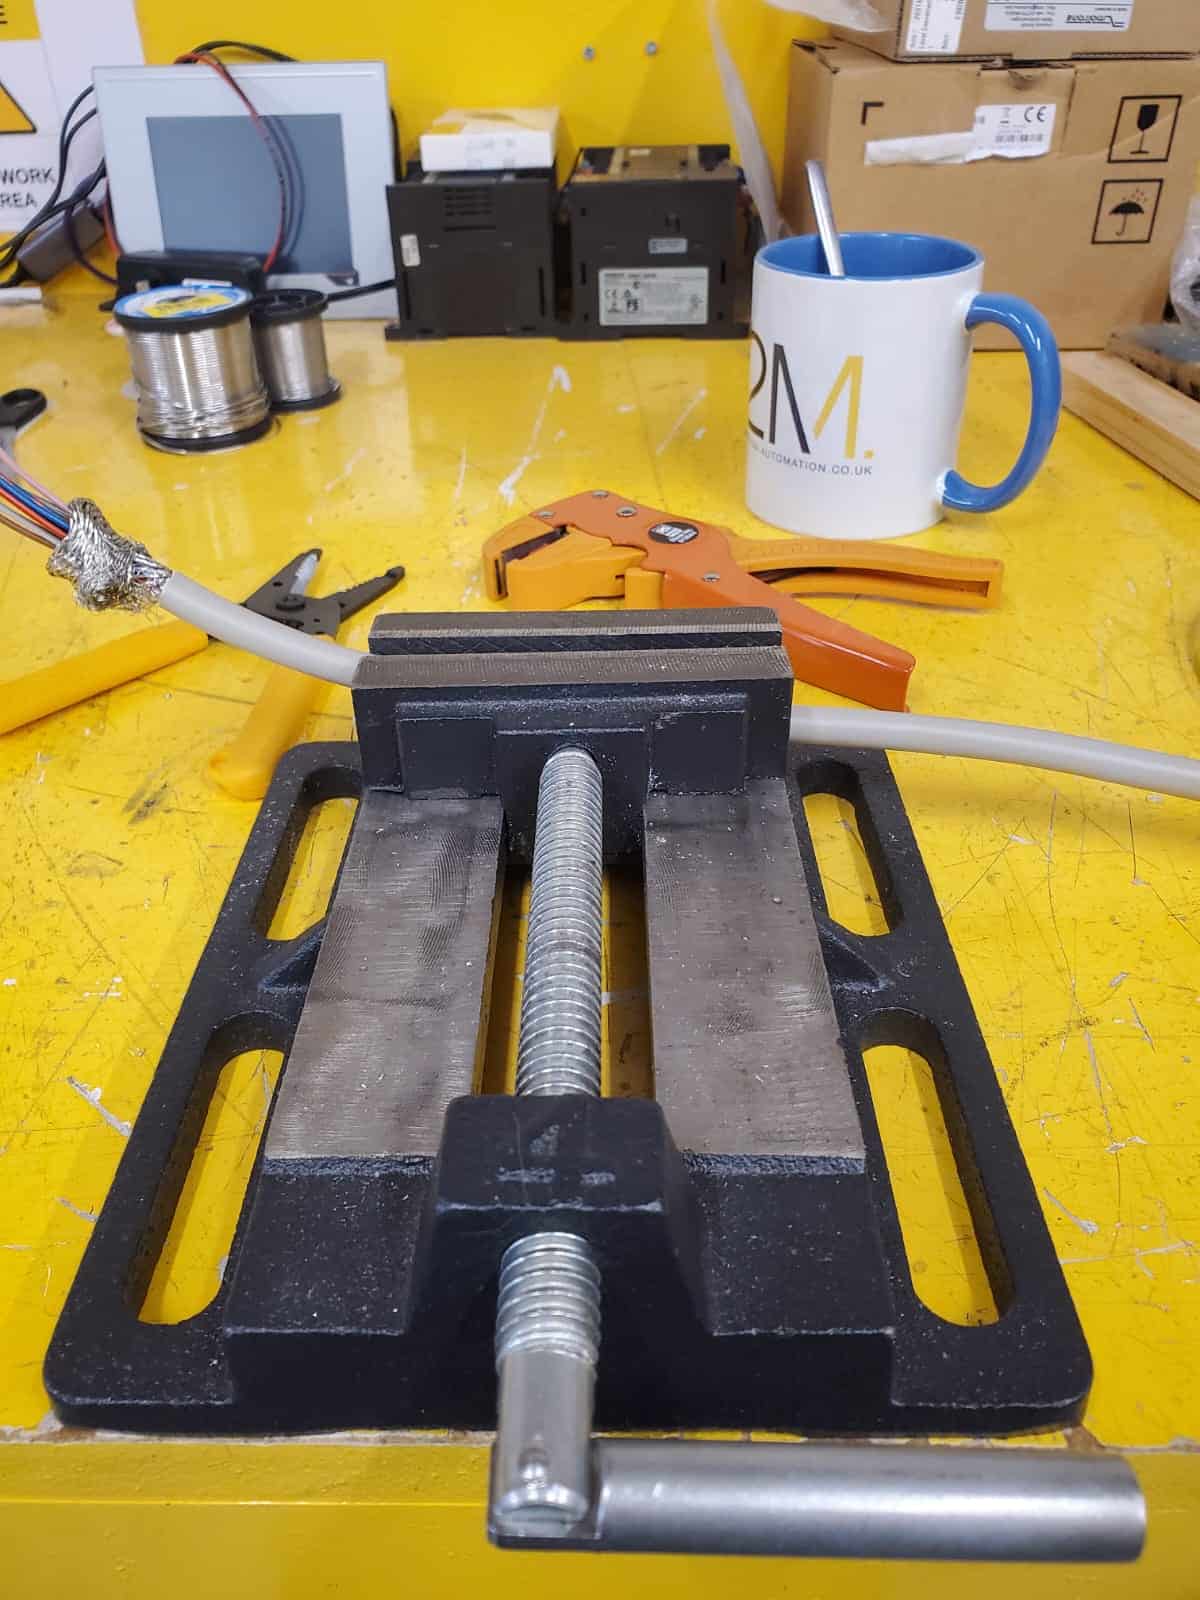
Soldering Earth Wires
Here we continue soldering earth wires onto cables. A vice is useful for clamping cables into position, you can see earth wire being cut here ready to have it’s end stripped with a cable stripper. Once the earth wires are soldered onto the cables, heat-shrink is used to cover and protect the cable ends.
Does Soldering Make You Want To Sob?
Or is it just me?
Using a bit of word play, as with any job, soldering requires you to be in the flow. Speaking of flow, Solder Flux is used with lead-free solder:
Solder flux is a chemical agent used in metal joining to remove oxidation from base metals, prevent new rust or oxidation from forming when heated, and improve the flow and bonding of the liquid solder. It is an essential component for creating strong, reliable, and electrically conductive joints.
Lead-free solder melts at higher temperatures and oxidizes quickly. Flux cleans the metal parts and helps the solder flow smoothly. It guarantees a strong joint.
Below is a clip showing the basics of soldering.
Related Work
albums
albums
albums
albums
albums
albums