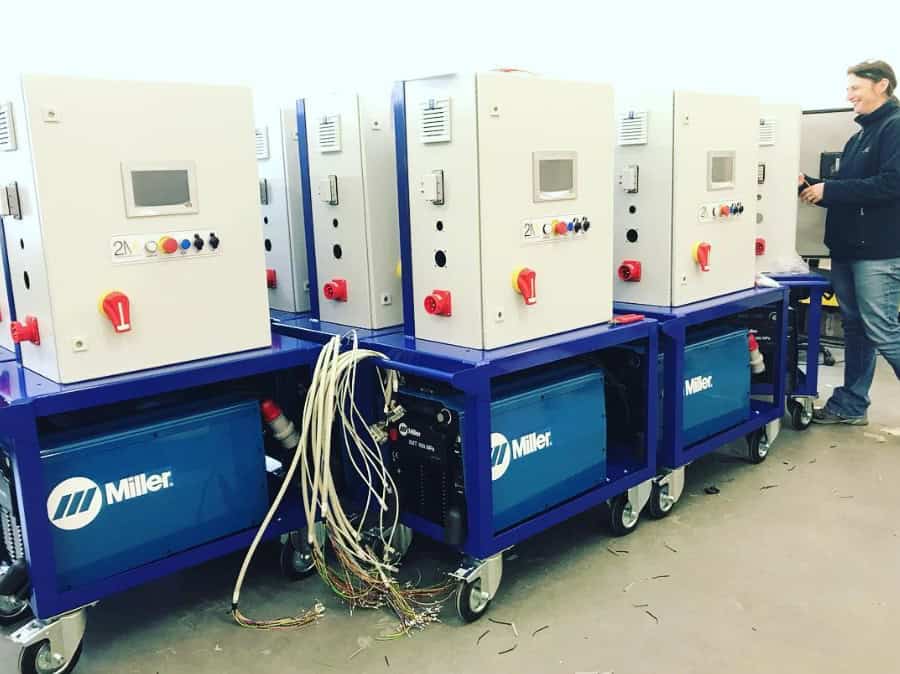
Before & After IV – Control Cabinet Assemblies

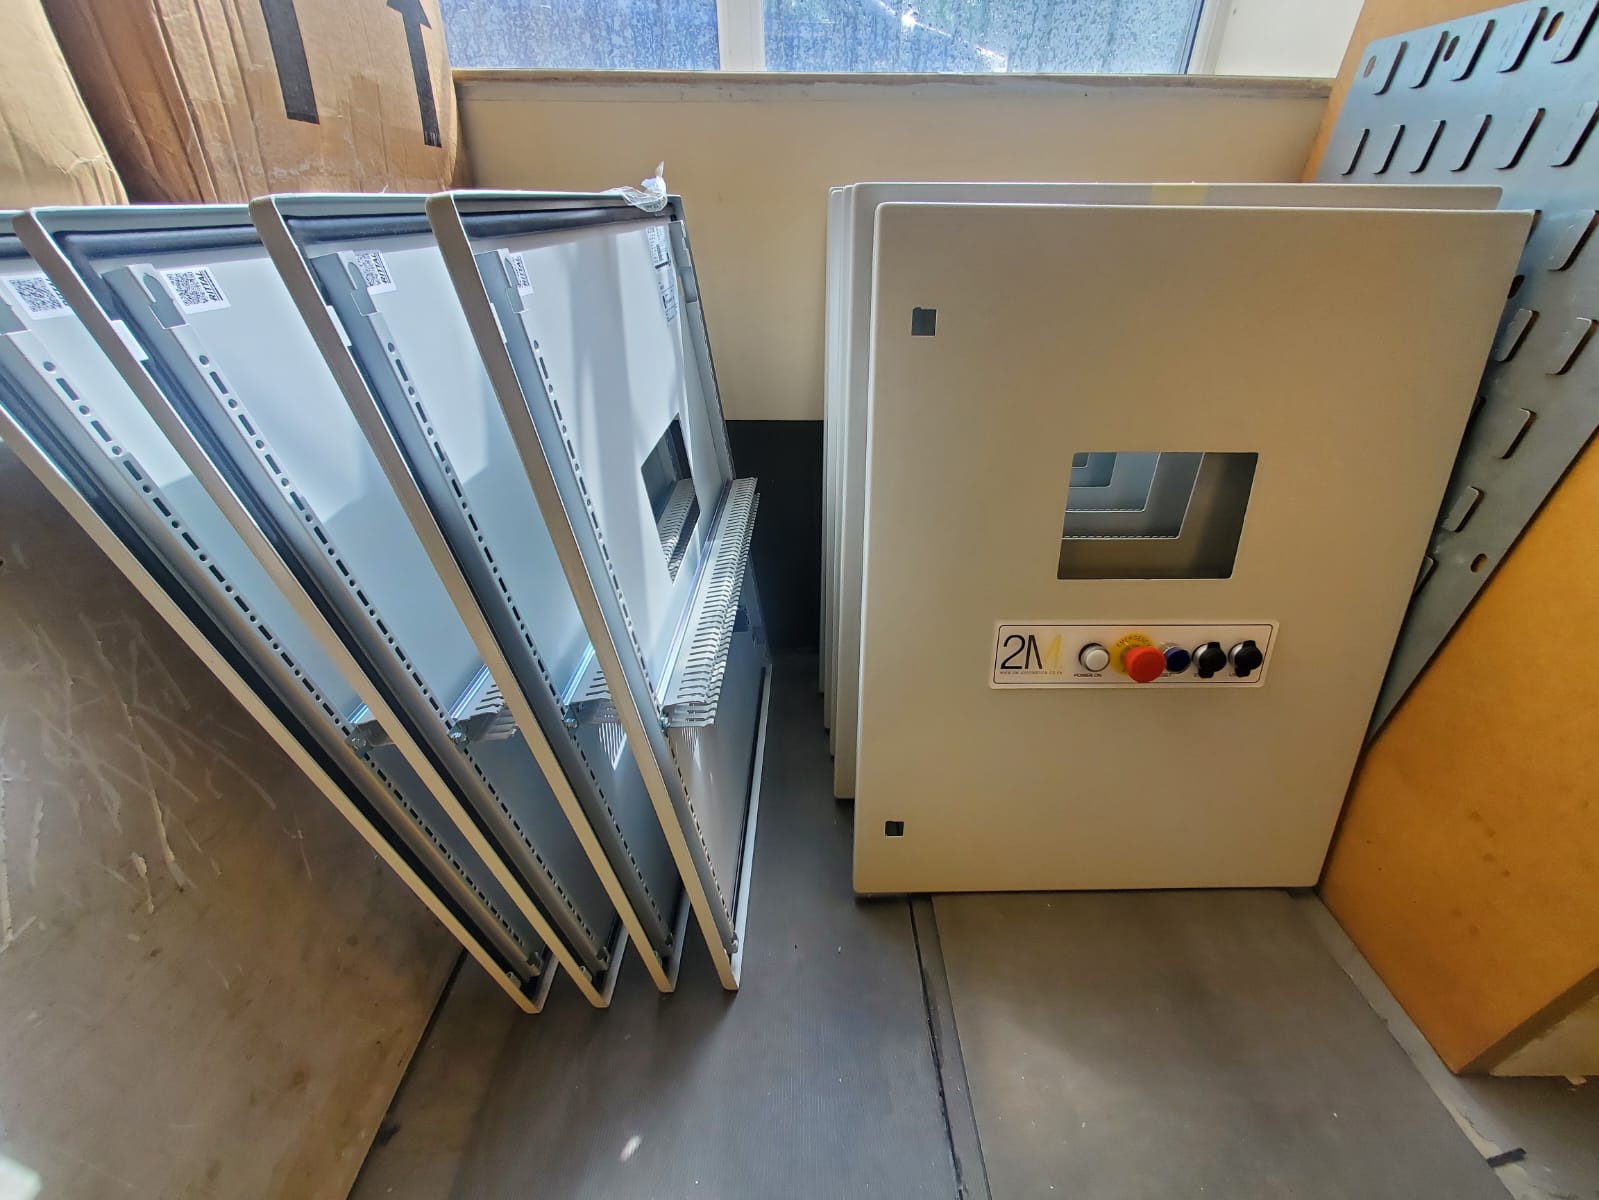
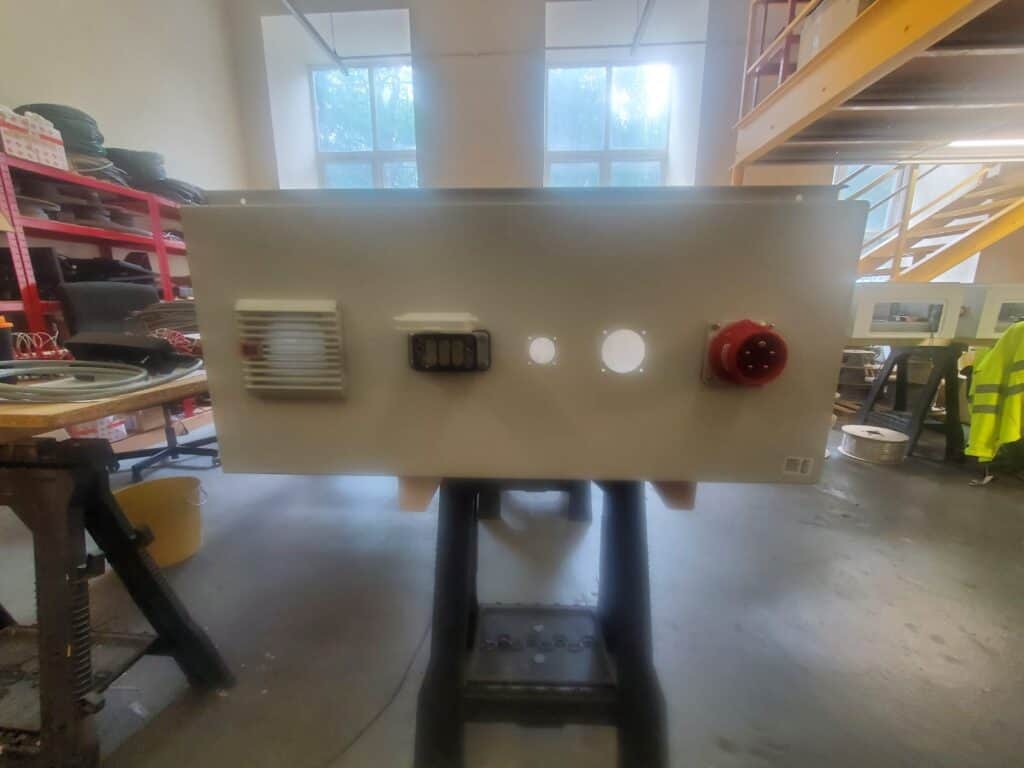
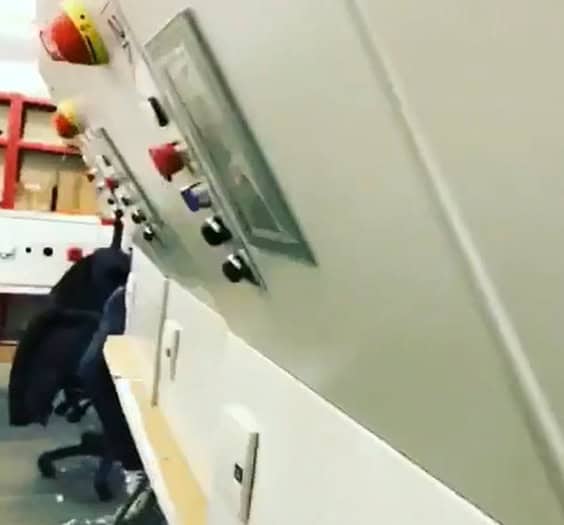
Control Cabinet Fronts
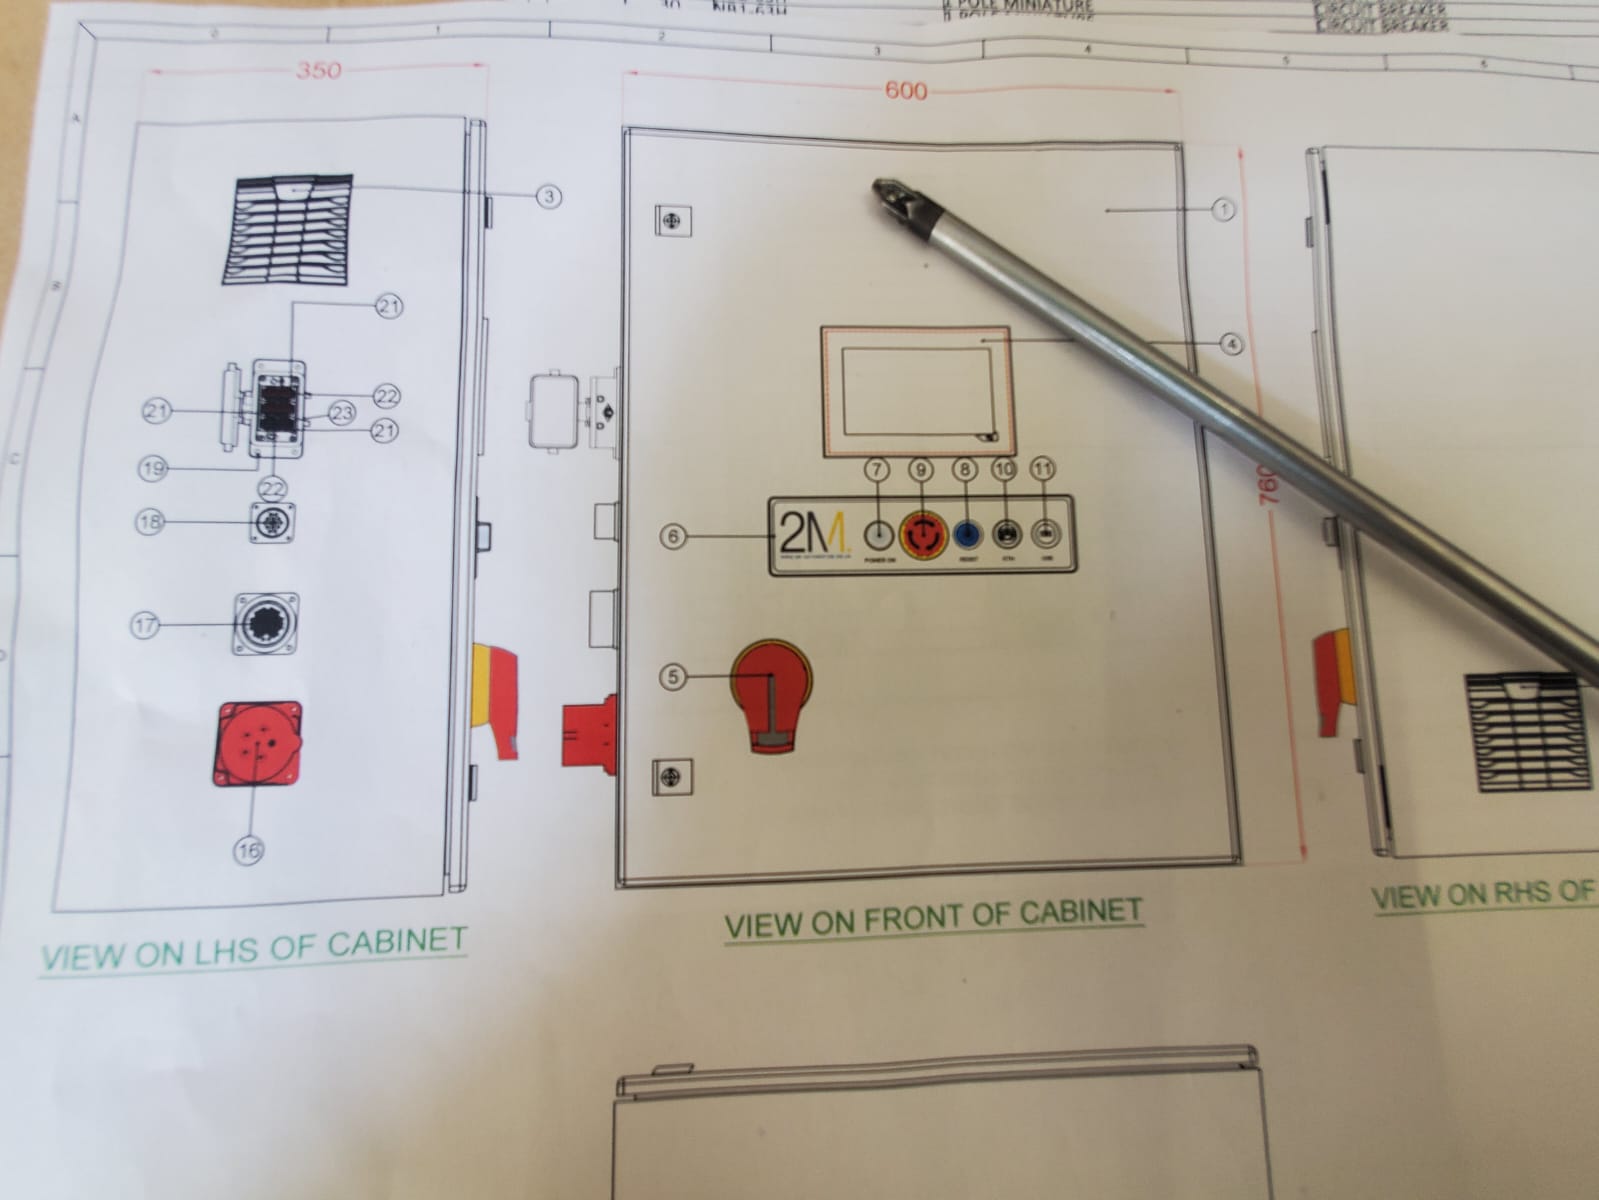
These bespoke cabinets are ordered to the required specification and delivered with holes cut out where required in accordance with Chris’ Electrical Diagrams.
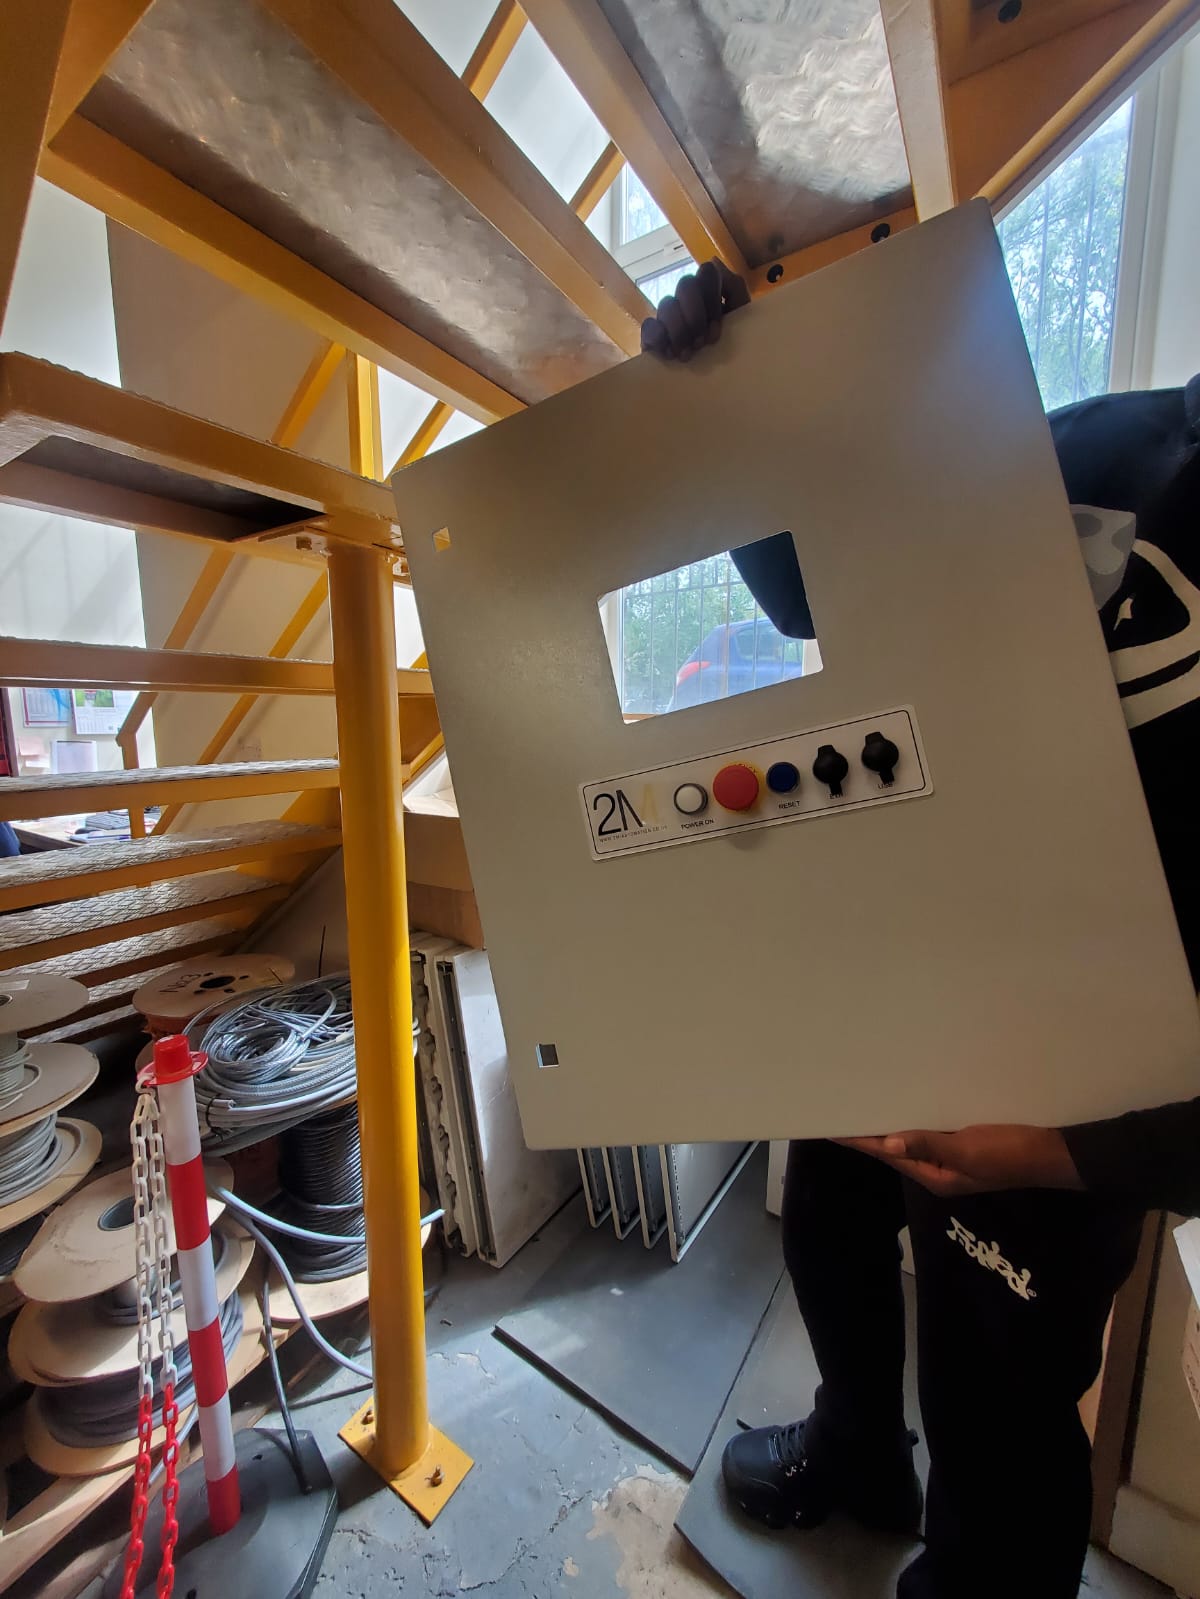
2M Legend Plates are ordered to size and mounted to the cabinet door fronts. AJ then proceeded to connect the necessary buttons and connection points to the cabinet doors, you can see how those buttons look on the back of one of the door fronts in the third photo below.
Finally, the doors are set aside for assembly later on.
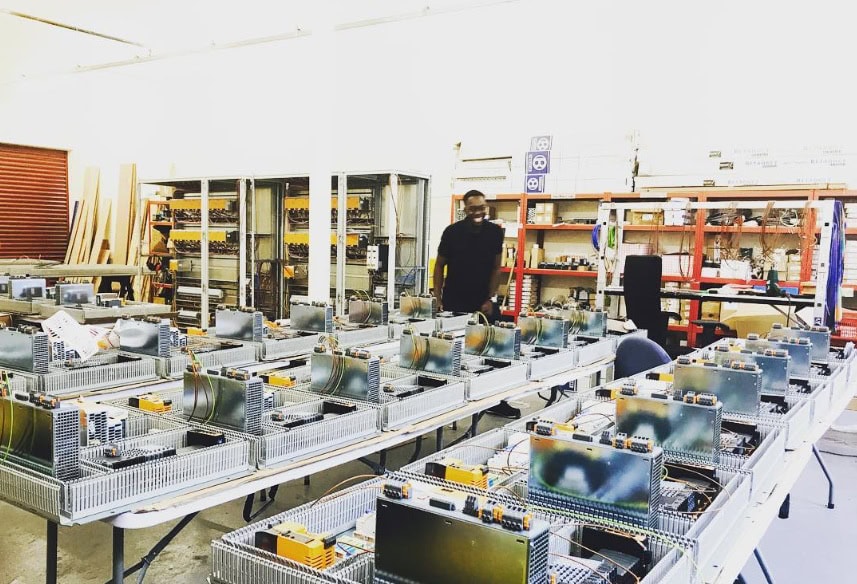
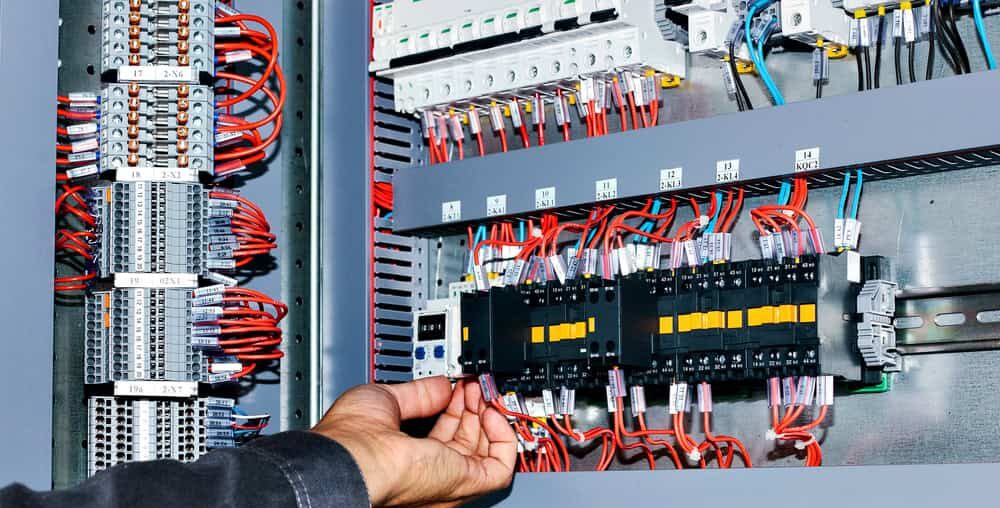
Behind the Scenes
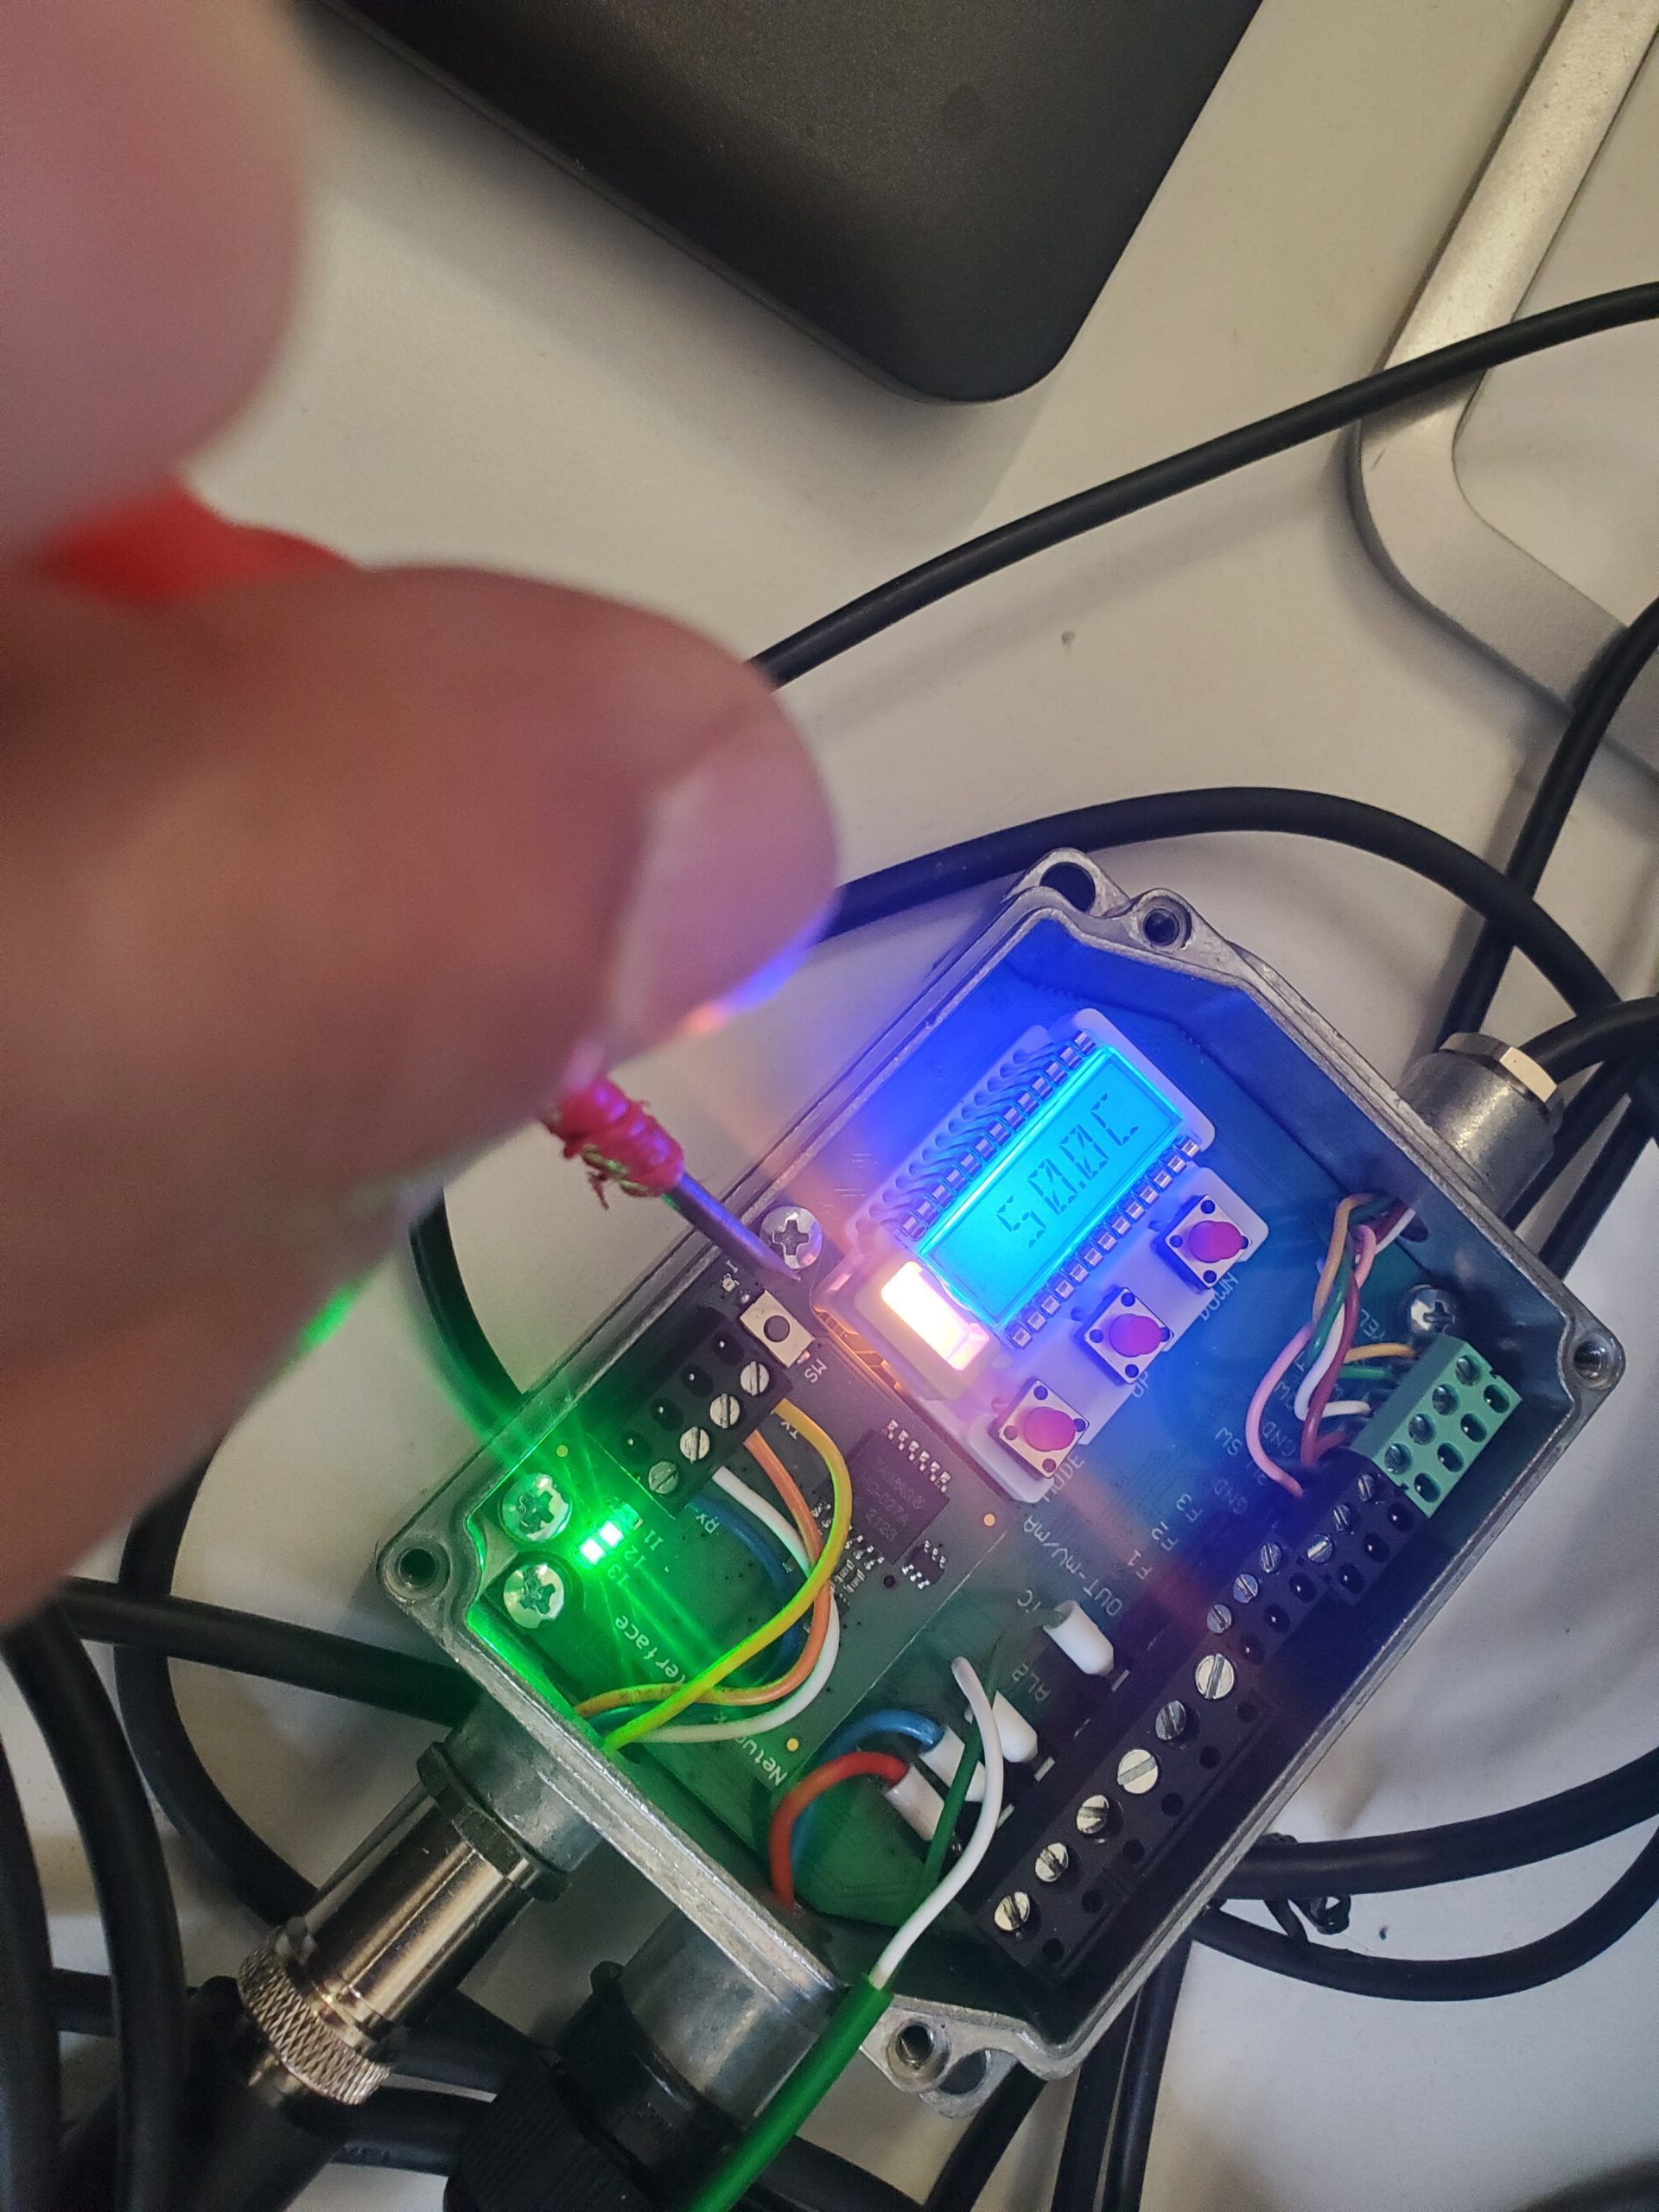
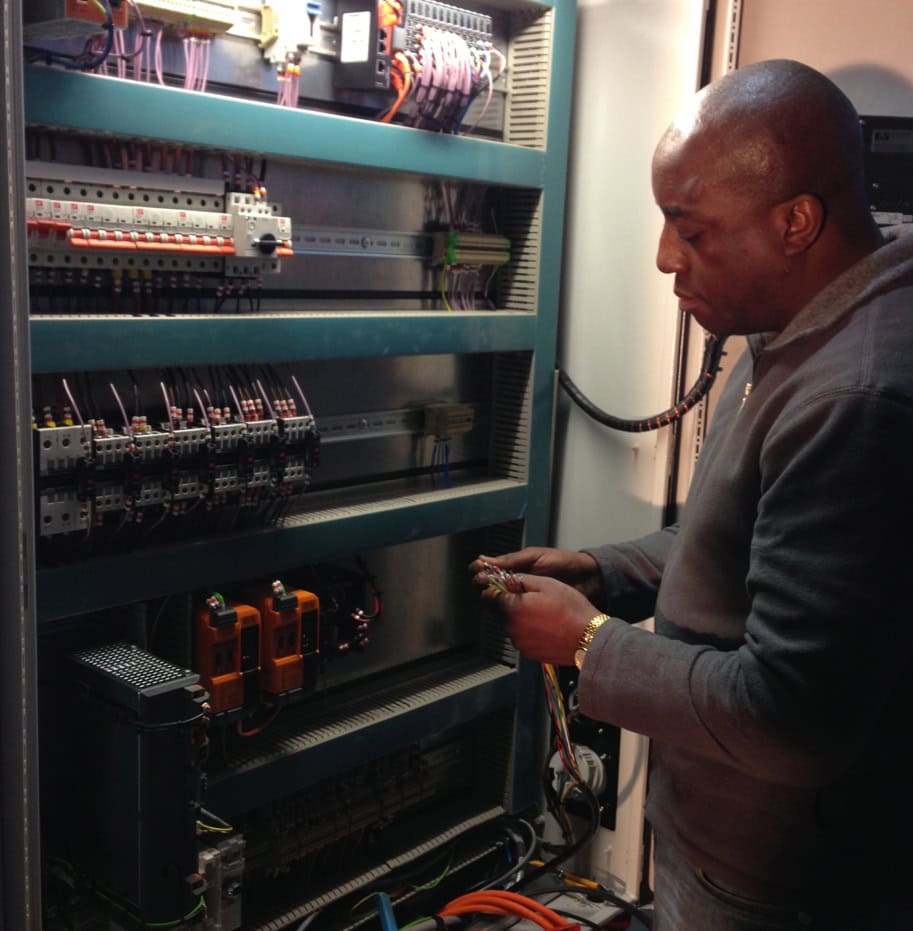
Fatima continues with the cabinet doors, here shown beginning the wiring process in accordance with electrical diagrams and with cables marked and crimped by yours truly.
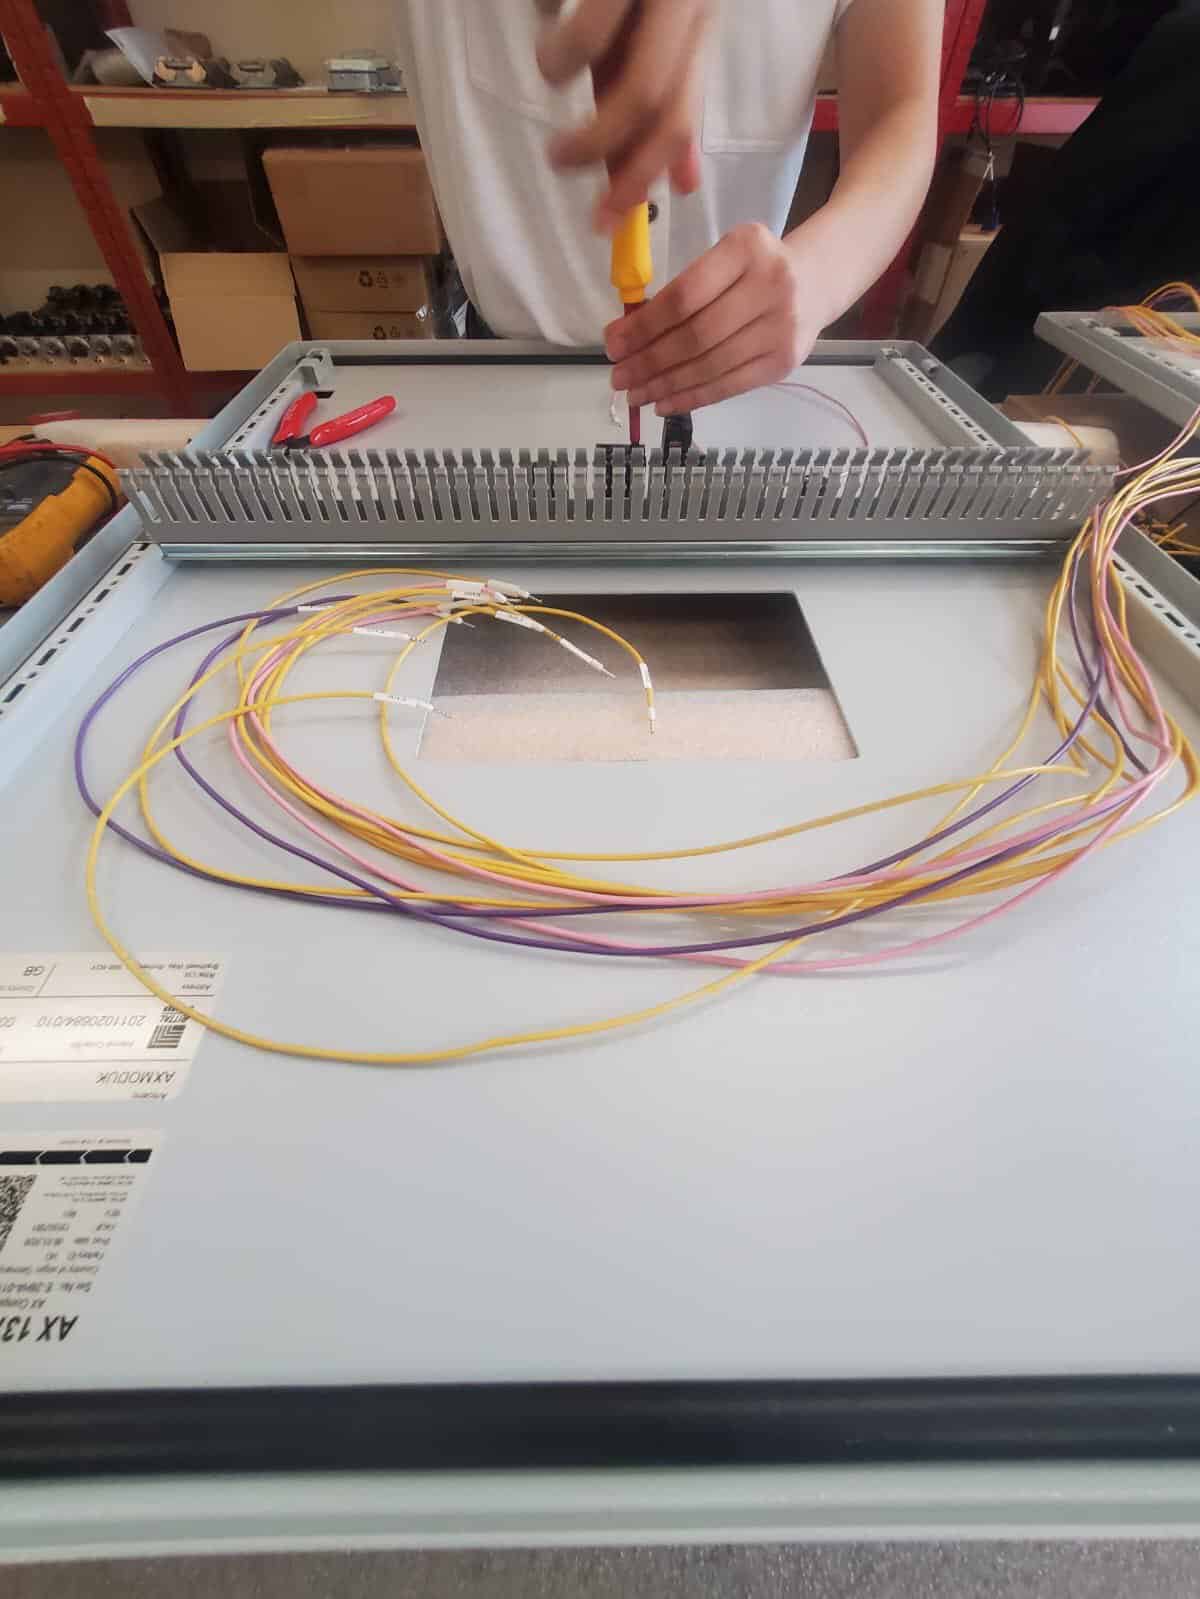
Rinse & Repeat!
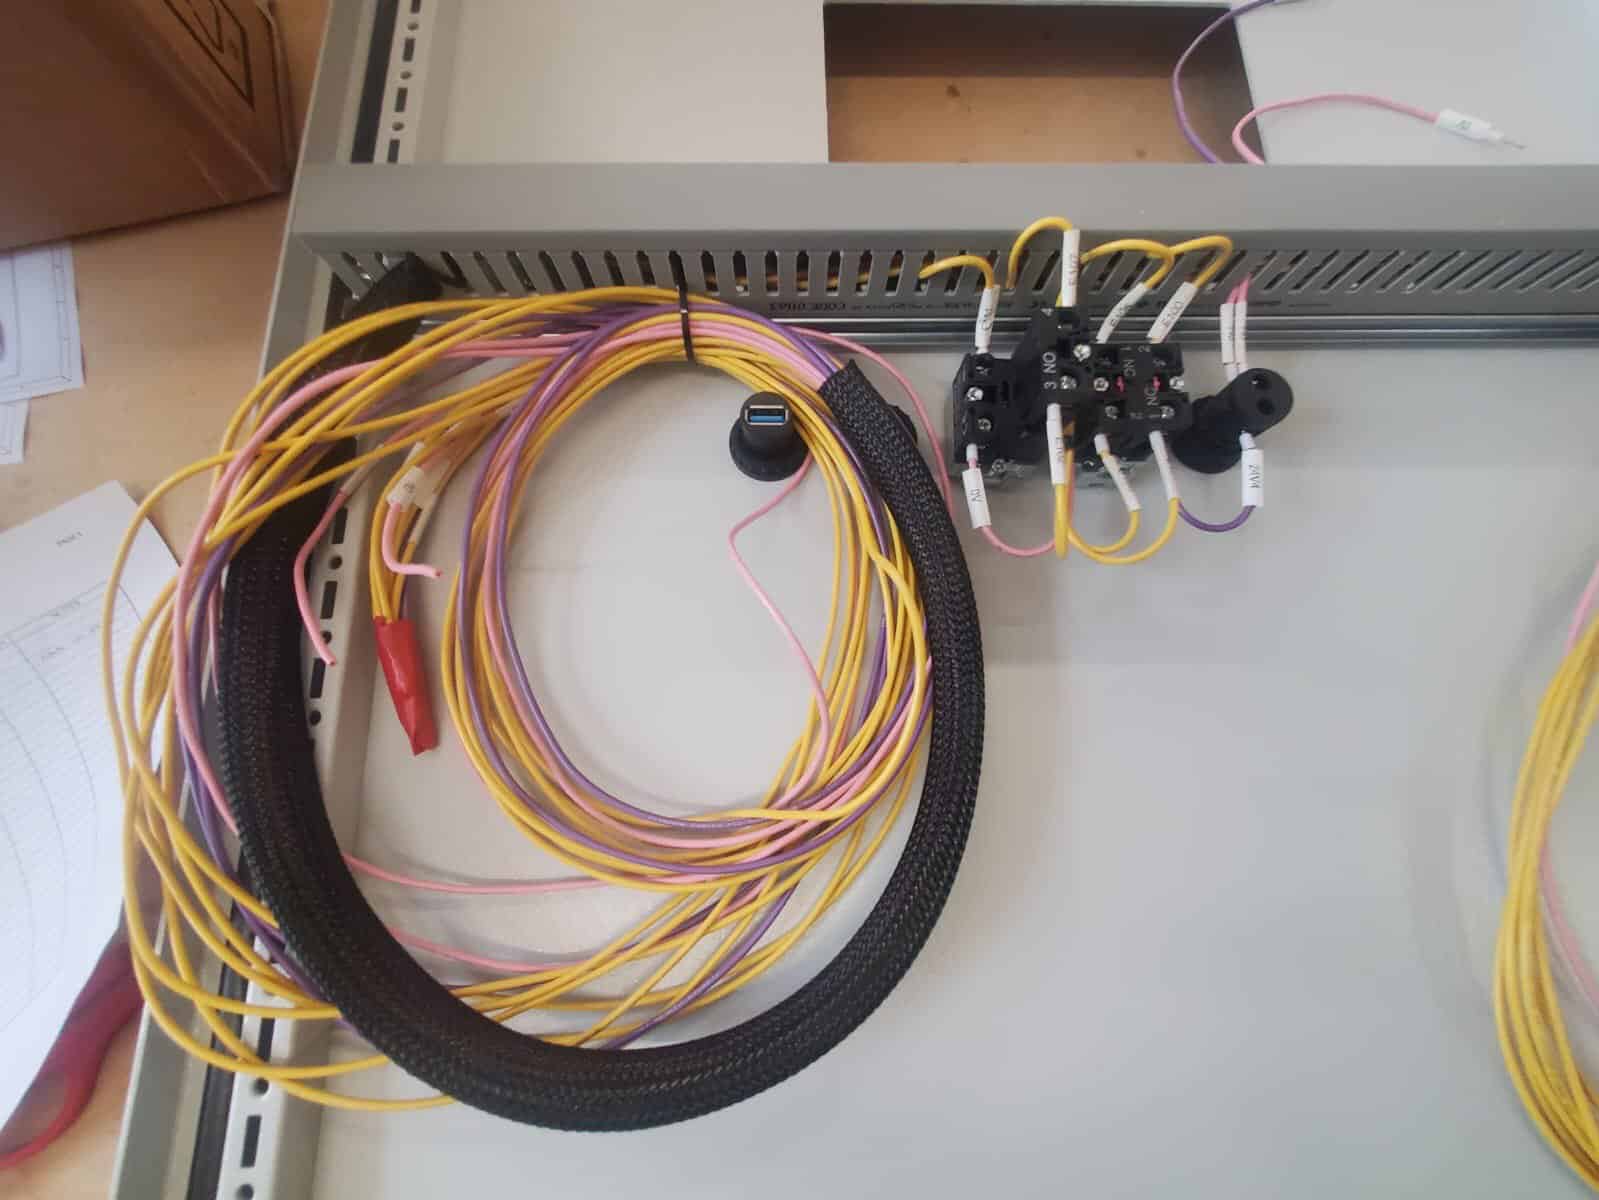
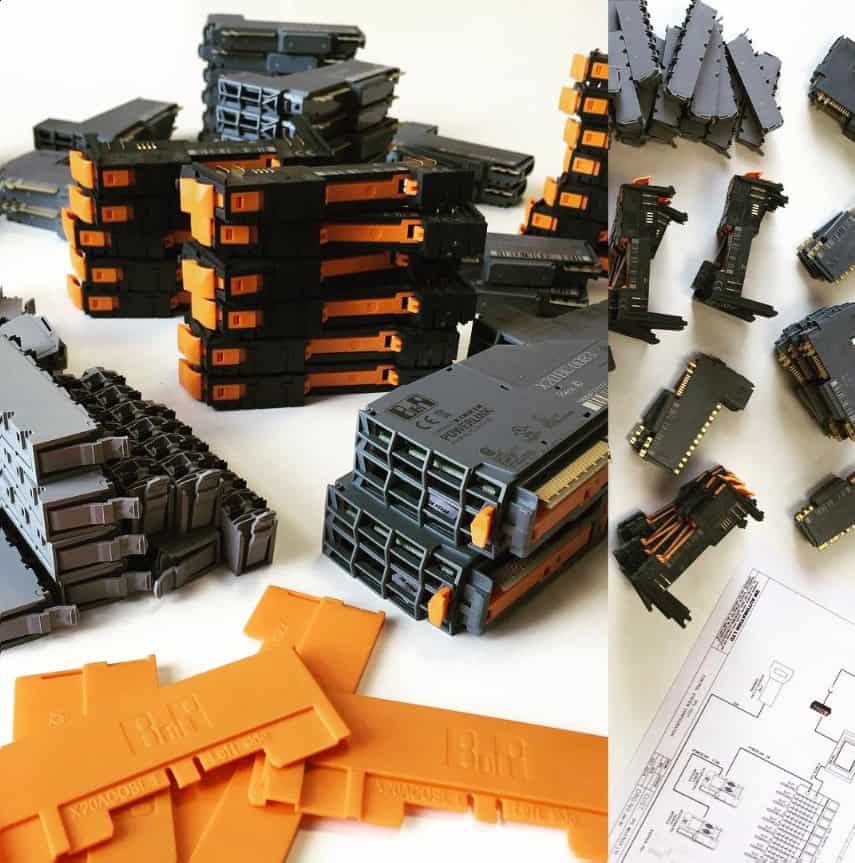
Connection Points
Each of these panels will have 4 connector points, in line with electrical diagrammes.

From the inside of the panel, you can follow the order of connector points in line with the diagramme:
- 5-Pin Mains Infeed Connector
- 54-Pin Circular Connector
- 14-Pin Circular Connector
- 3 x 25-Pin Rectangular Connector
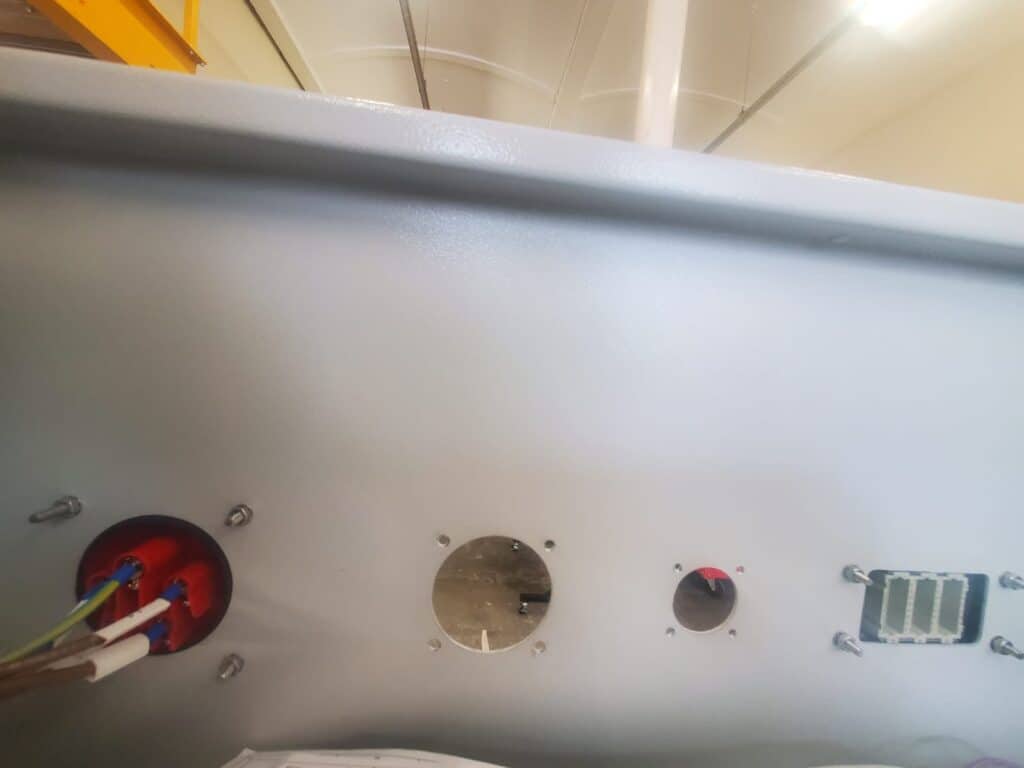
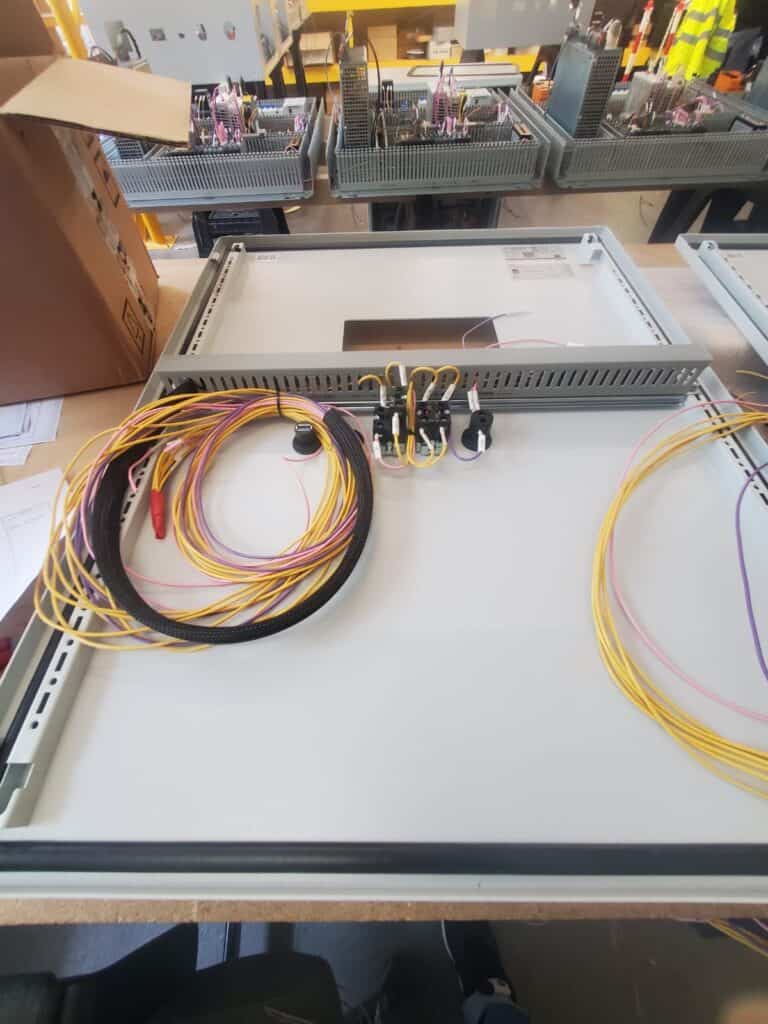
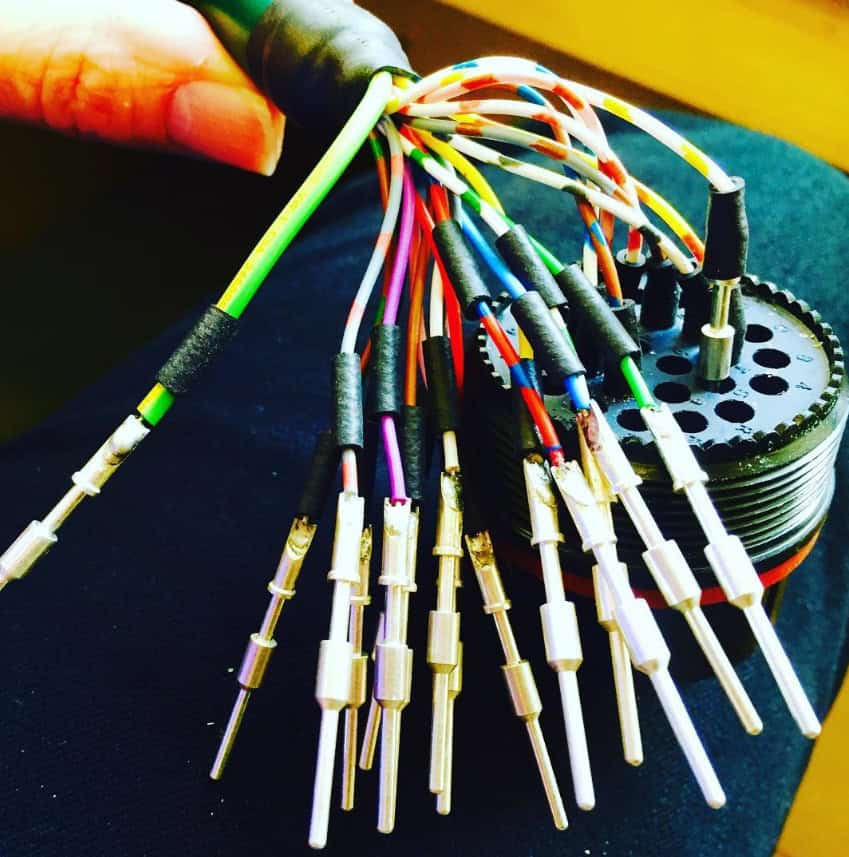
Here’s the outside view for reference. Find out more about connector construction here. Check back for more live updates soon!
Related Work
albums
albums
albums
albums
albums
albums