Before & After

Backplate Marking
As mentioned in this post excerpt, this Before & After series will provide a glance over some aspects of cabinet and cable builds this Spring 2026. Check back for live updates!
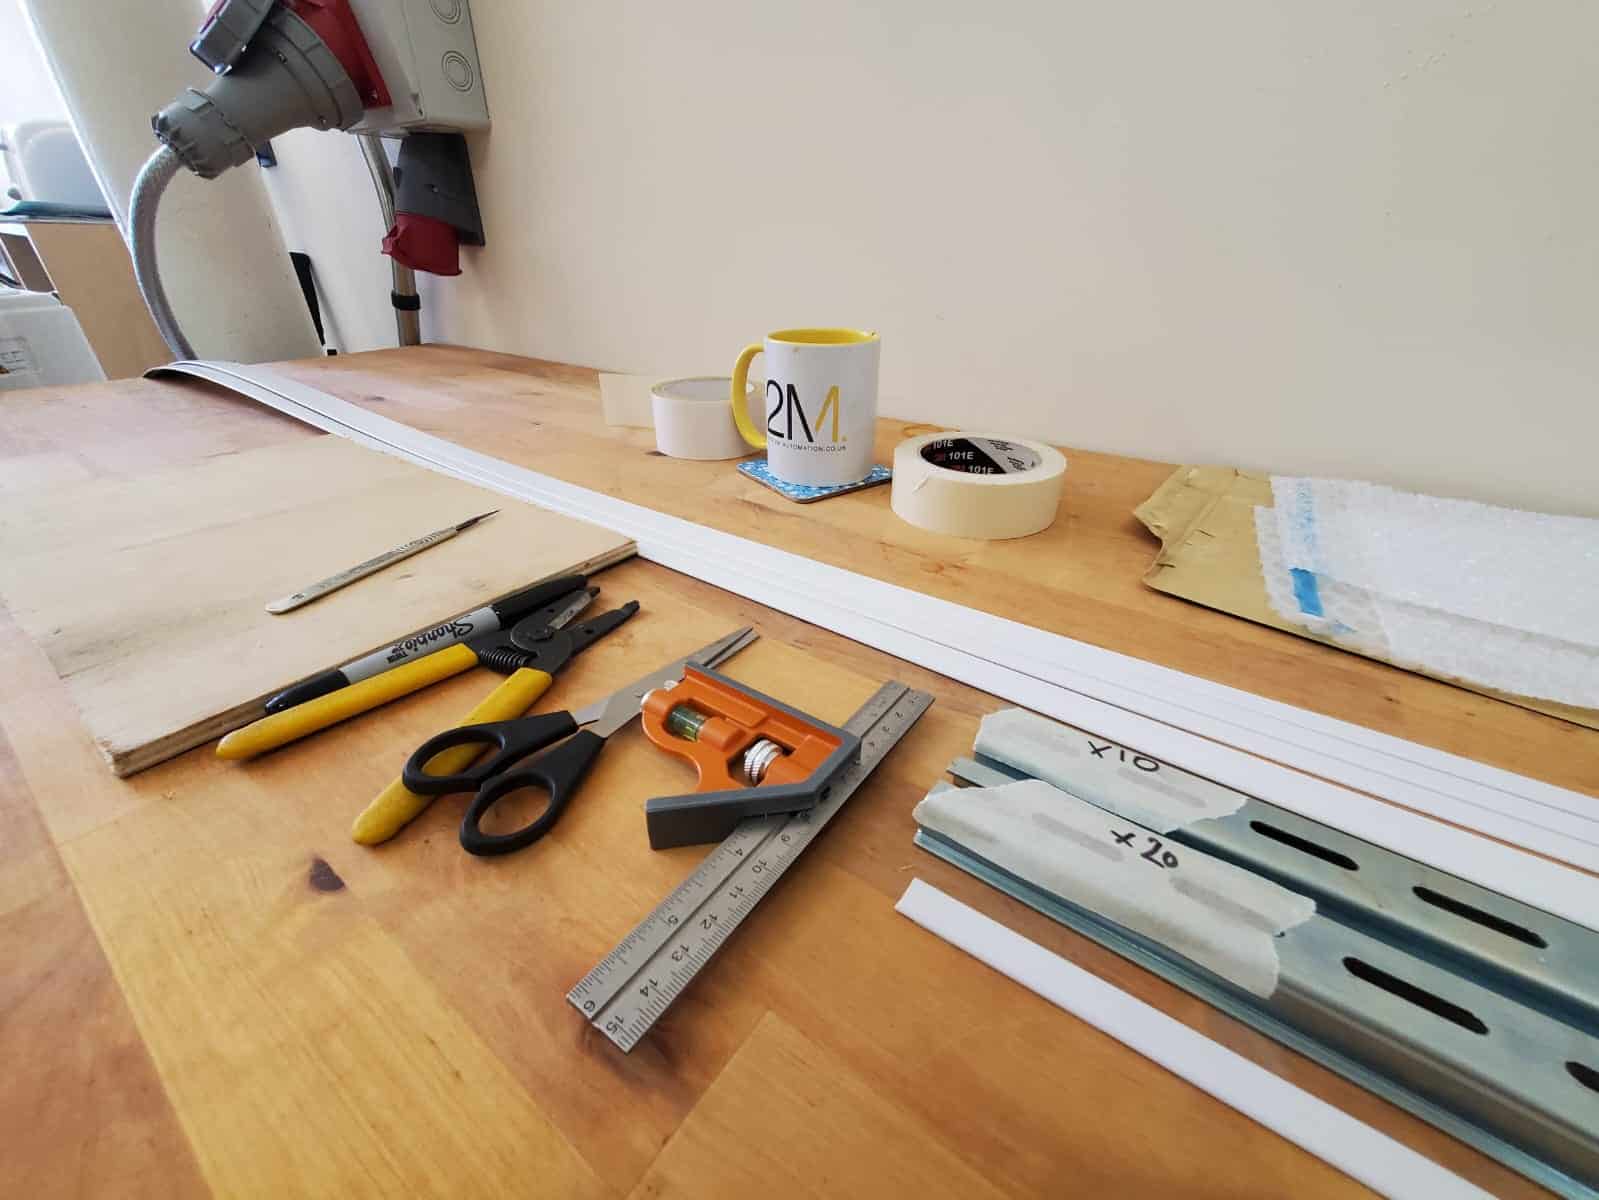
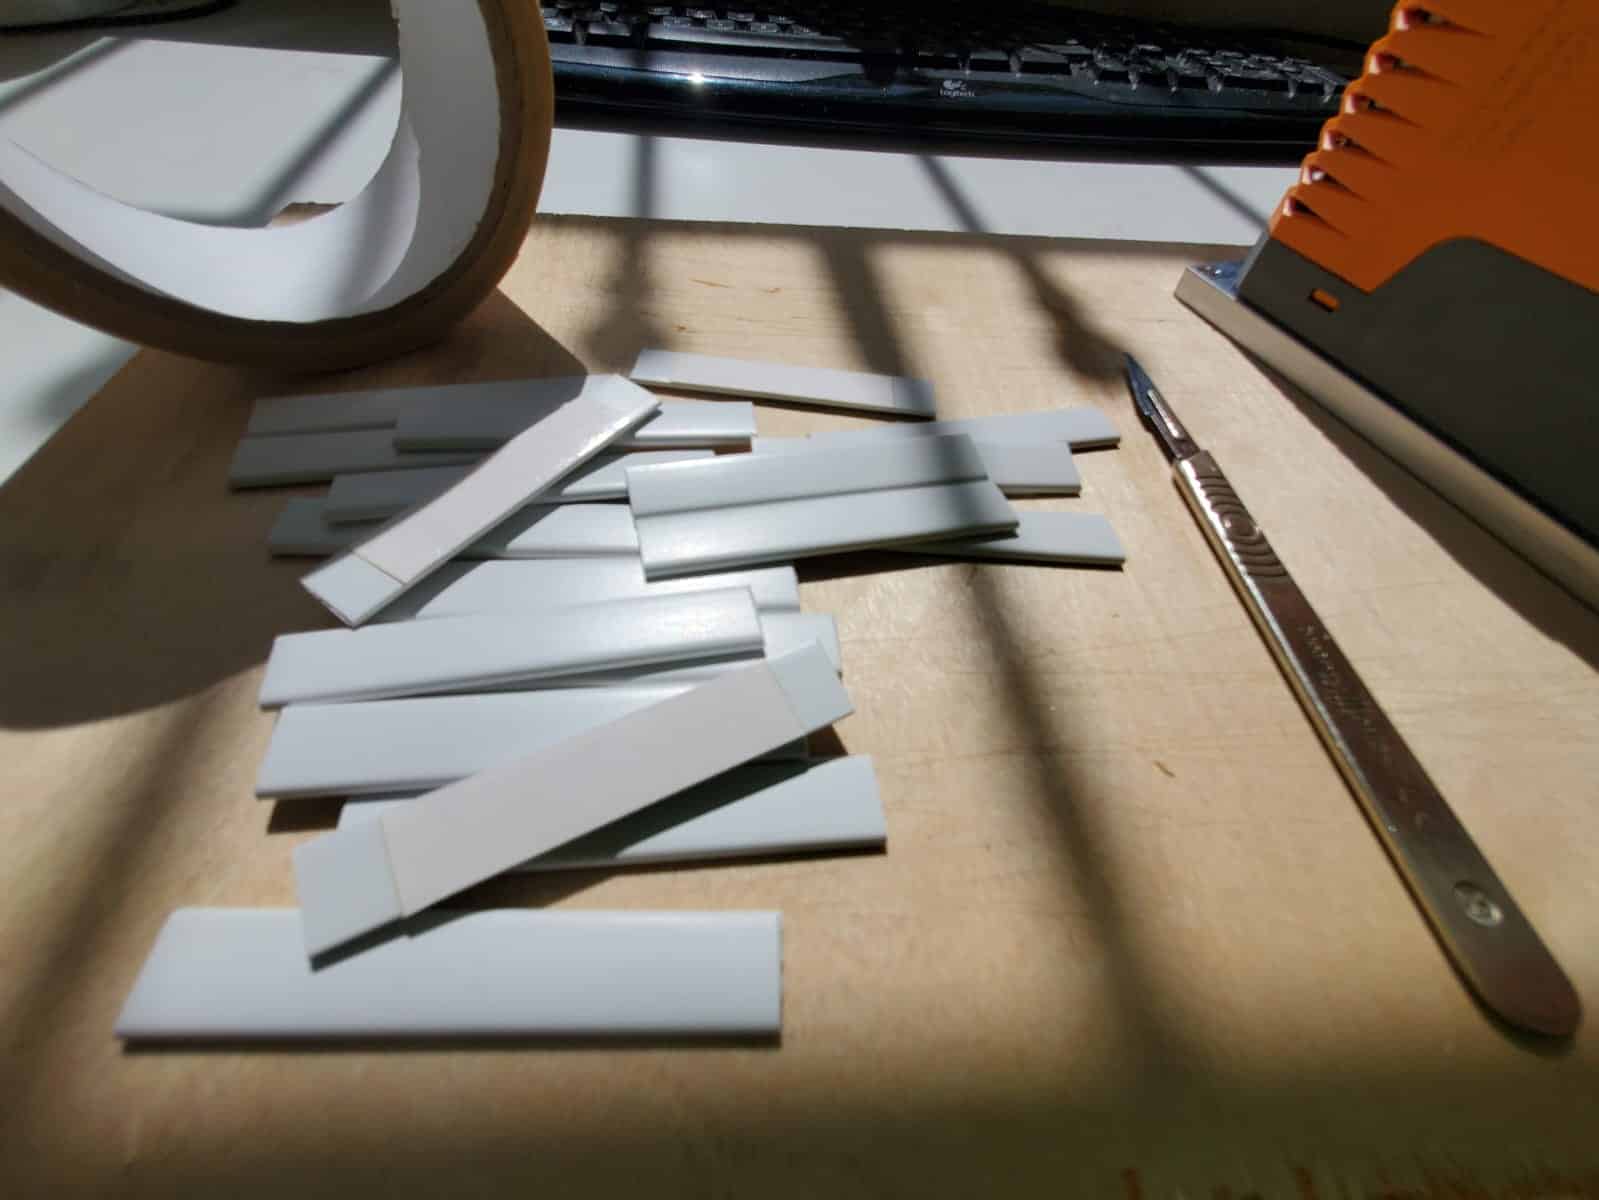
You will come across many different styles of cabinet making and marking in the industry, with every panel builder having their own preferences on varying aspects. Basic prep for cabinet builds includes cutting strips to length to attach cabinet labelling to so that the system is clearly marked for engineer access for upgrades, maintenance, and troubleshooting.
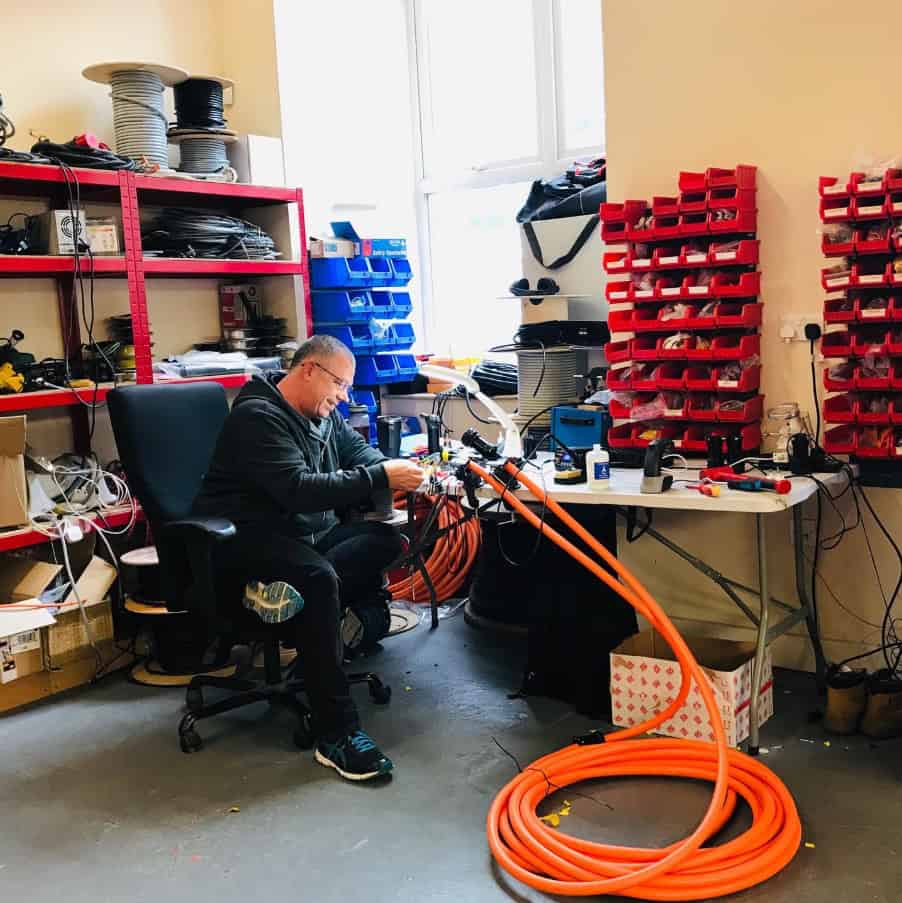
There are many labelling solutions on the market, with some premade label strips allowing you to slot in your printed labels. These solutions can be costly especially on production runs, so we make our own back-strips with robust materials on the market #DIY
Can you spot the metal Din Rail strips? They’ve been cut to size using a bandsaw by Adie, and it’s to their measurement that the first set of labelling strips are being cut and backed with double-sided tape. Once prepped, they’re set aside for use later in the quantities required.
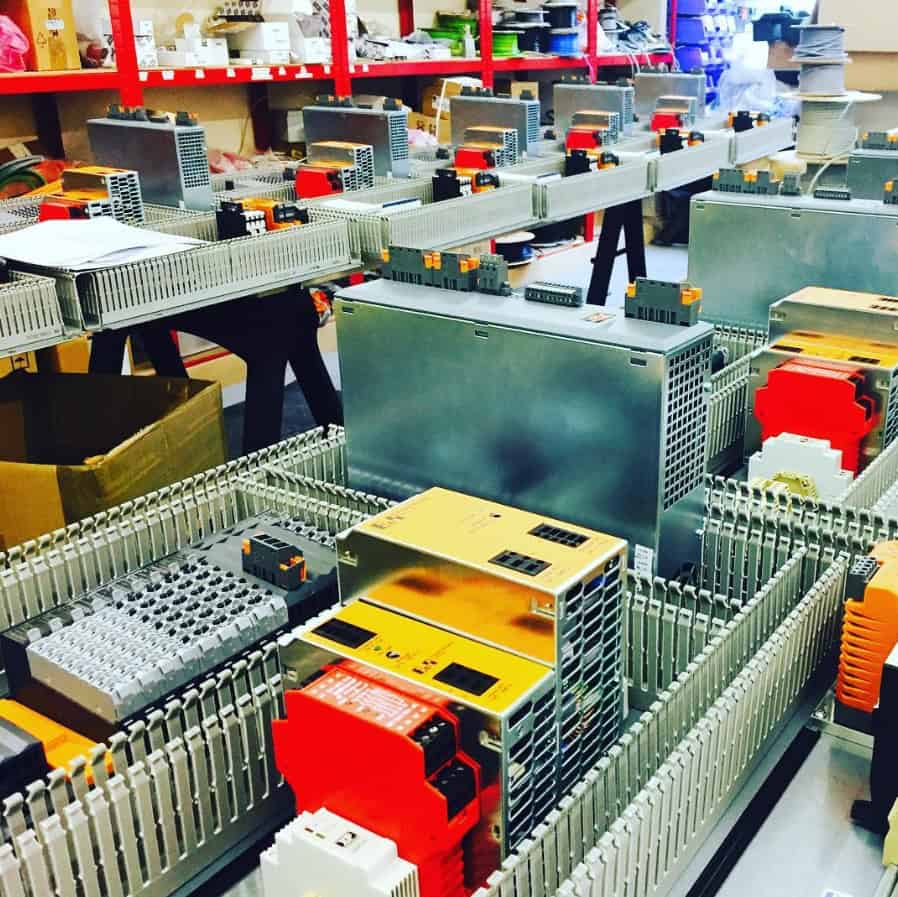
Cabinet Components
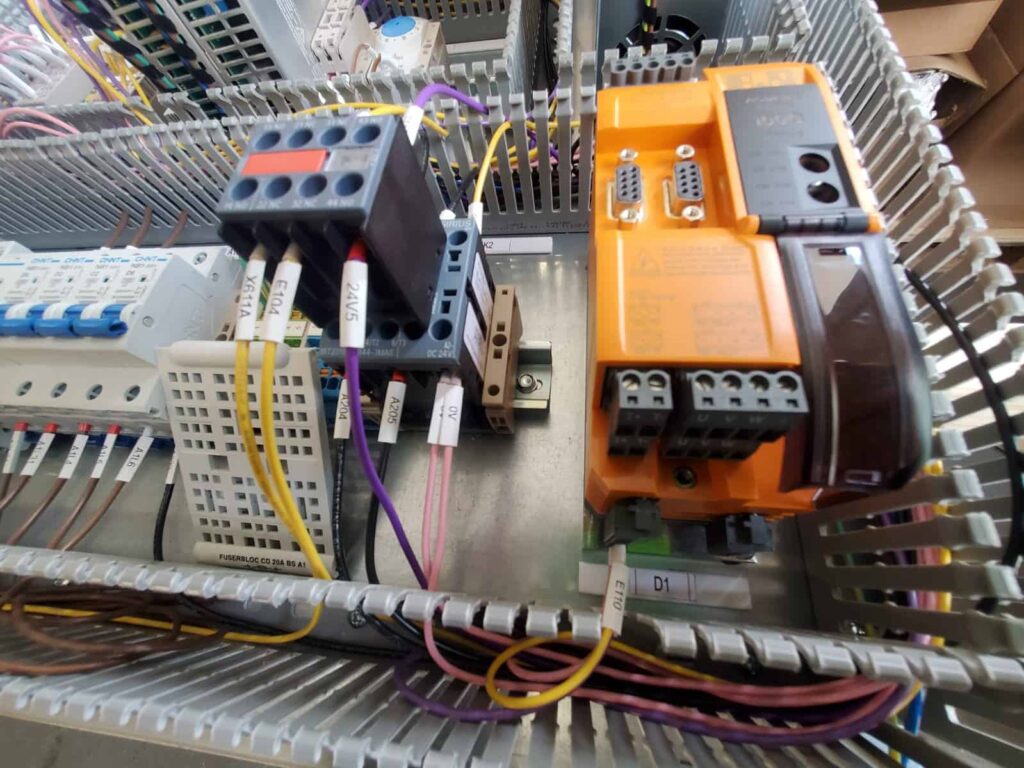
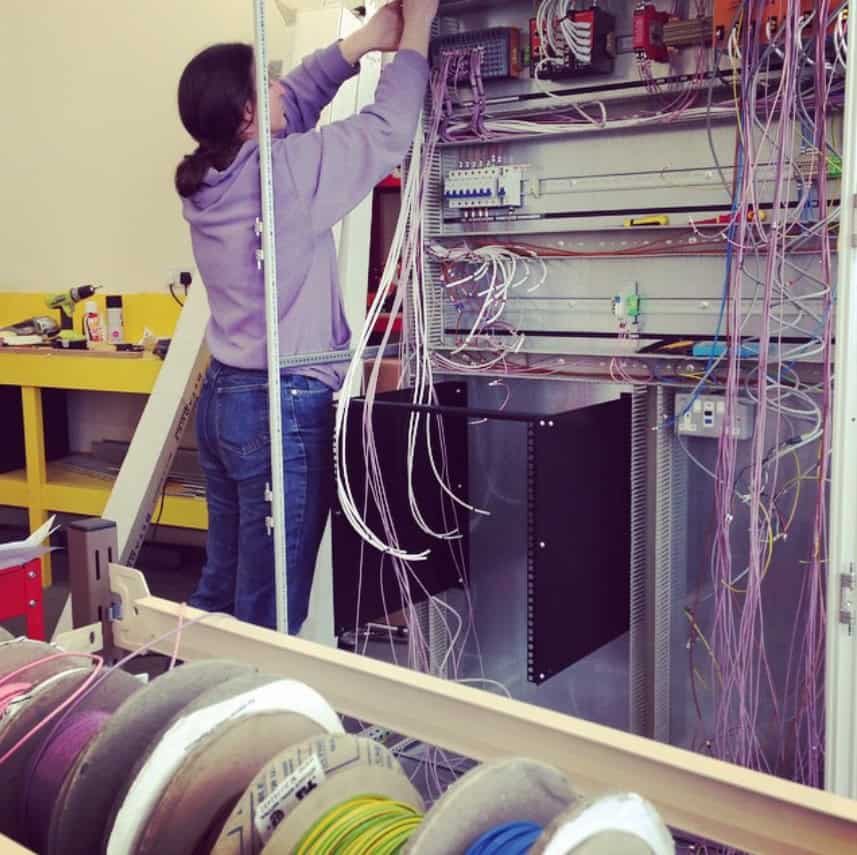
Once all strips have been cut to the correct length, they’re backed with double-sided tape to allow them to be secured to the control cabinet back-plates to mark out components which are fitted in accordance to electrical diagrams.
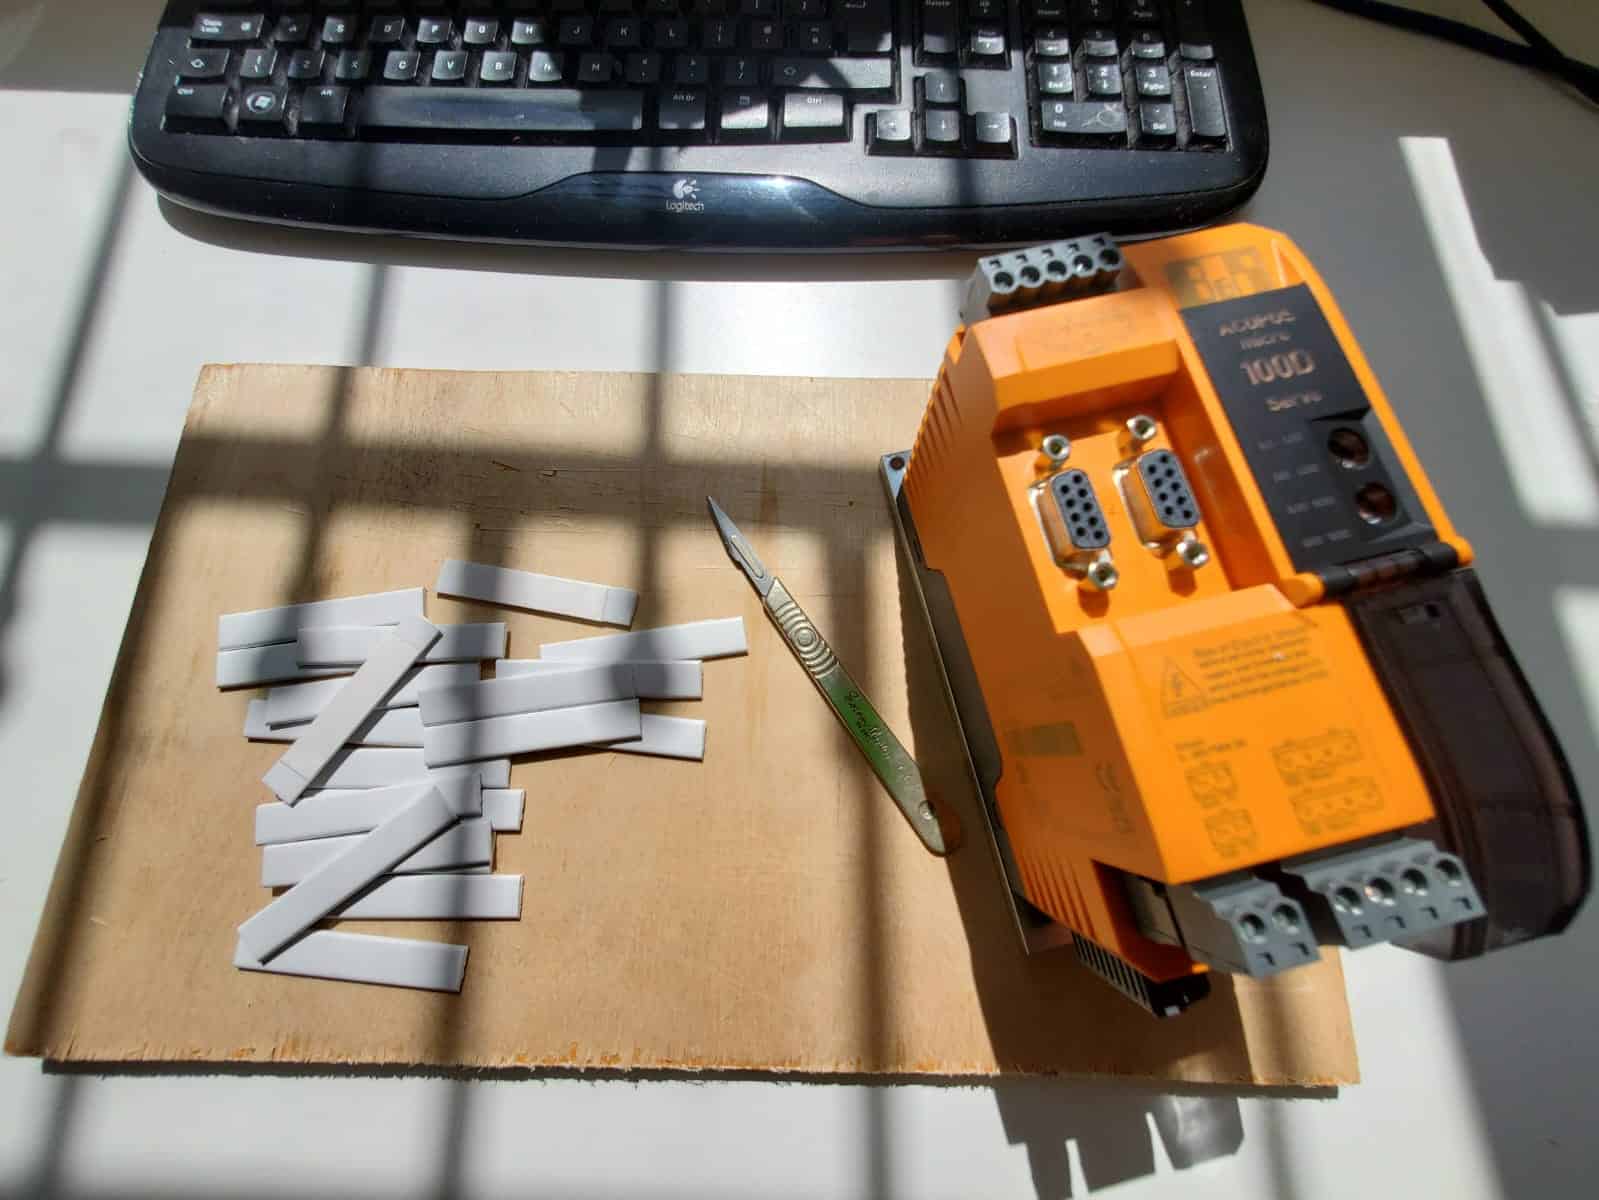
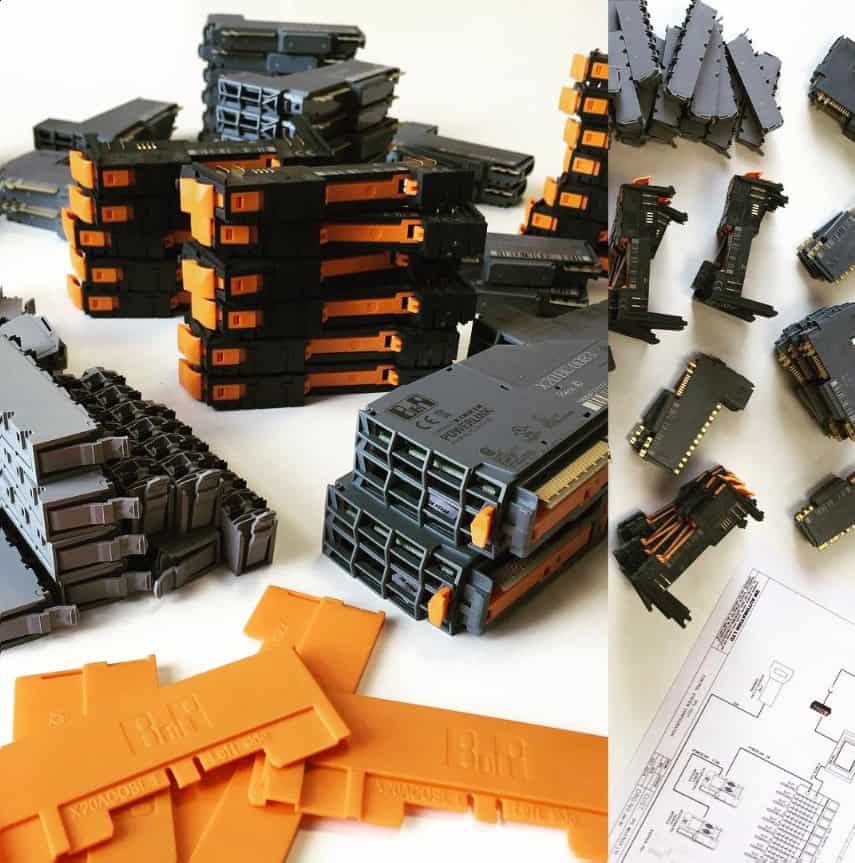
You may use the various components in the cabinet to measure out your ideal strip lengths for labelling as well. Here’s an example using some B&R hardware, this precise unit being a B&R Acopos Micro Servo Drive.
Lables in Position
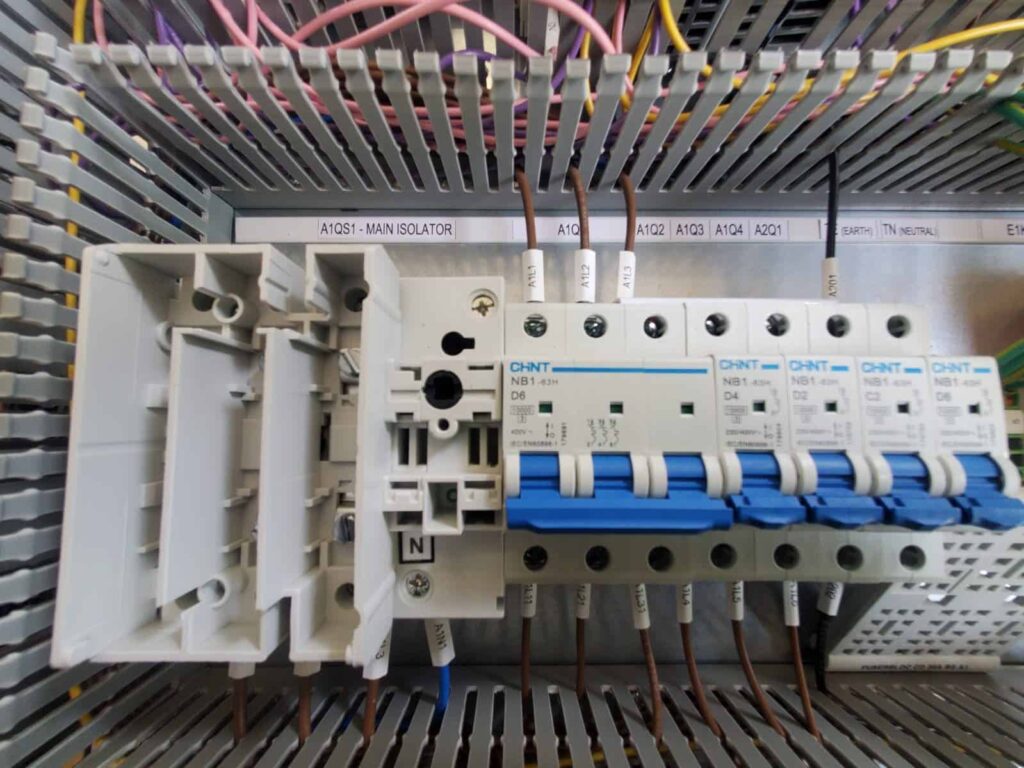
The control cabinets are now being assembled in stages.
Here you can see some examples of how the label strips mark out the back plates when in situ.
Related Work
albums
albums
albums
albums
albums
albums